Terrain |
Terrain
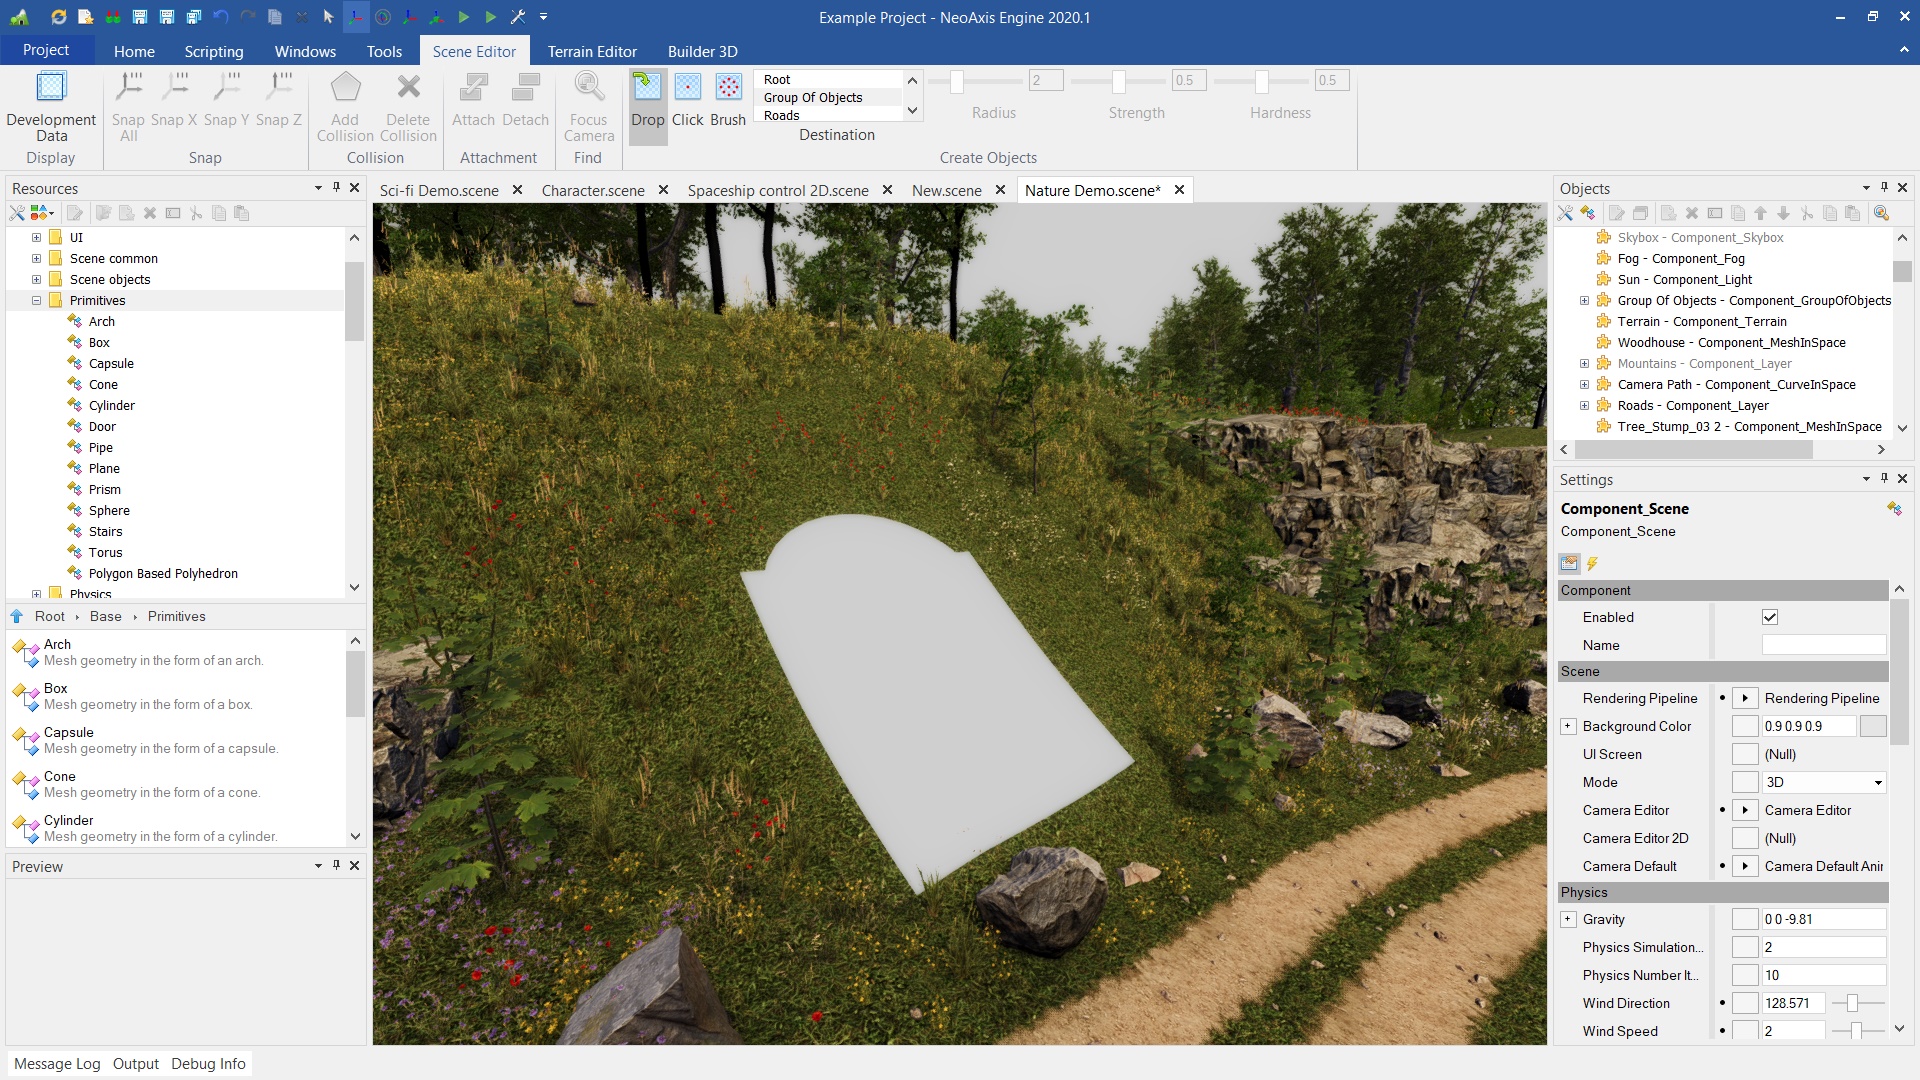
An object for creating landscapes based on a heightmap.
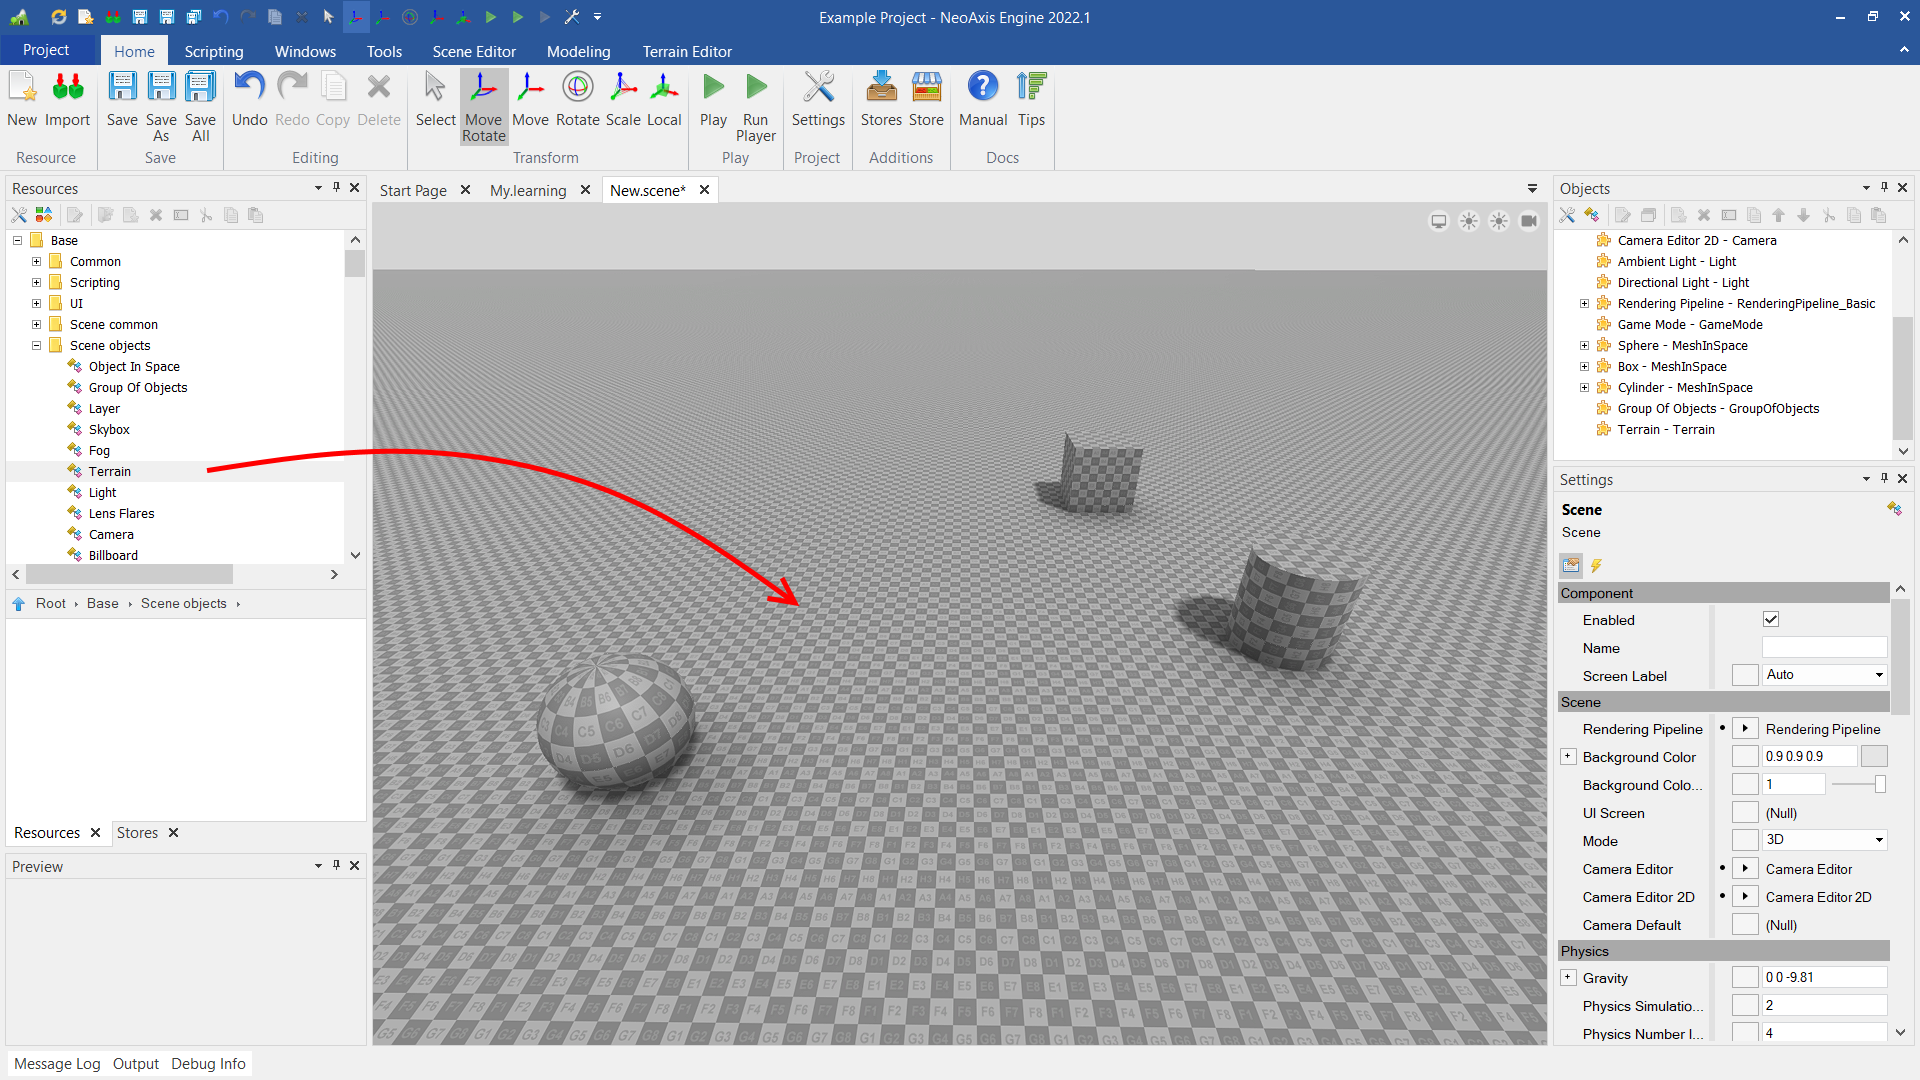
The terrain is created same as other objects. The basic way is to create using Resources Window.
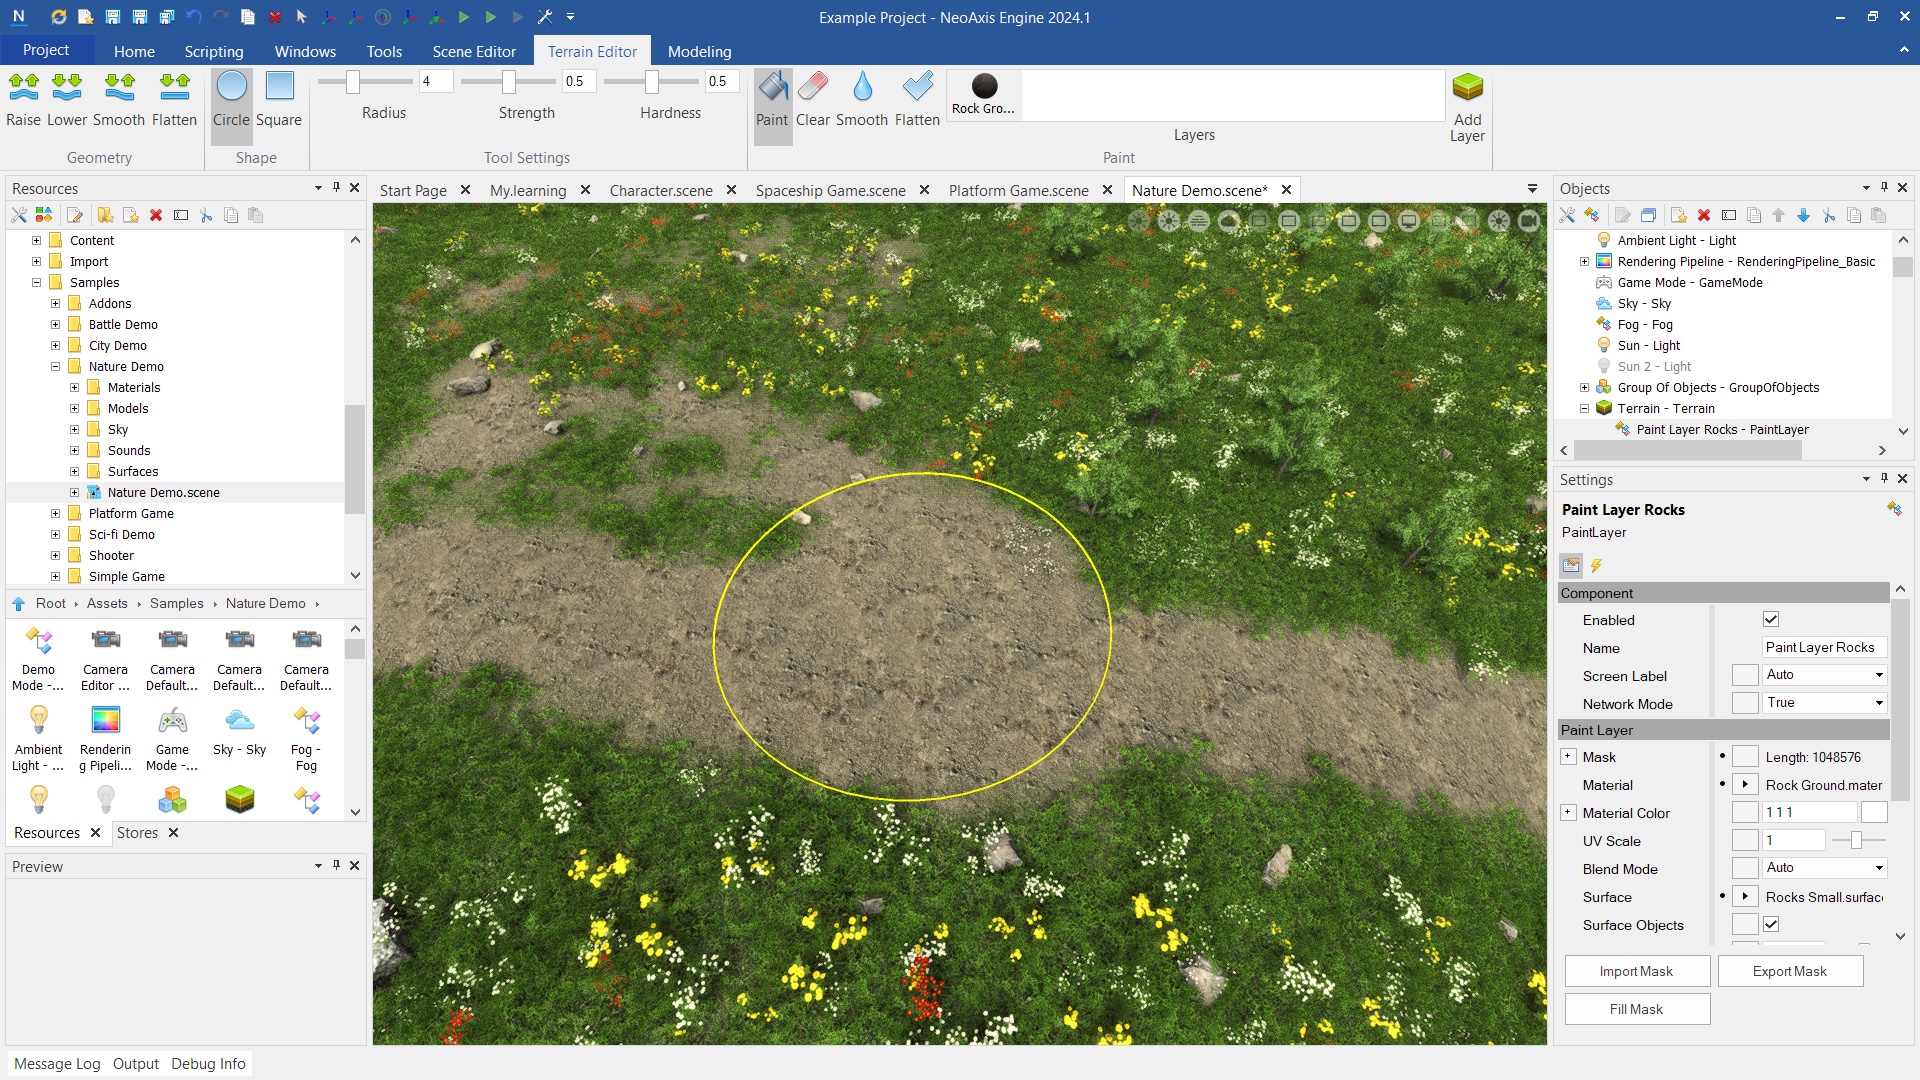
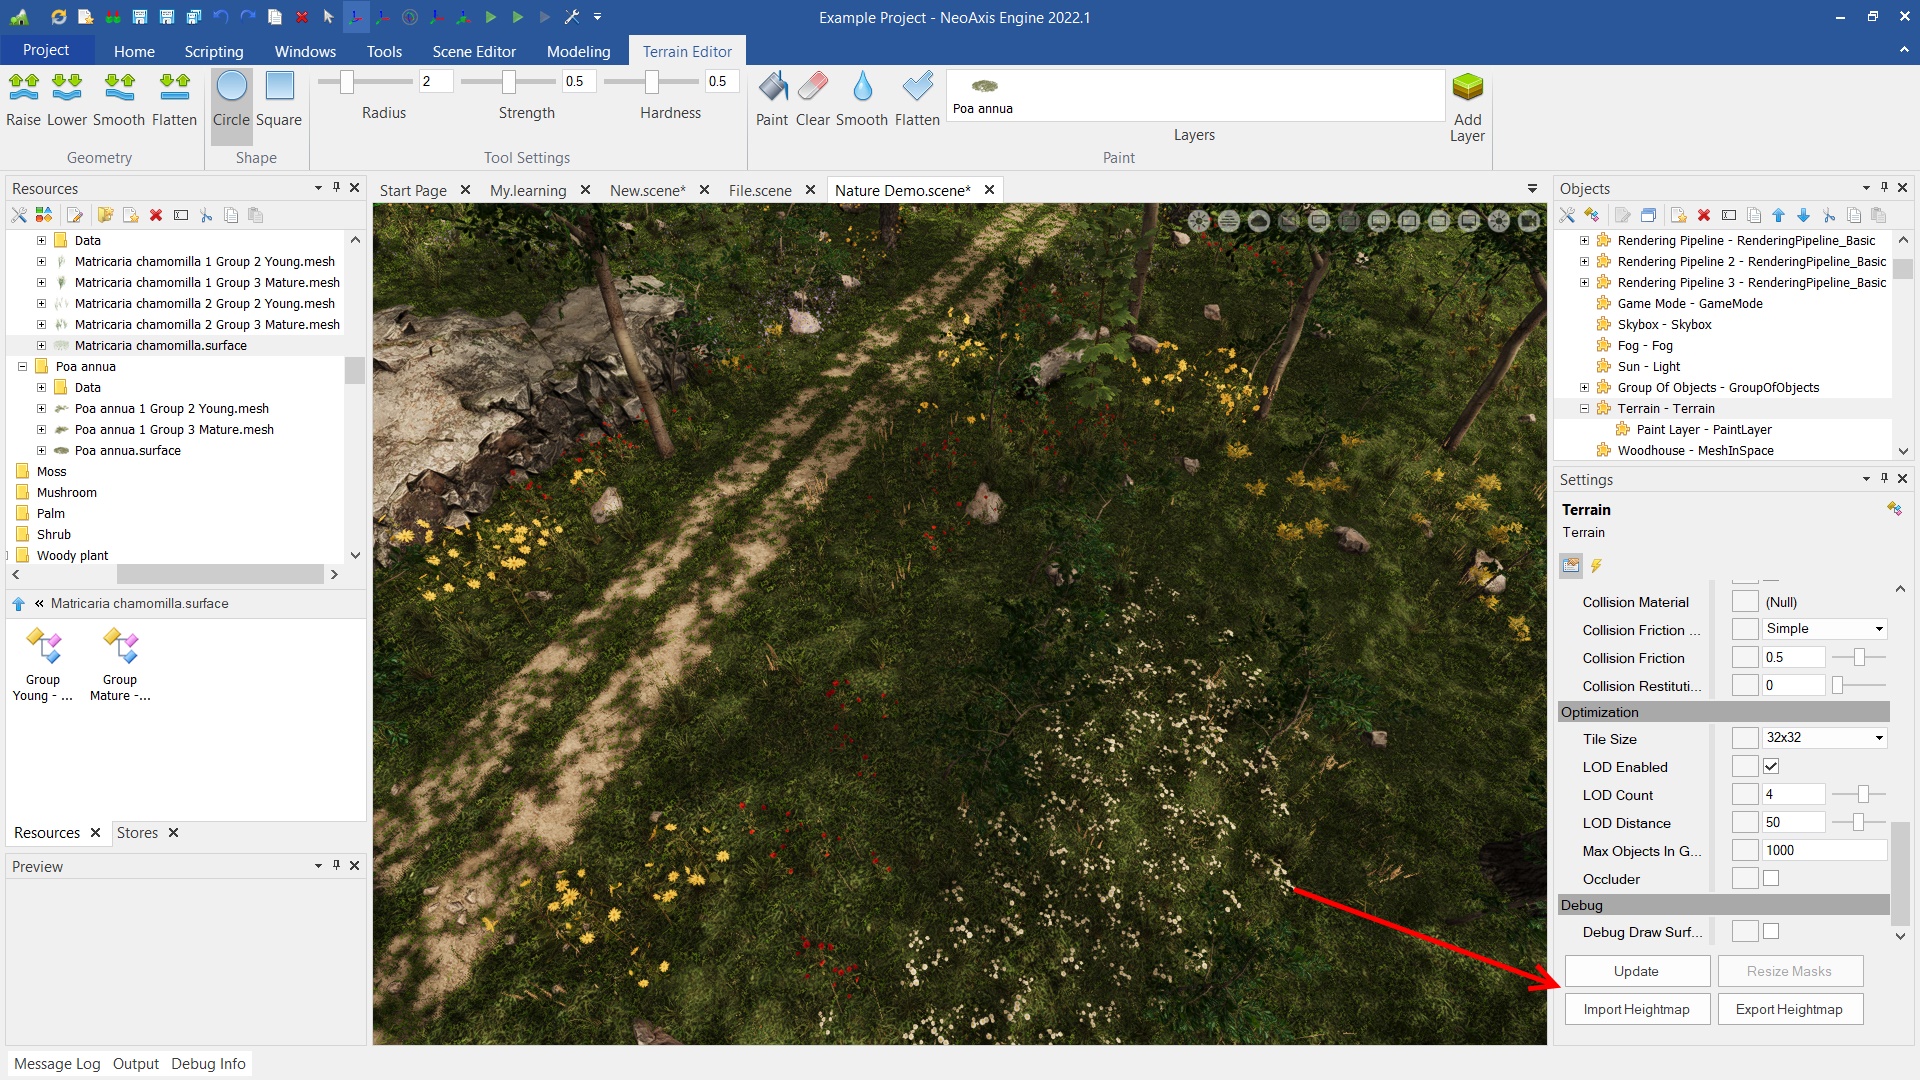
After creating the terrain, the Terrain Editor tab will appear in the Ribbon. The tab includes the editing tools.

There are four geometry editing modes. After enabling one of them, the editing tool will appear in the workspace.
| Name | Description |
|---|---|
 | The height increase. Holding down the Shift key will decrease the height. |
 | The height decrease. Holding down the Shift key will increase the height. |
 | Surface alignment. |
 | Flattening mode. |
The editing tool settings include form selection, size, strength and hardness.
| Name | Description |
|---|---|
 | Circle shape tool mode. |
 | Square shape tool mode. |
 | Tool size. |
 | Strength of impact. |
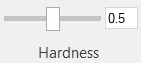 | Hardness. Determines the strength of impact depending on the distance to the center of the tool. |
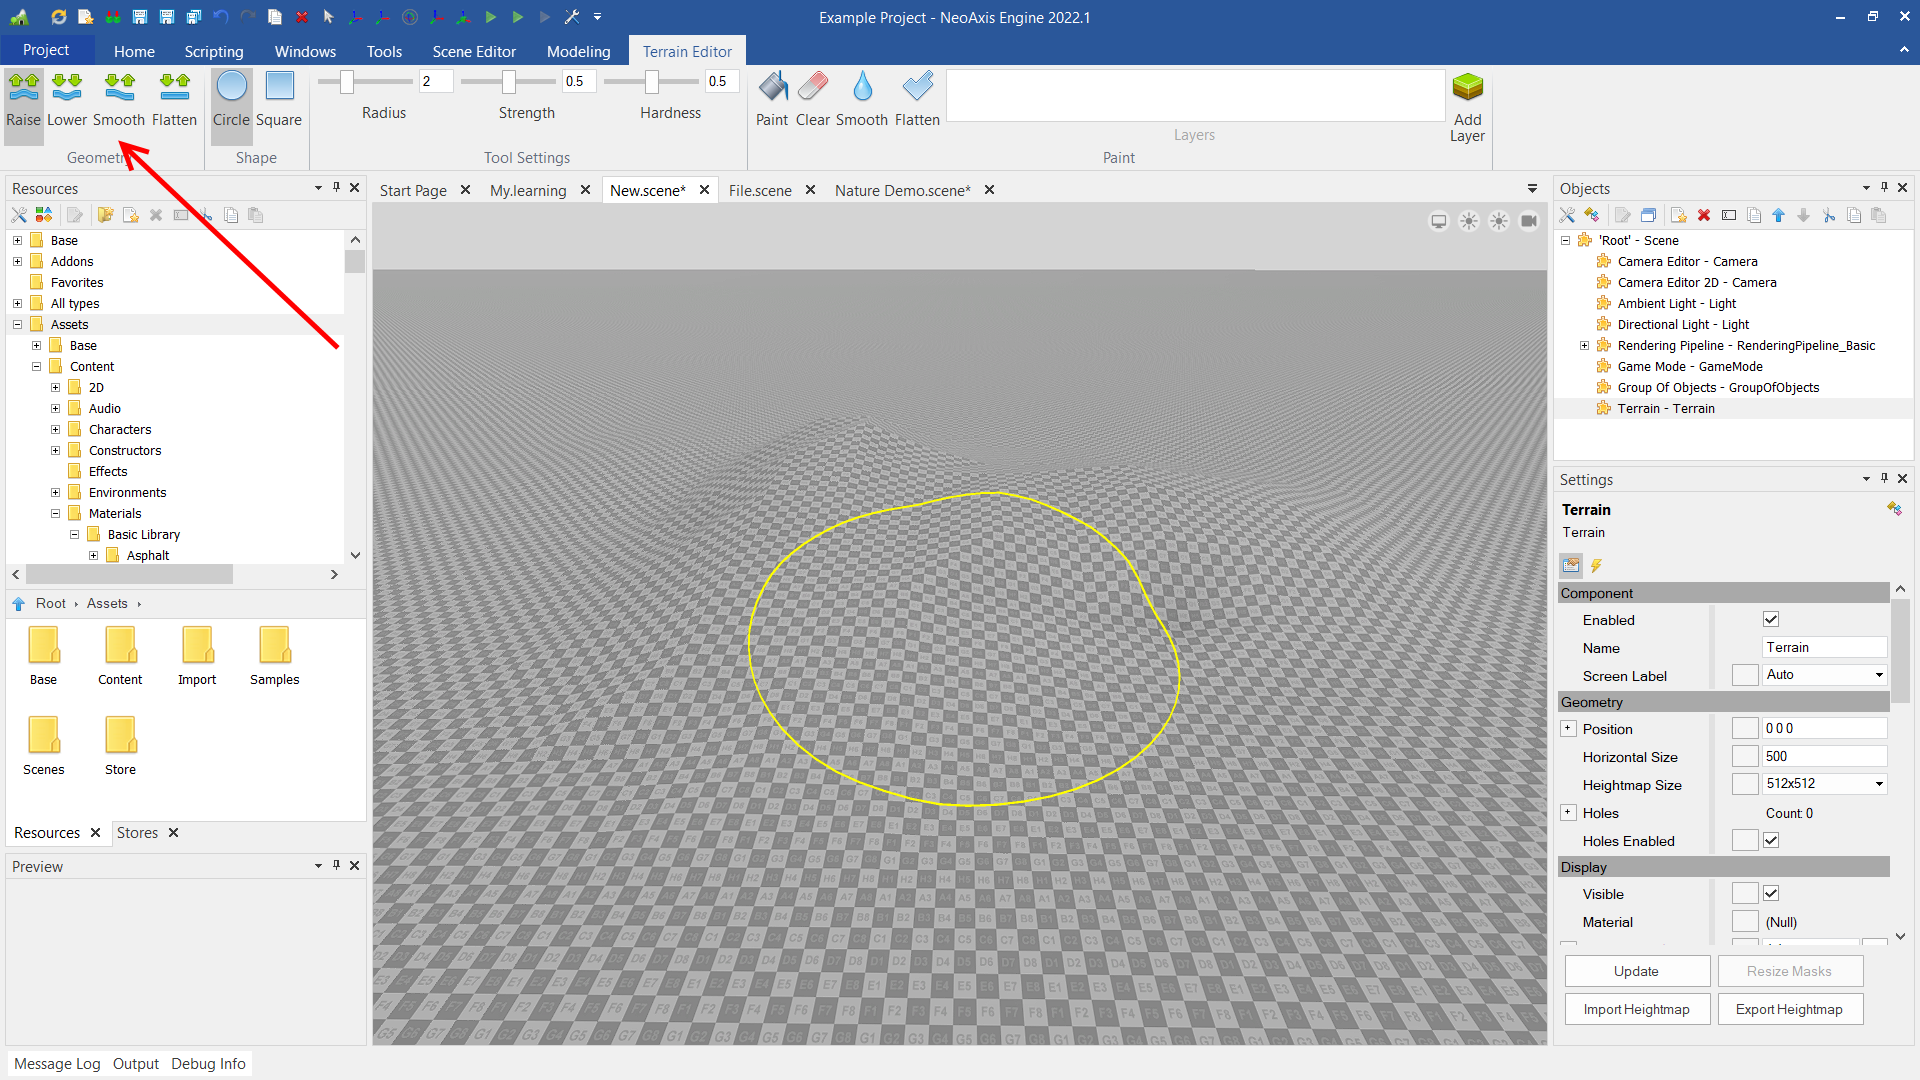
The material is customized using a Material property and other properties with the Material prefix. To change a material, press the button in the Material property and select the desired material. Another method is to press the button, holding the mouse button and select the desired material.
There are four paint editing modes. After enabling one of them, the editing tool will appear in the workspace.
| Name | Description |
|---|---|
 | Paint a layer. If you hold down the Shift key, the layer will be erased. |
 | Erasing a layer. If you hold down the Shift key, the layer will be painted. |
 | Blur paint layer. |
 | Alignment to the selected value. |
 | The list of layers to paint. |
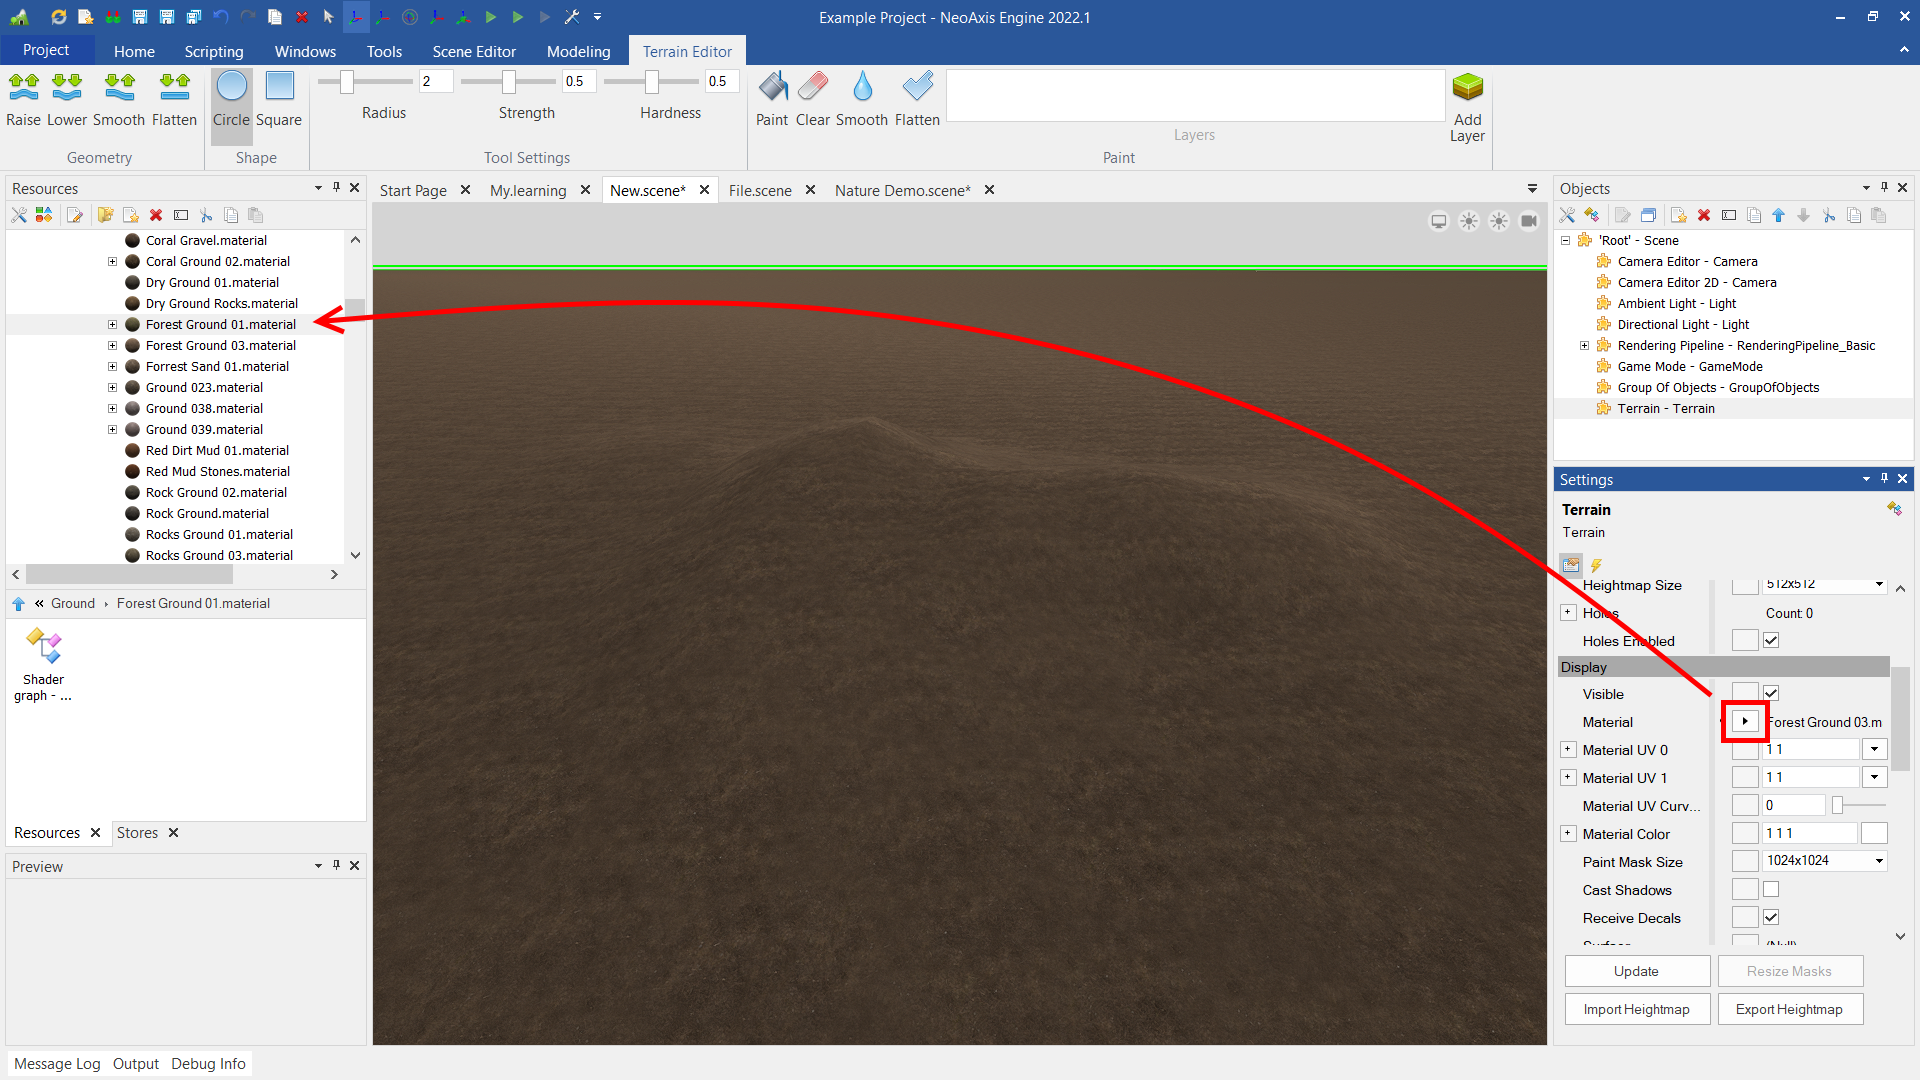
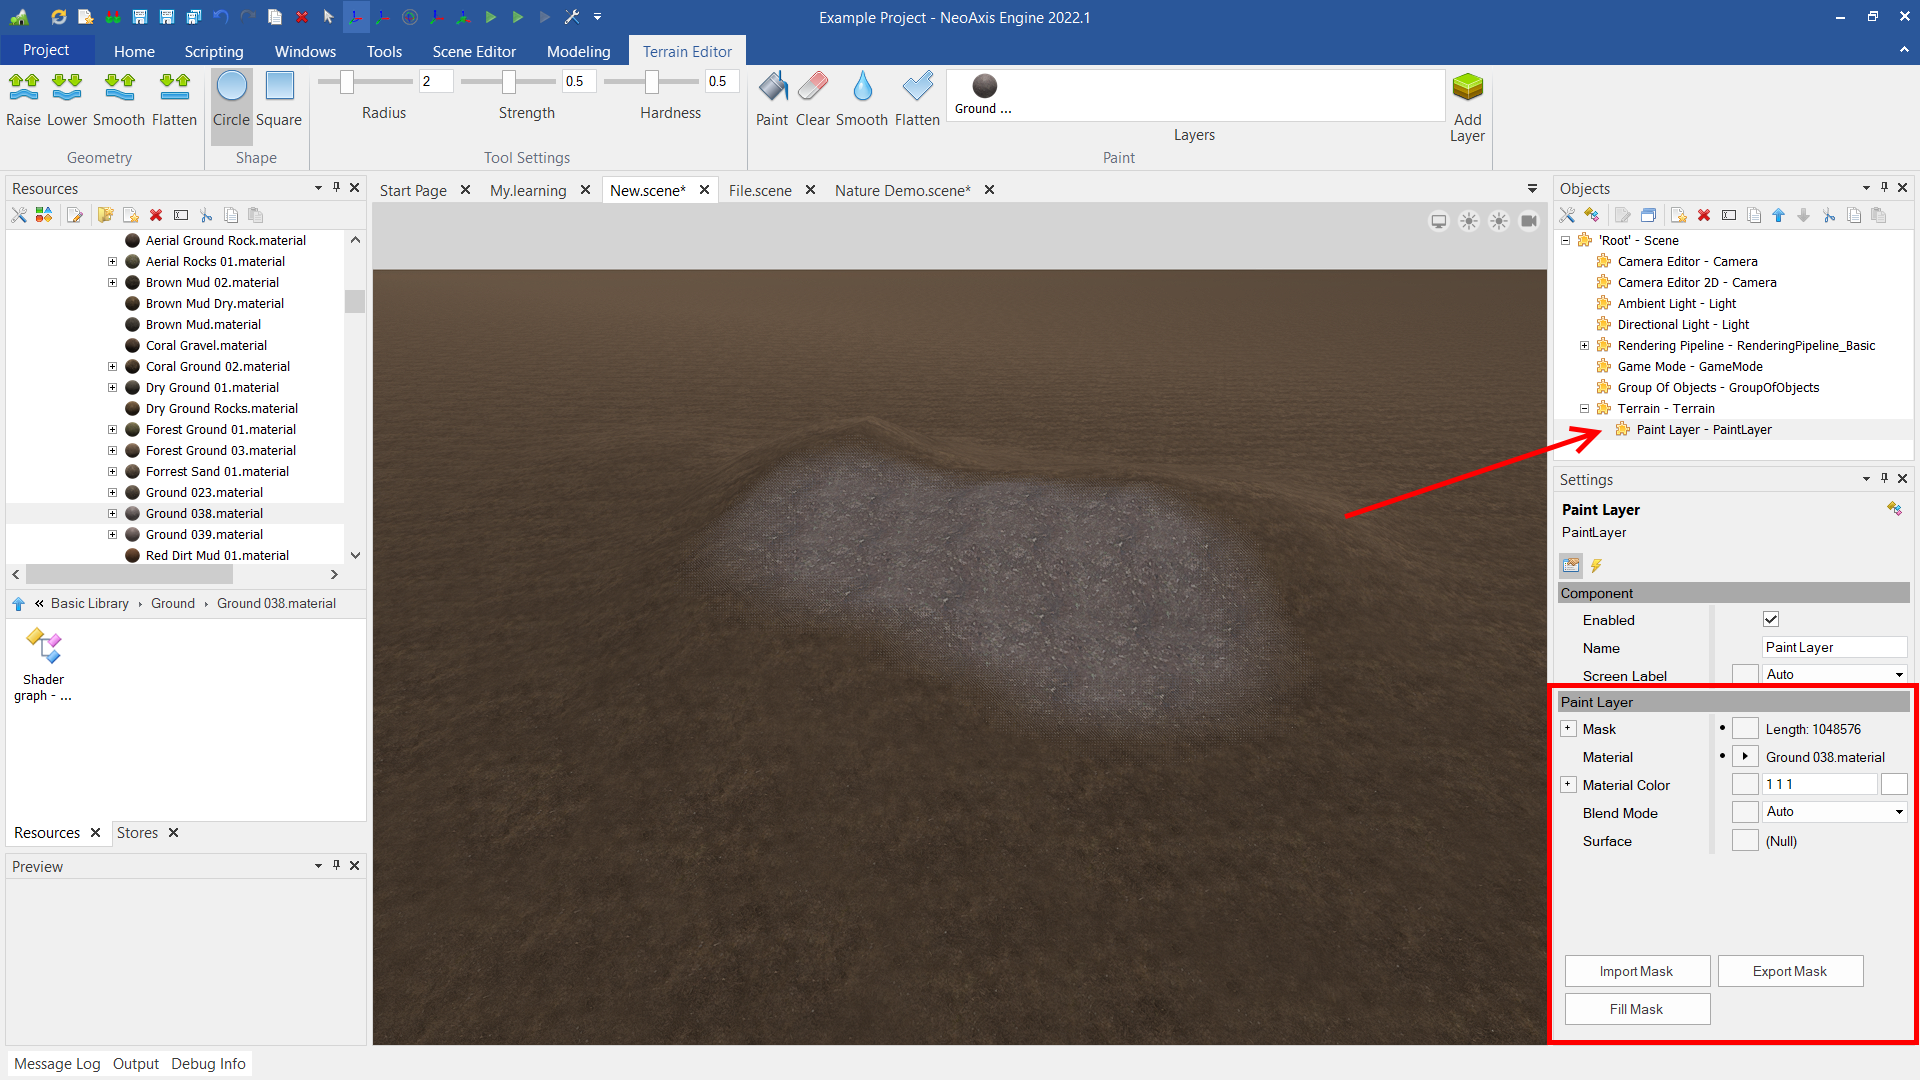
To paint on the terrain need select Material or Surface in the Resources window and select a Paint mode.
The new Layer can be modified, cloned or deleted. For example, you can fill, import and export the mask.
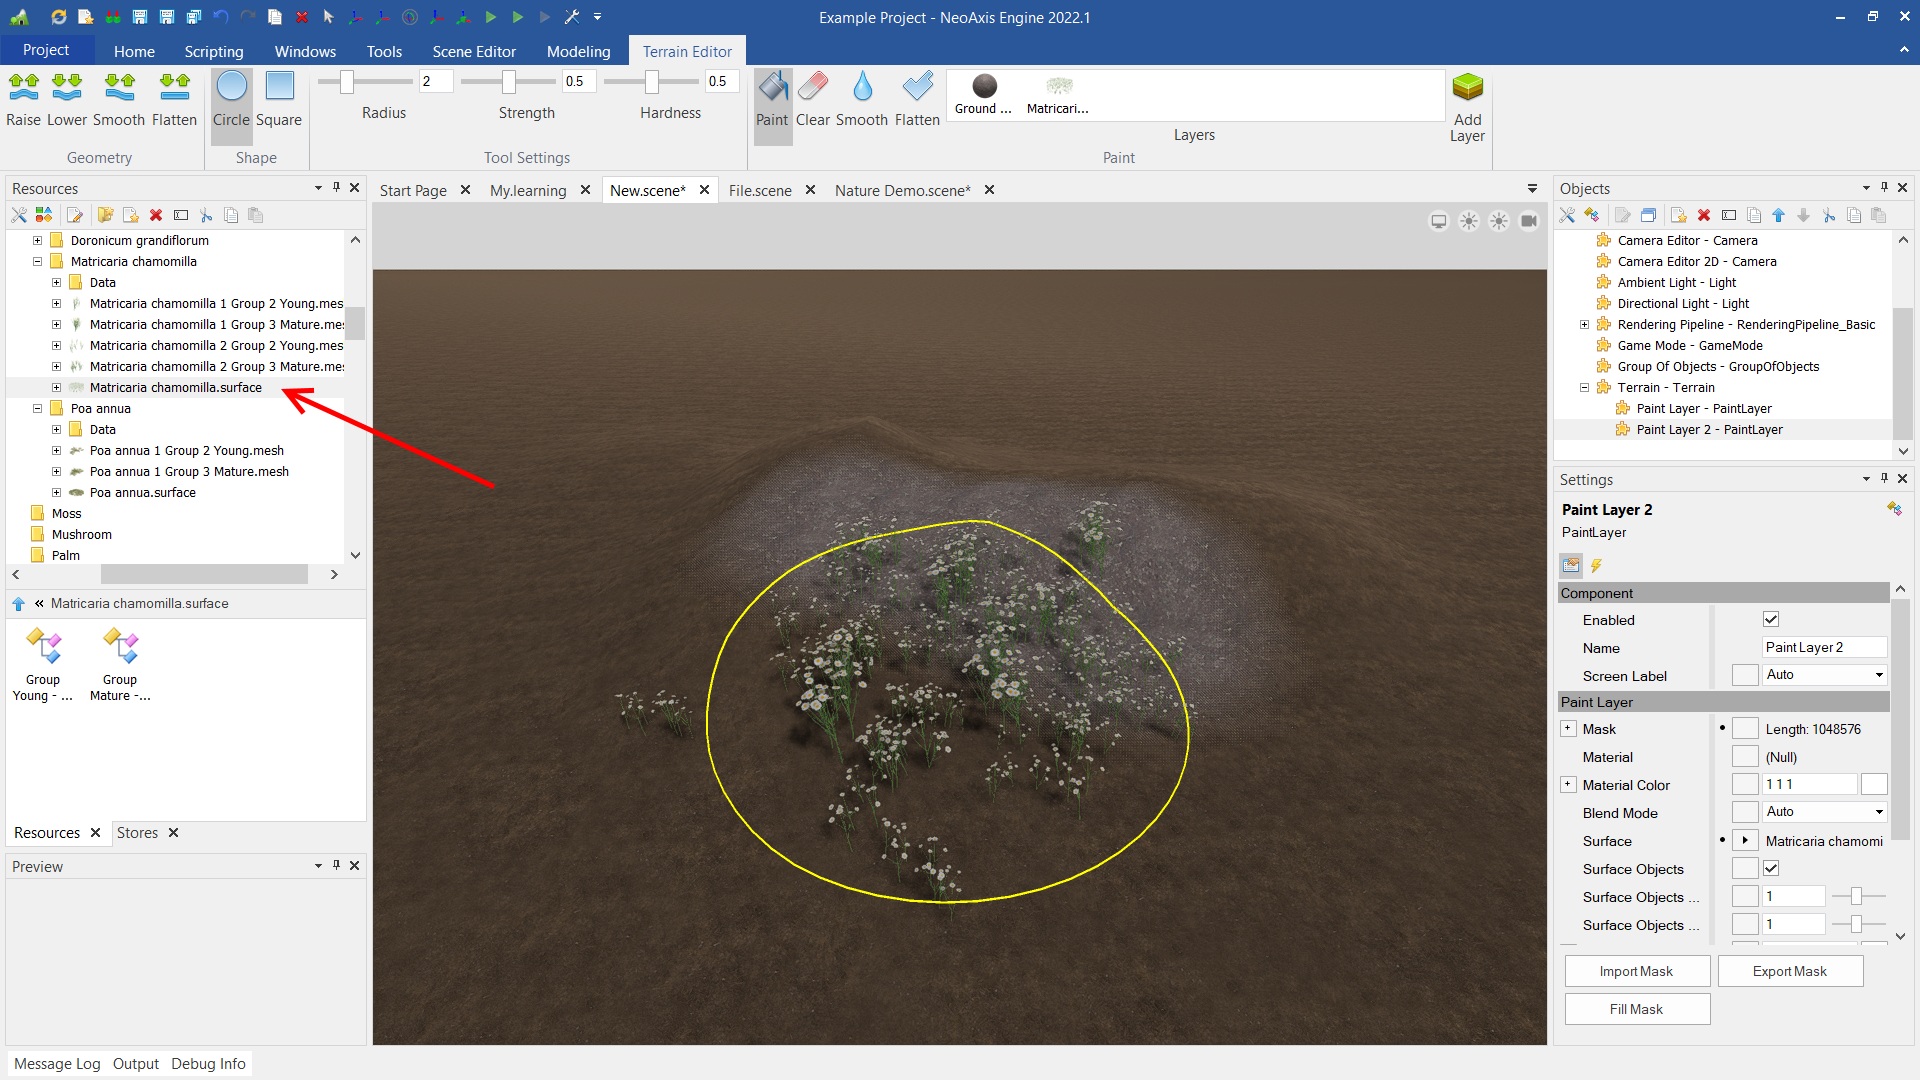
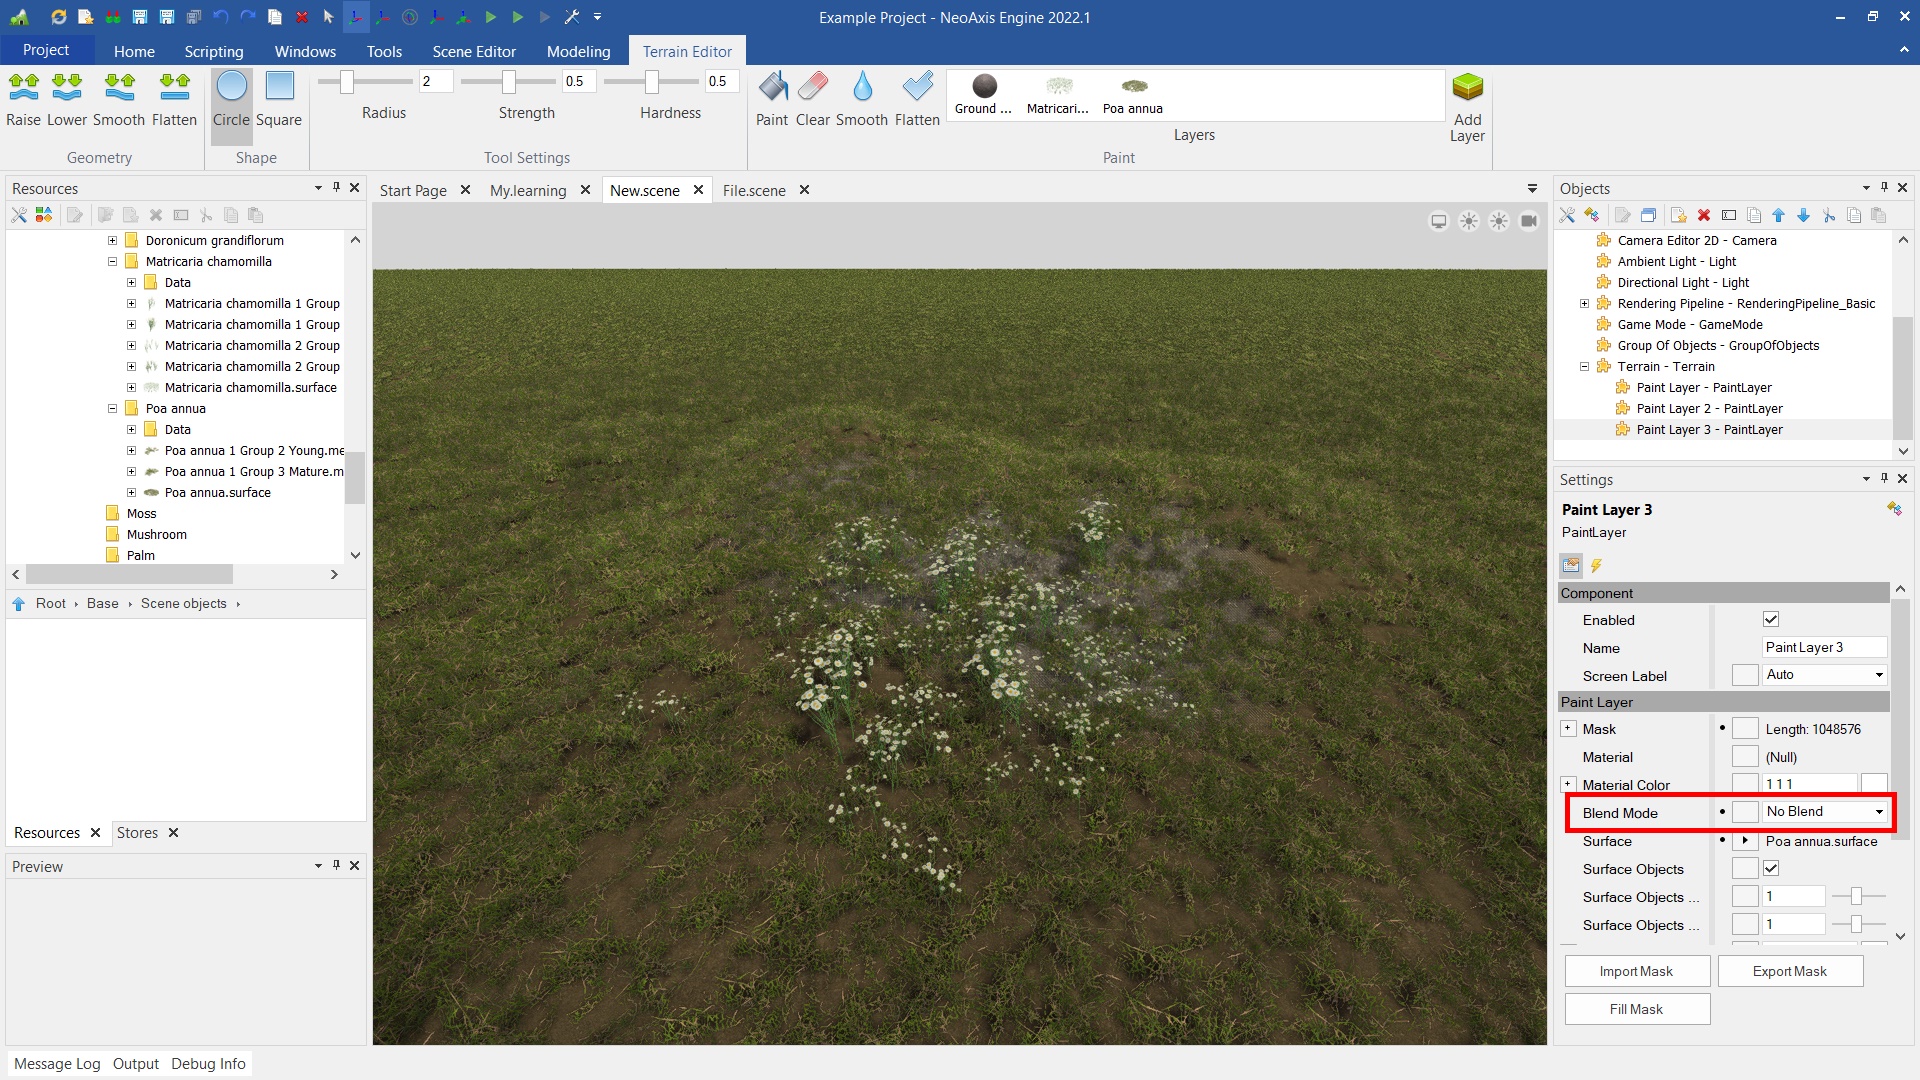
You can paint not only materials. NeoAxis Engine supports special Surface type to make geometry surfaces not just with material, but with additional 3D models.
You can add a layer manually, for example for automatic fill the mask or import the mask.
| Name | Description |
|---|---|
 | Adds a paint layer. |
Next, specify a material of the layer by means of configuring Material property. Also, you can configure Surface.
Fill the mask by means 'Fill Mask' button.
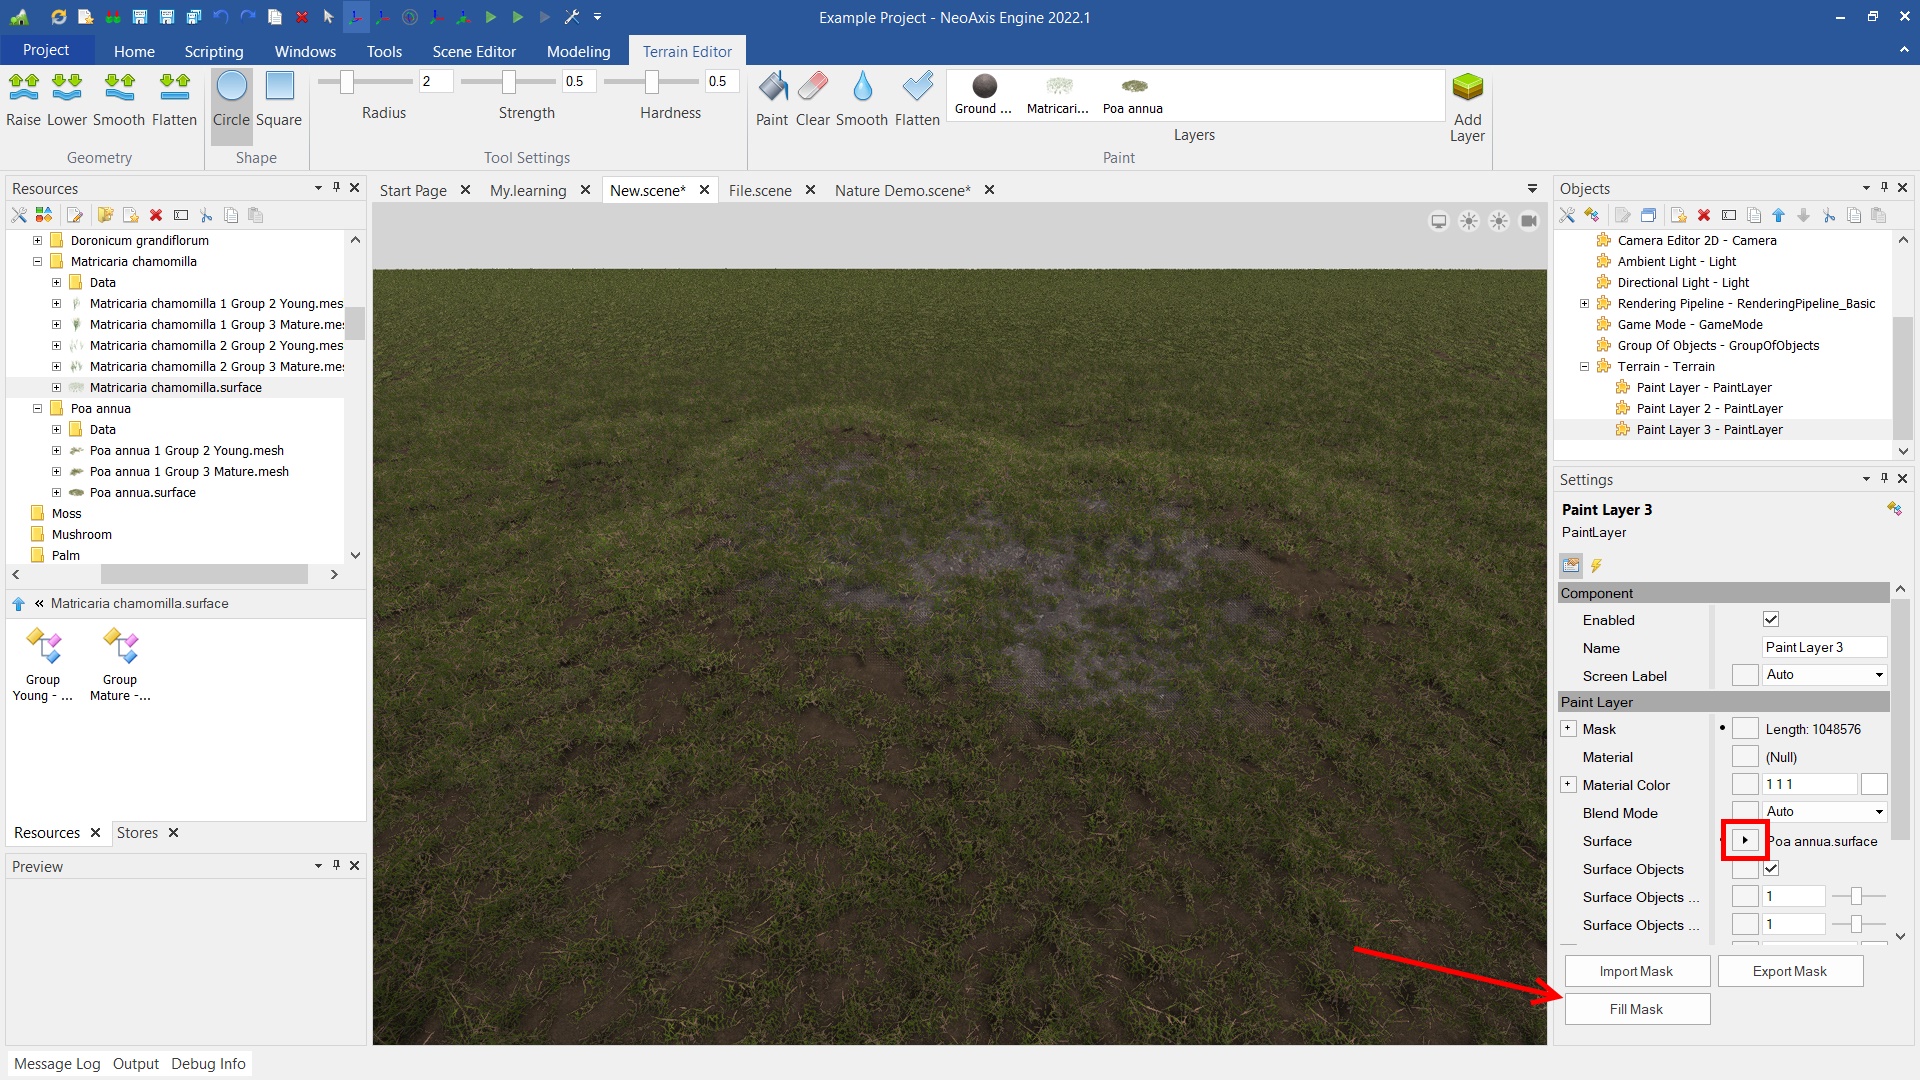
Also, to blend several layers, you can configure 'Blend Mode' parameter. When using surfaces 'No Blend' value is useful.
The object supports the cutting holes on the surface. The holes can be of arbitrary shapes.
To customize cutouts, use the Holes property. A property is a list of objects in a scene that serve as cutout shapes. In order to configure a property, you need to expand it using the '+' button, specify the Count property and configure list items. For the changes to take effect, you need to click the Update button, which is located under the properties.

In order to see the changes, you need to hide the form objects using the Visible property.
Final view:
Surface geometry:
You can export and import a heightmap of the terrain, use additional buttons under properties. Supported formats are L8 and R8G8B8.
| Name | Description |
|---|---|
| Position | The position of the object in the scene. |
| Horizontal Size | The size along the axes X and Y. |
| Heightmap Size | The resolution of the height map. |
| Holes | The list of objects that are shapes for cutting holes. |
| Holes Enabled | Whether to enable holes. |
| Visible | Whether the object is visible in the scene. |
| Material | Base material of a terrain. |
| Material UV0 | The number of UV tiles per unit for texture coordinates 0. |
| Material UV1 | The number of UV tiles per unit for texture coordinates 1. |
| Material UVCurvature Intensity | The intensity of the curvature in the calculation of texture coordinates. The curvature is intended to reduce the tiling effect. |
| Material UVCurvature Frequency | The frequency of the curvature in the calculation of texture coordinates. The randomness is intended to reduce the tiling effect. |
| Material Color | The base color multiplier for base material. |
| Paint Mask Size | Resolution of the paint masks of the layers. |
| Cast Shadows | Whether to cast shadows on the other surfaces. |
| Receive Decals | Whether it is possible to apply decals on the surface. |
| Surface | Base surface of the terrain. |
| Surface Objects | Whether to create objects of the base surface. |
| Surface Objects Distribution | The scale the distribution of base surface objects. |
| Surface Objects Scale | The scale of base surface objects size. |
| Surface Objects Color | The base color multiplier for objects of base surface. |
| Surface Objects Visibility Distance Factor | The factor of maximum visibility distance for objects of base surface. The maximum distance is calculated based on the size of the object on the screen. |
| Surface Objects Cast Shadows | Whether to cast shadows on the other surfaces for objects of base surface. |
| Surface Objects Collision | Whether to enable a collision detection. A collision definition of the mesh is used. |
| Motion Blur Factor | The multiplier of the motion blur effect. |
| Collision | Whether to have a collision body. |
| Collision Material | The physical material used by the rigid body. |
| Collision Friction | The amount of friction applied on the rigid body. |
| Collision Restitution | The ratio of the final relative velocity to initial relative velocity of the rigid body after collision. |
| Tile Size | The size of internal tile cells. These cells divide the entire geometry of the landscape into pieces. |
| LODEnabled | Whether to enable level of detail. |
| LODDistance | The distance from the previous to the next level of detail. |
| Precalculate Objects | Whether to precalculate data of objects from layers in the simulation. When the property is disabled, the objects will calculate when it needed and destroyed after 10 seconds when are not visible by the camera. |
| Occluder | Whether to object should be used as an occluder for occlusion culling. |
| Debug Draw Surface Objects Bounds | Whether to visualize the bounds of groups for objects created by surfaces. |