Material Editor |
Material Editor
Material editor is designed for material customization. When used for 3D or 2D objects, materials determine how the surface of these objects will interact with lighting.
A new material can be created as a separate resource or inside an existing object, for example inside the scene. Basic way to create materials and other resources is using New button in the Ribbon.
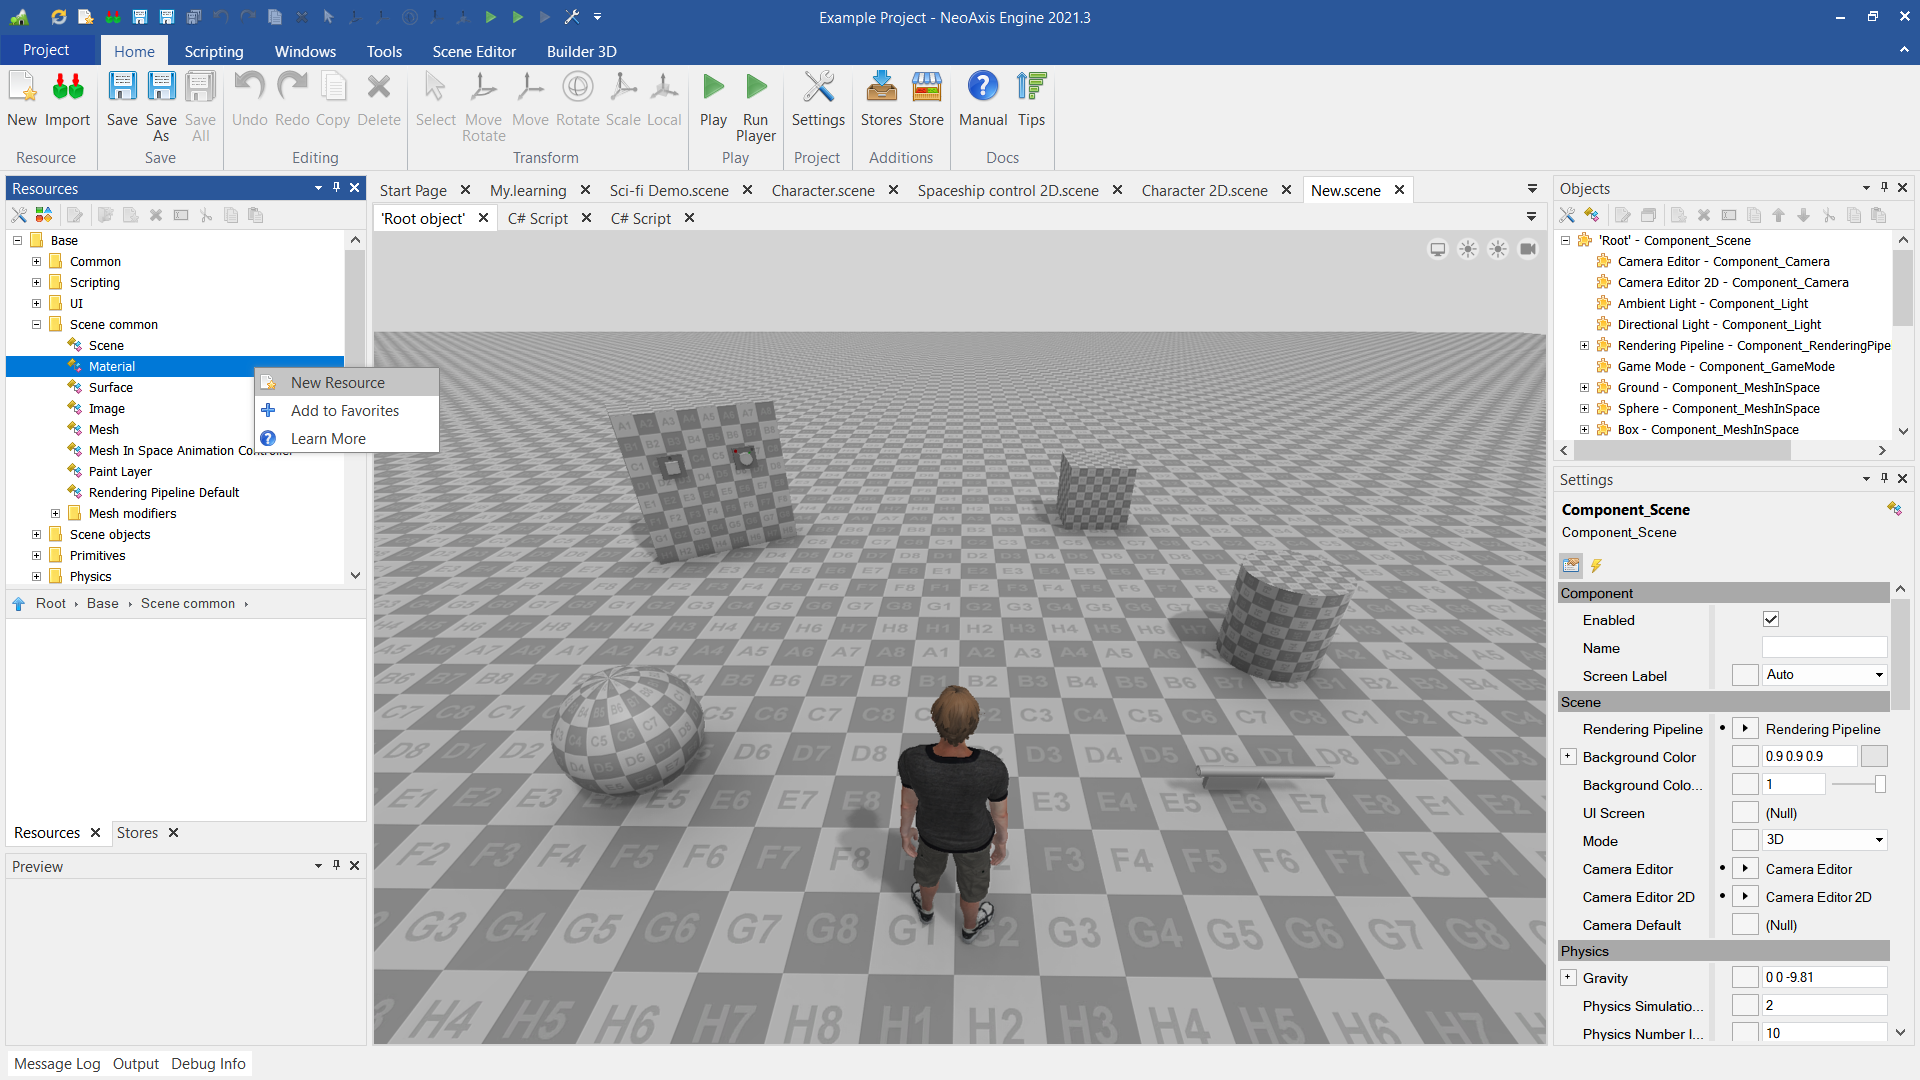
Another way is to create material using the context menu in the Resources Window. You need to open the context menu on the 'Base\Scene common\Material', select 'New Resource'.
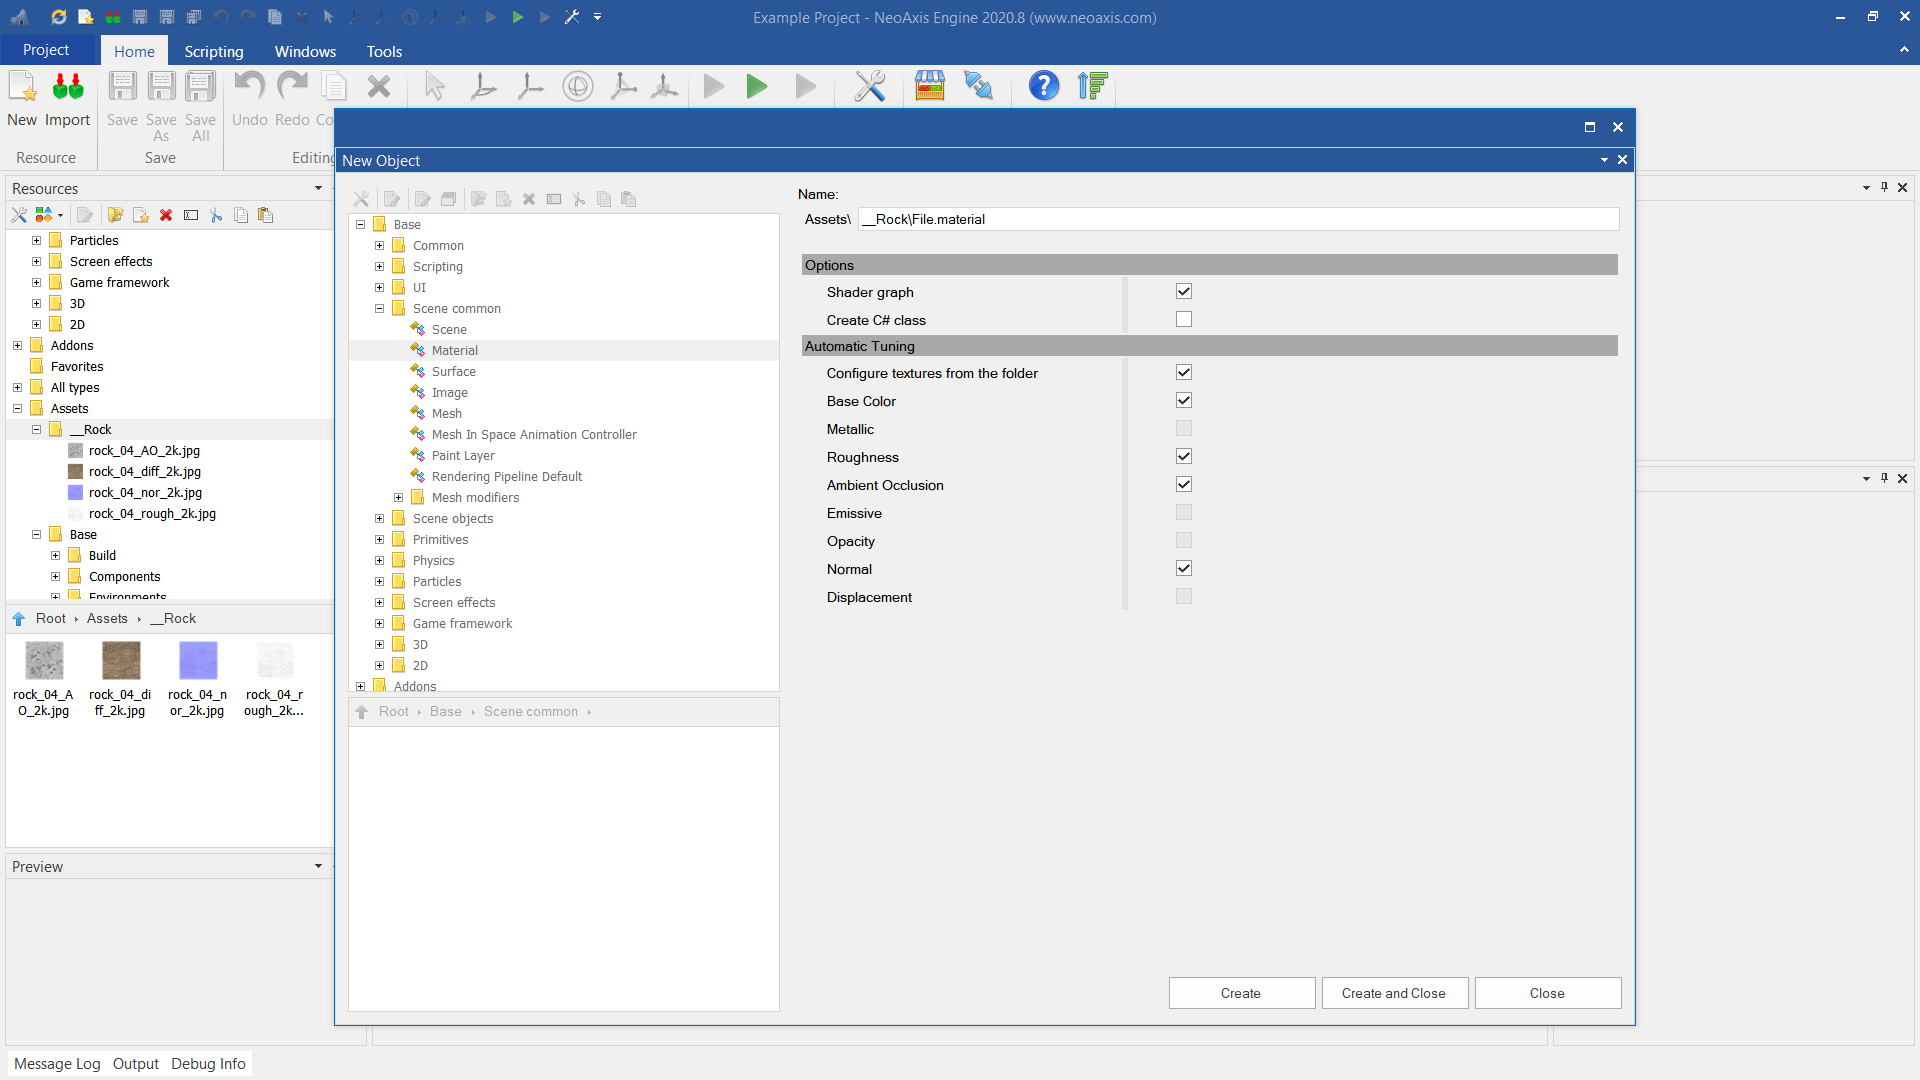
A window for creating an object will appear. It basically needs to specify a file name. There are also additional parameters that for starters are easier to use default values.
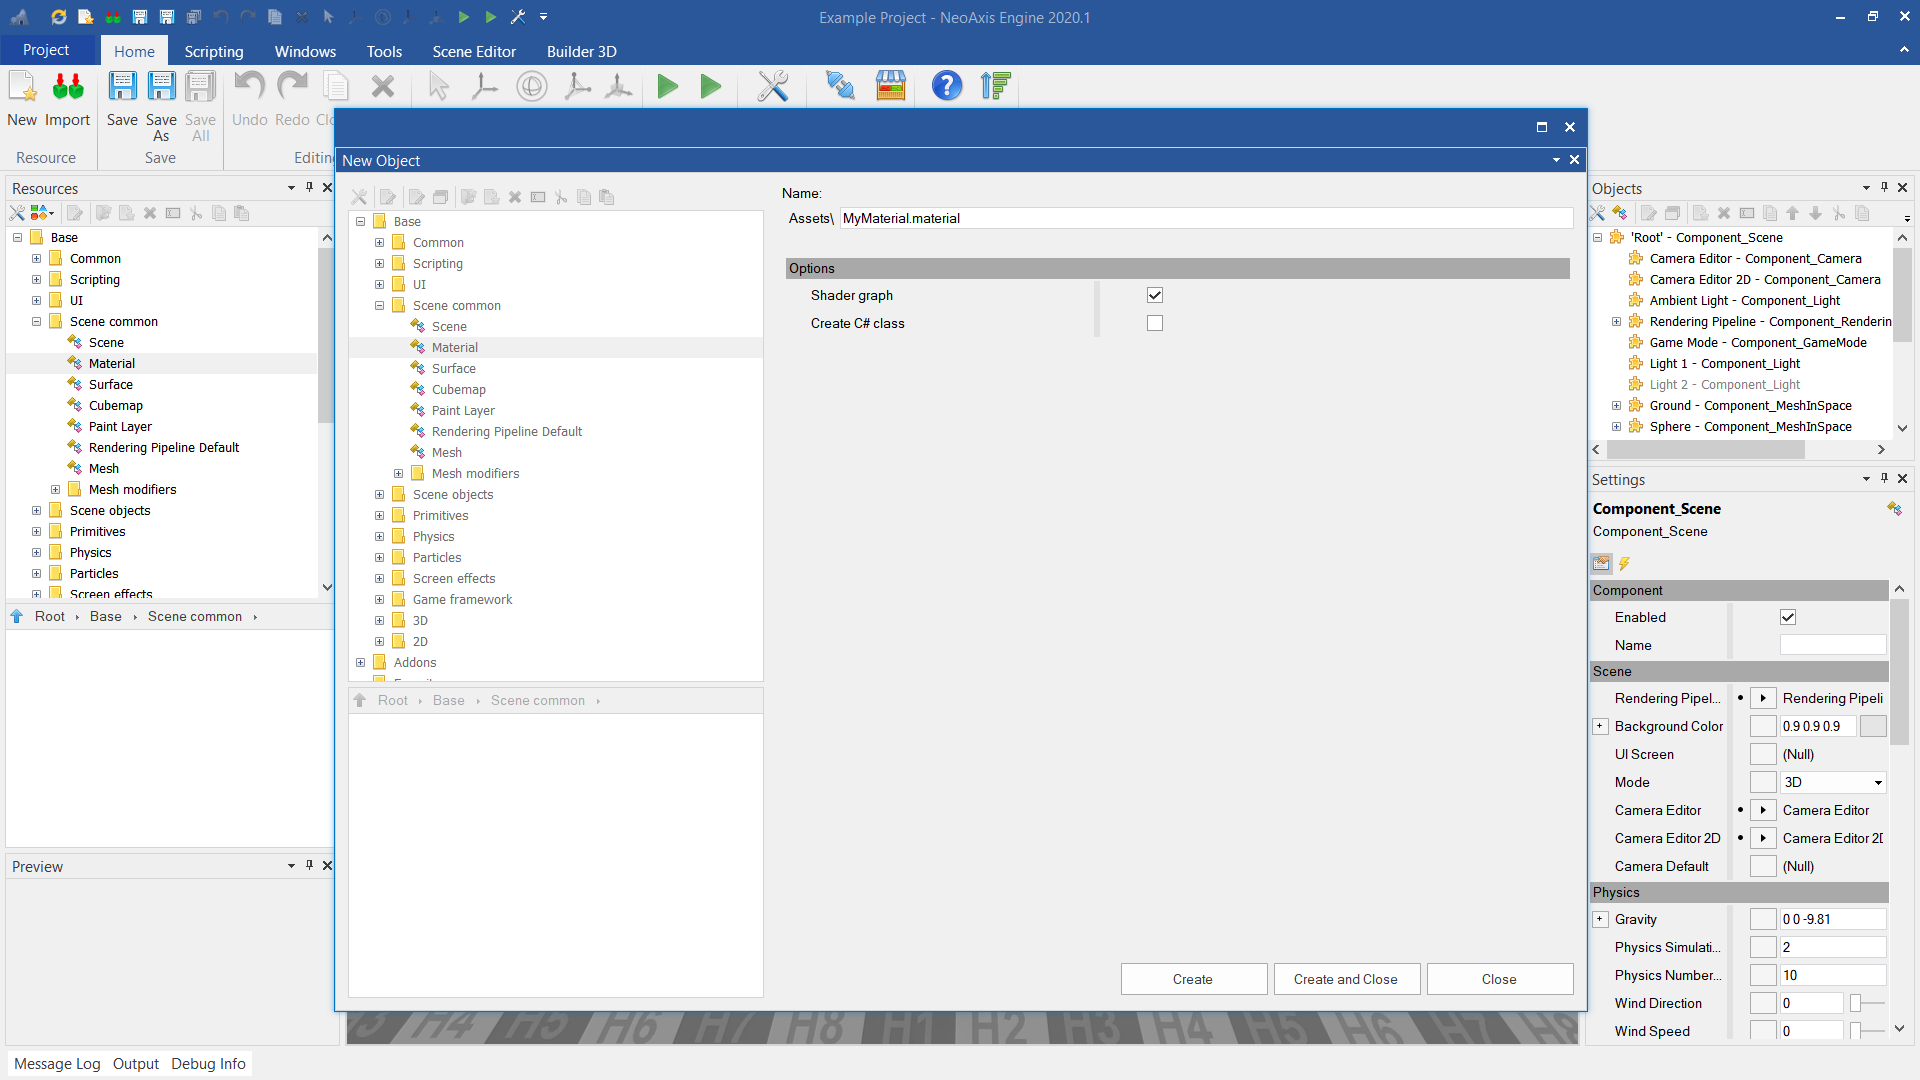
Next, click 'Create and Close' to finish creation.
Materials, like any other engine components, can be created inside other components. For example, a material can create inside a scene or inside a scene object. Read more about creating resources.
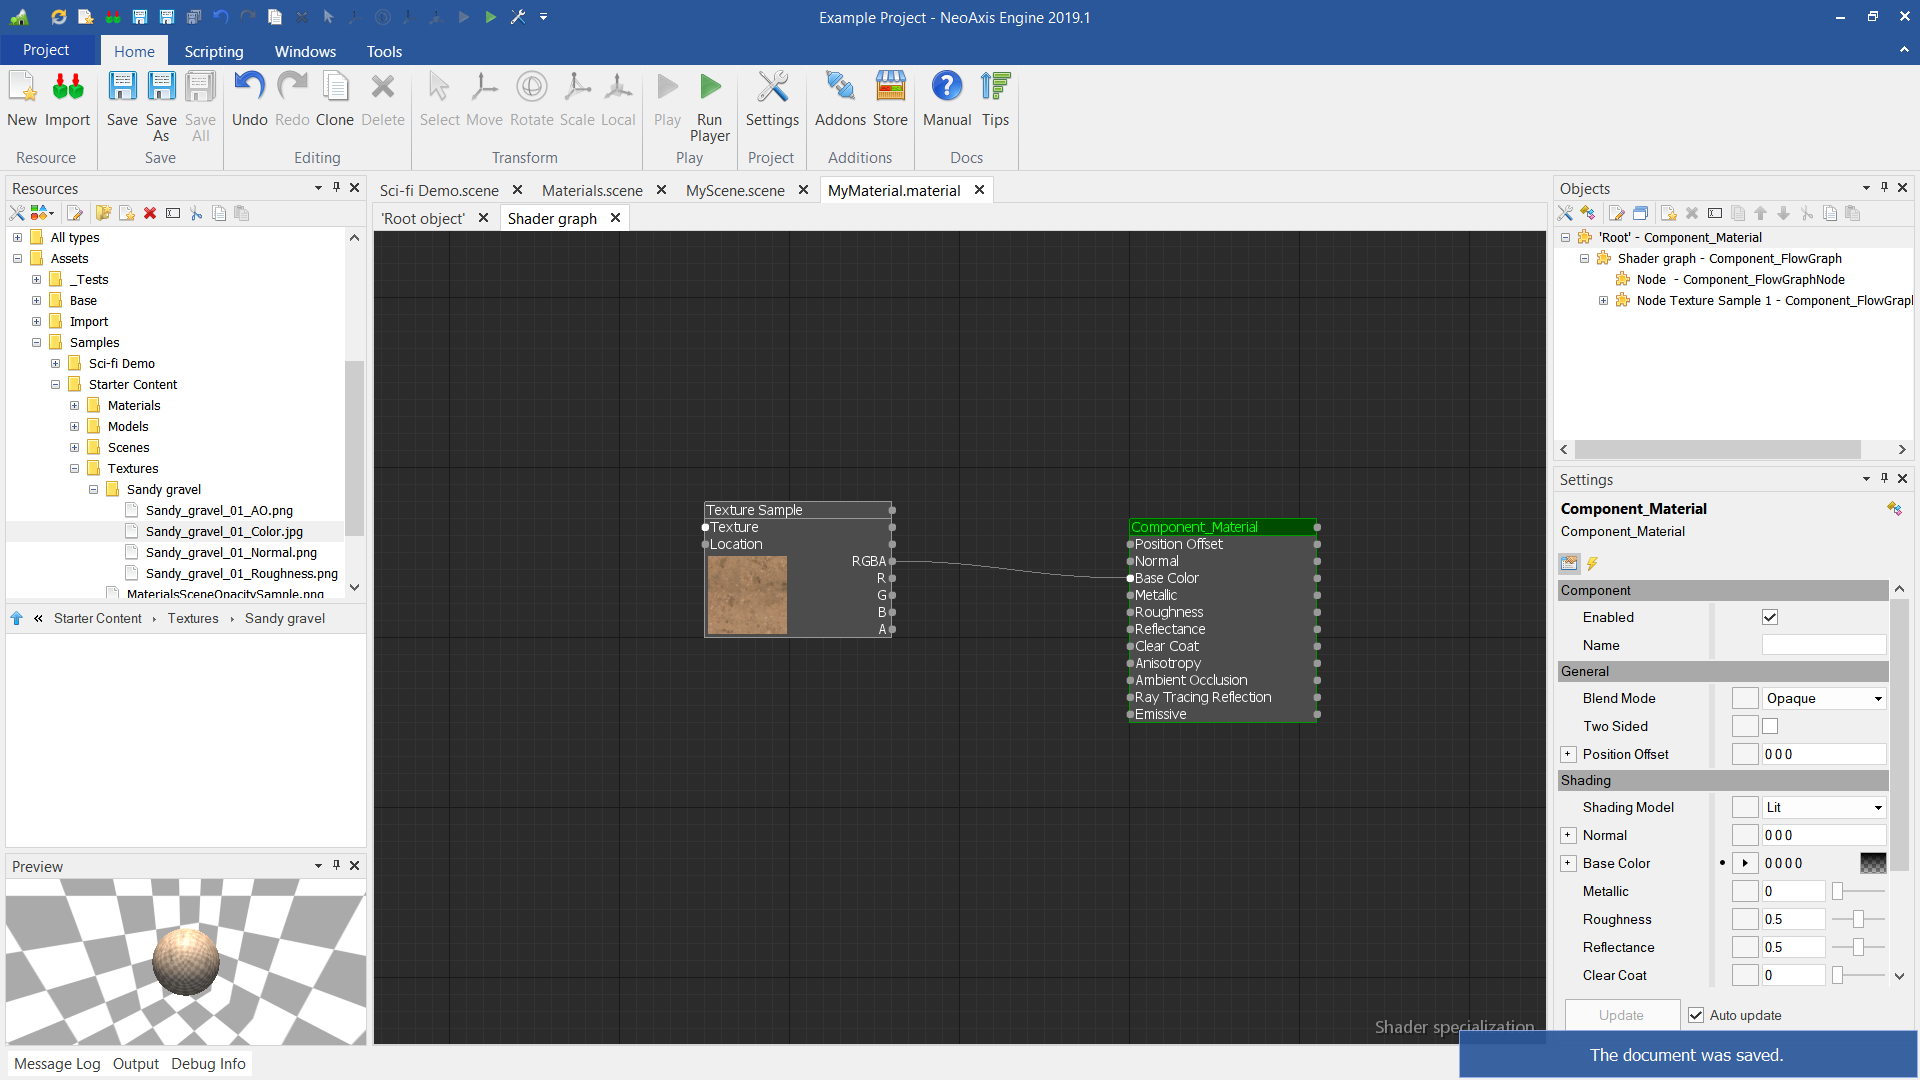
When creating a material, you can use the automatic tuning for textures. When creating a material, textures in the creating folder are connected automatically. The editor tries to find suitable textures in a folder by determining the type of textures by their names.
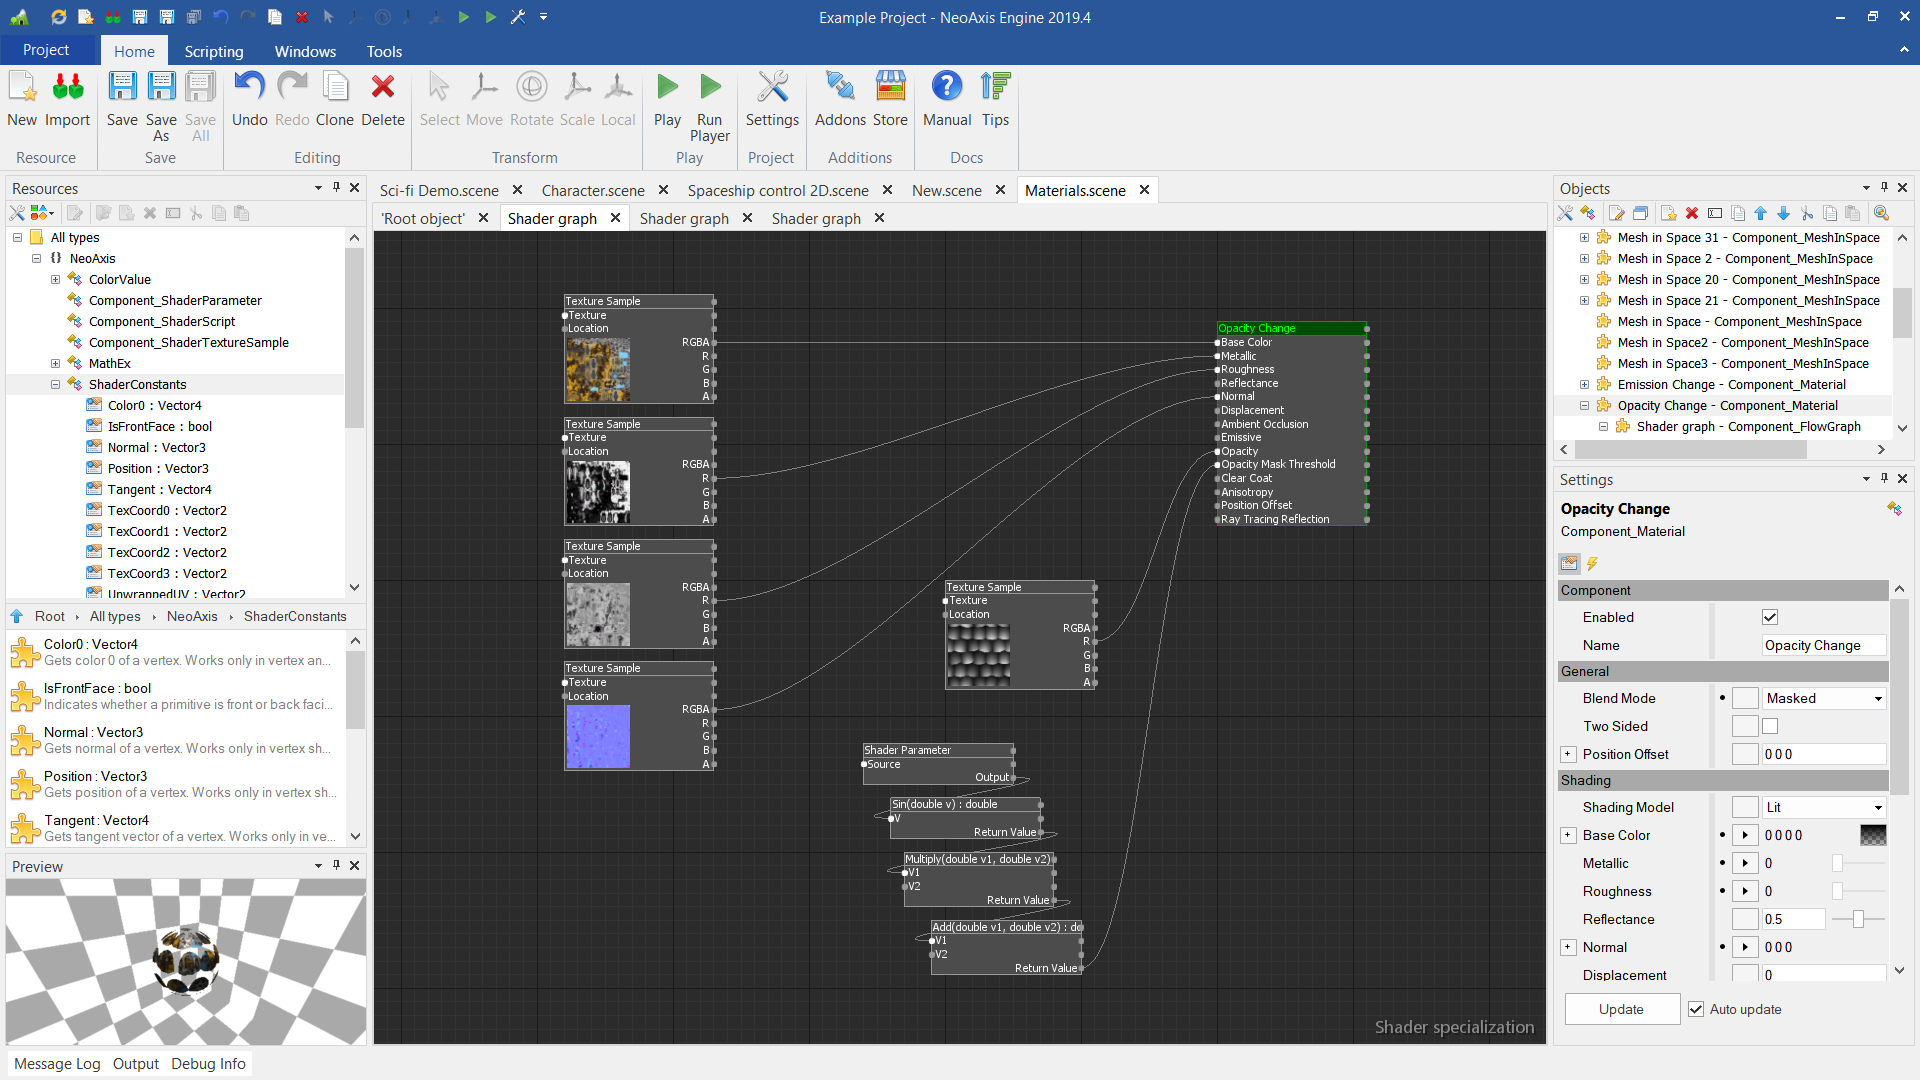
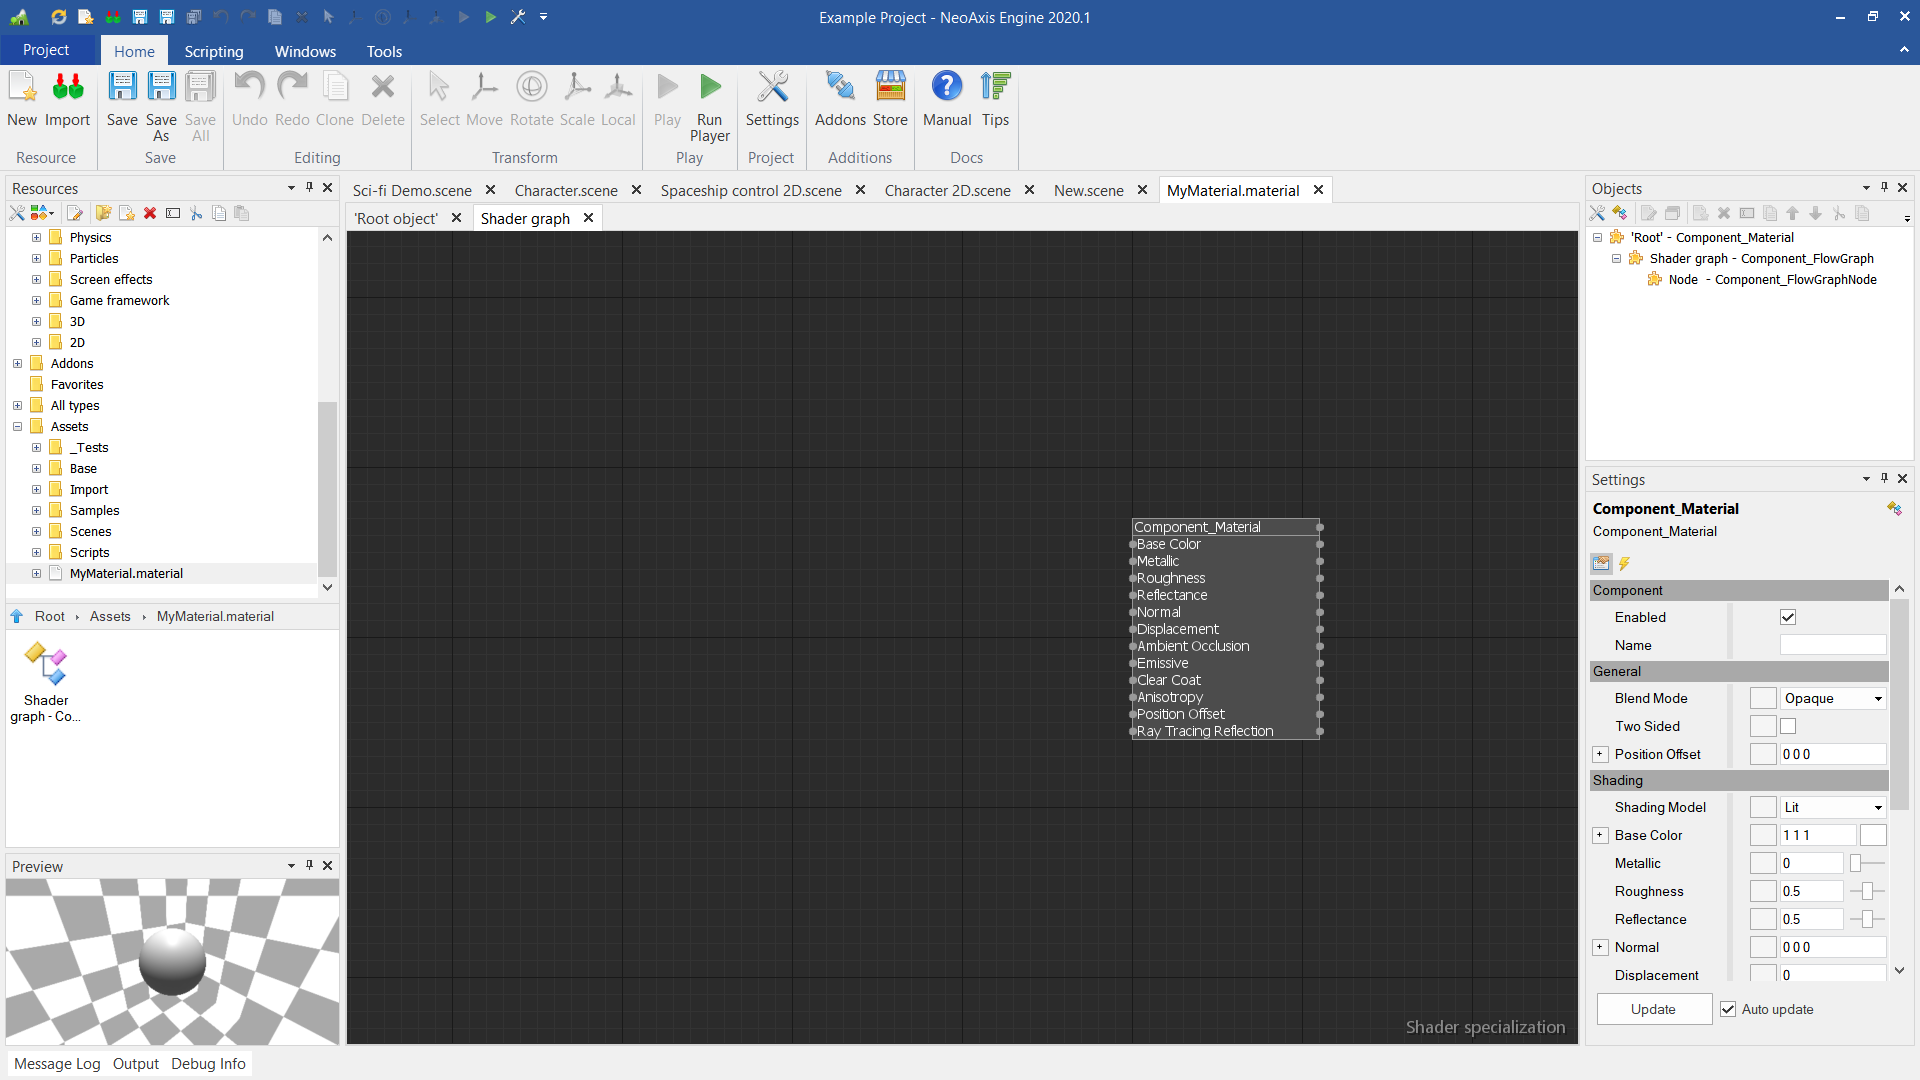
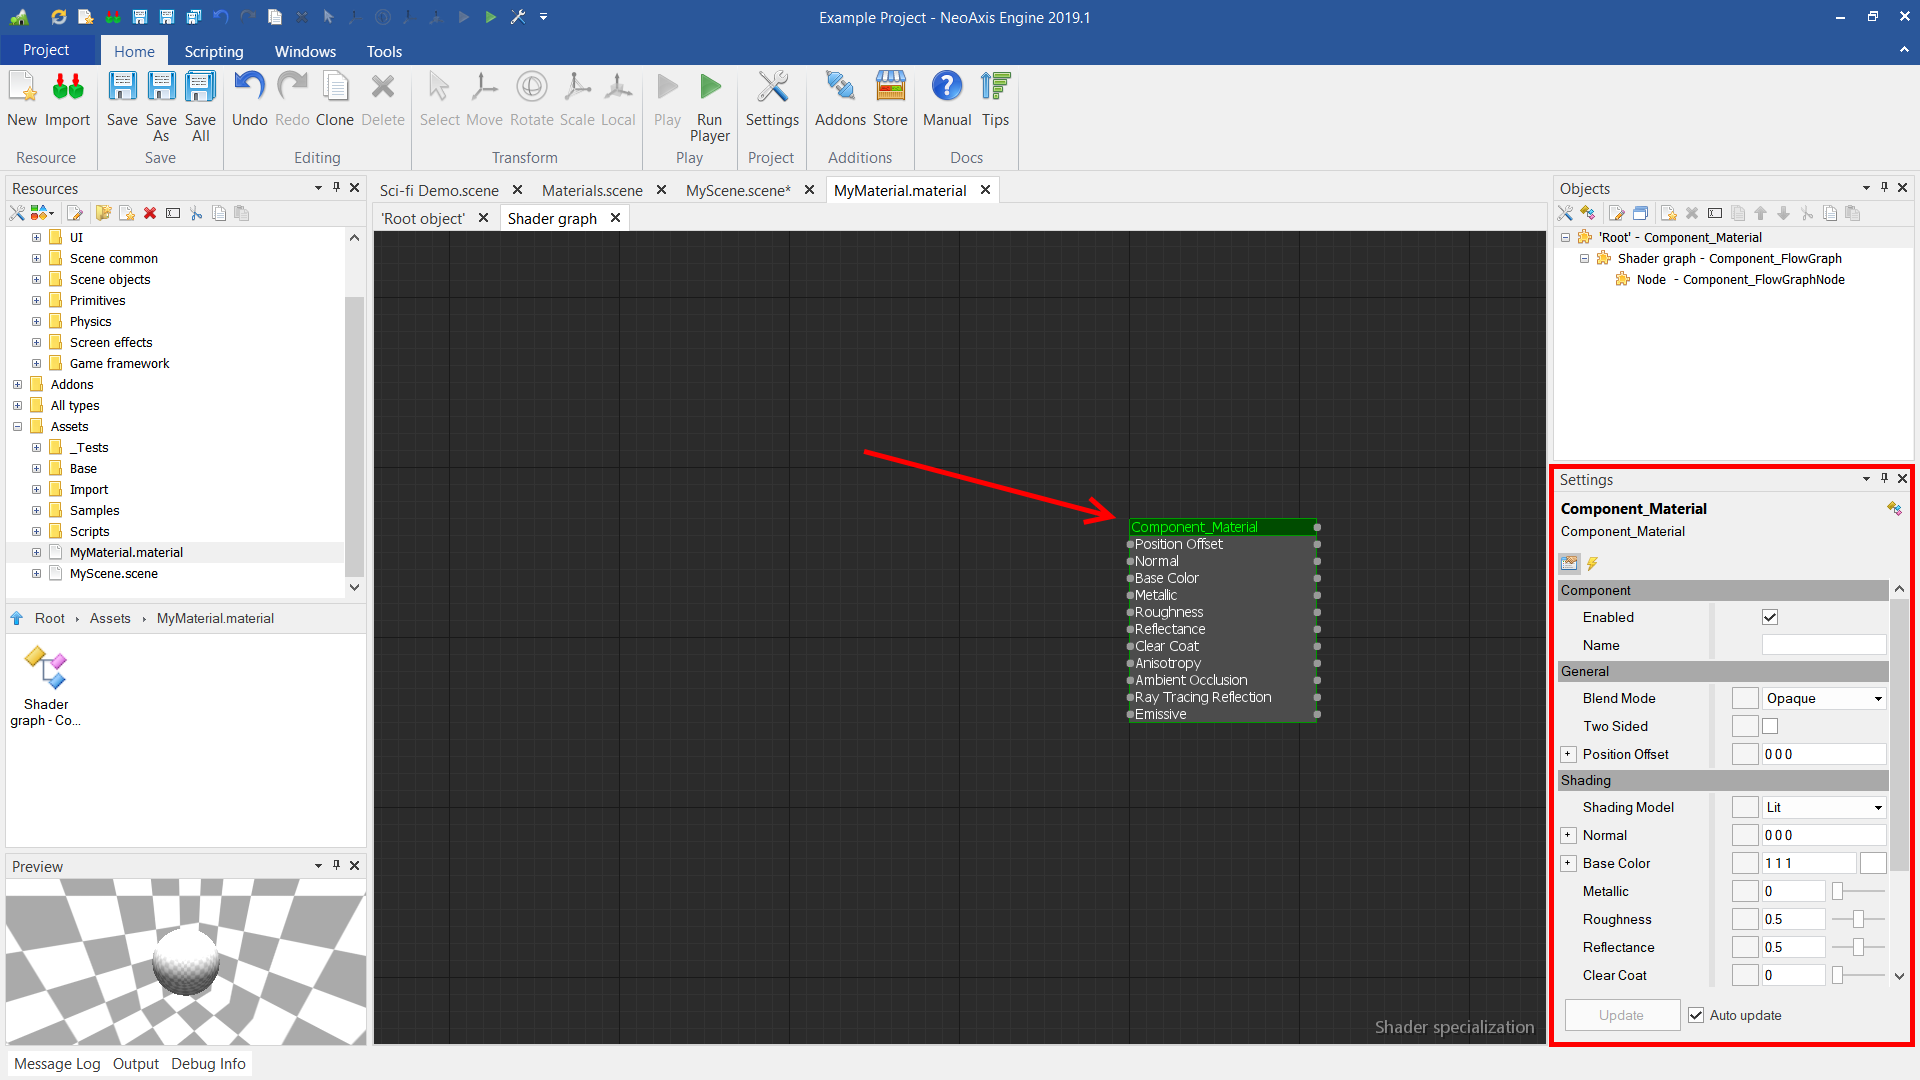
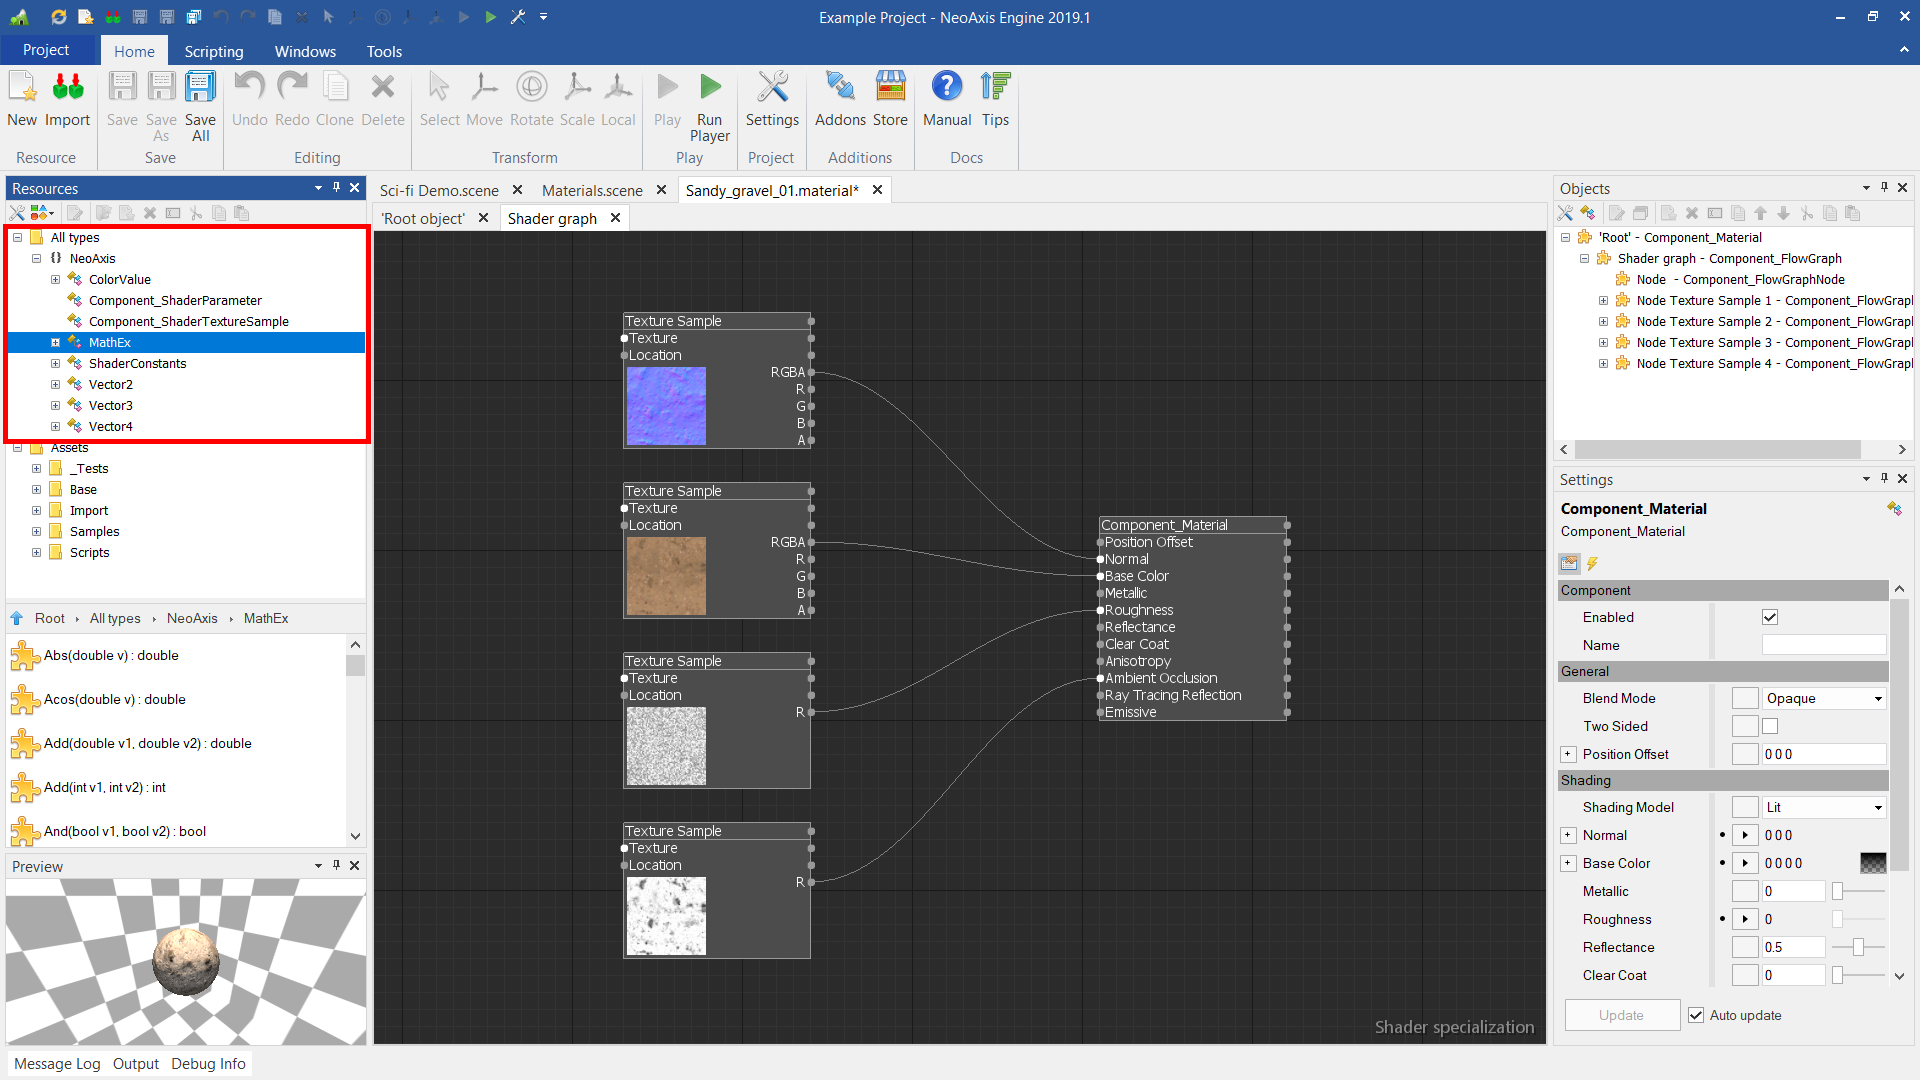
By default, when material is created, a new 'Shader graph' nested component is added. This component is a Flow Graph, and designed for setting up textures of material, and specifying how do those mix up. On the screenshot below, two tabs are opened in the 'MyMaterial.material' document. The first one 'Root object' is a material object, the second 'Shader graph' is a Flow Graph.
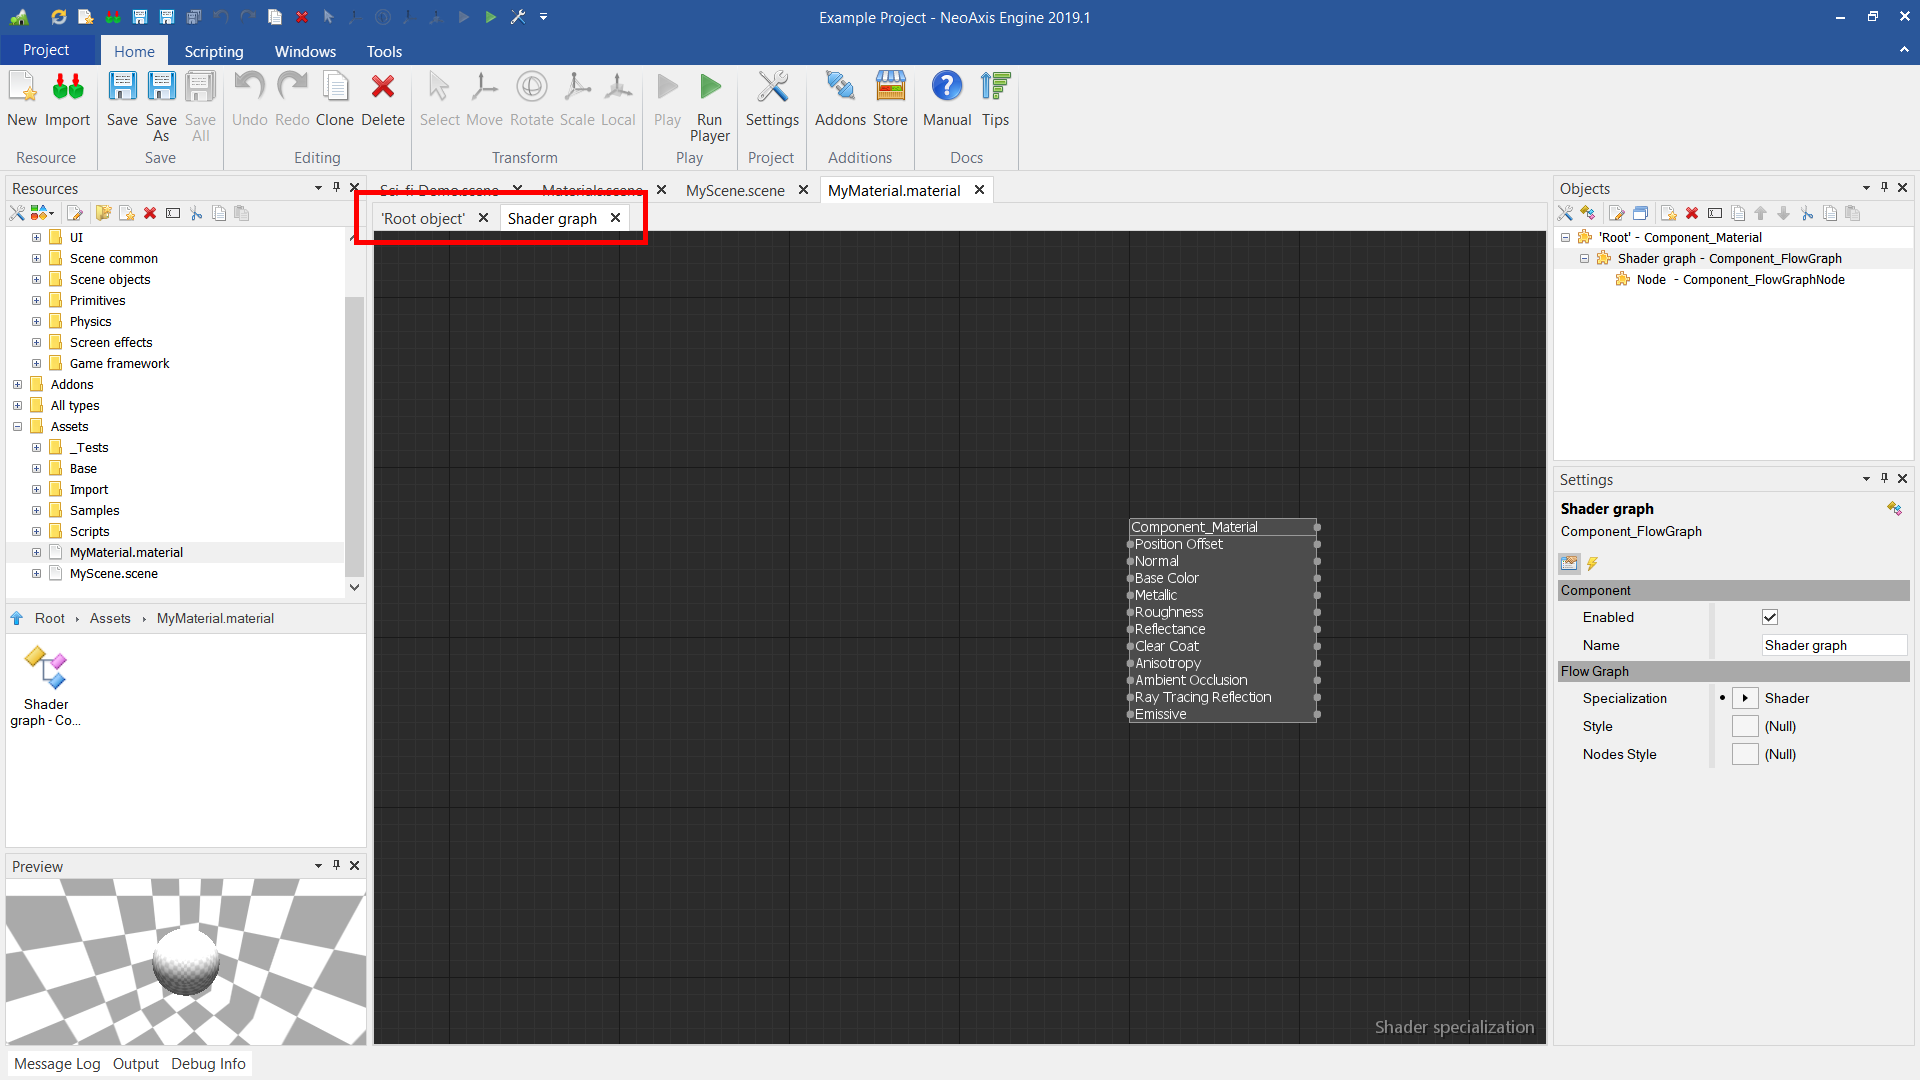
To edit material parameters, one needs to click on the material node title.
Learn more about material parameters by the link.
| Name | Description |
|---|---|
| Blend Mode | Defines how/if the rendered object is blended with the content of the render target. |
| Two Sided | Whether the material use double-sided rendering. |
| Two Sided Flip Normals | Whether the double-sided material must flip normals for back faces rendering. |
| Shading Model | The reflection mode of the incoming light. |
| Base Color | Diffuse albedo for non-metallic surfaces, and specular color for metallic surfaces. |
| Metallic | Whether a surface appears to be dielectric (0.0) or conductor (1.0). Often used as a binary value (0 or 1). |
| Roughness | Perceived smoothness (1.0) or roughness (0.0) of a surface. Smooth surfaces exhibit sharp reflections. |
| Reflectance | Fresnel reflectance at normal incidence for dielectric surfaces. This directly controls the strength of the reflections. |
| Normal | The material normals. This property is intented to be used with normal mapping. |
| Displacement | The height offset that is specified by the texture. |
| Displacement Scale | The scale for Displacement. |
| Ambient Occlusion | Defines how much of the light is accessible to a surface point. |
| Emissive | The color and intensity of light emitted from the surface. |
| Opacity | The opacity of the surface. |
| Opacity Dithering | Whether to enable dithering for smooth blending of Masked material. |
| Opacity Mask Threshold | Transparency threshold for Masked mode. |
| Clear Coat | Strength of the clear coat layer. |
| Clear Coat Roughness | Perceived smoothness or roughness of the clear coat layer. |
| Clear Coat Normal | A detail normal used to perturb the clear coat layer using bump mapping (normal mapping). |
| Anisotropy | Amount of anisotropy. |
| Anisotropy Direction | Local surface direction. Used by anisotropic materials only. |
| Anisotropy Direction Basis | The direction basis. Used by anisotropic materials only. |
| Thickness | A thickness factor of the surface for subsurface scattering rendering. |
| Subsurface Power | A power parameter for subsurface scattering rendering. |
| Sheen Color | Specular tint to create two-tone specular fabrics. |
| Subsurface Color | Tint for the diffuse color after scattering and absorption through the material. |
| Position Offset | Vertices position offset. Performed in vertex shader. |
| Ray Tracing Reflection | Amount of ray-tracing reflection. Used as option to use screen space or raytracing reflection technique. |
| Receive Shadows | Whether the surface receive shadows from other sources. |
| Receive Decals | Whether it is possible to apply decals on the surface. |
| Use Vertex Color | Whether to use vertex color for Base Color and Opacity calculation. |
| Soft Particles | Whether to enable a soft particles mode. In this mode, objects increase transparency in those places behind which there is an obstacle nearby. The mode works only for transparent materials. |
| Soft Particles Distance | A minimal distance to an obstacle to activate the soft particles mode. |
| Depth Offset Mode | The depth offset mode gives the ability to change output depth in the fragment shader. Works only for deferred shading. |
| Depth Offset | The depth offset value. Limitation: You can specify the value by means additional block in shader graph, but can't set value in this property. |
| Advanced Blending | Enables advanced blending mode. In this mode, it is possible to configure blending for each channel separately. |
| Affect Base Color | Whether to write the Base Color. |
| Affect Metallic | Whether to write the Metallic. |
| Affect Roughness | Whether to write the Roughness. |
| Affect Reflectance | Whether to write the Reflectance. |
| Affect Ambient Occlusion | Whether to write the Ambient Occlusion. |
| Affect Emissive | Whether to write the Emissive. |
| Affect Geometry | Whether to write the normals, height data. |
| Advanced Scripting | Whether to enable the advanced shader scripting functionality. |
| Vertex Functions | Additional functions to the vertex shader code. |
| Vertex Code | The injection to the vertex shader code. |
| Fragment Functions | Additional functions to the fragment shader code. |
| Fragment Code | The injection to the fragment shader code. |
| Custom Parameter1 | The parameter is intended to transfer custom data to shader scripts. |
| Custom Parameter2 | The parameter is intended to transfer custom data to shader scripts. |
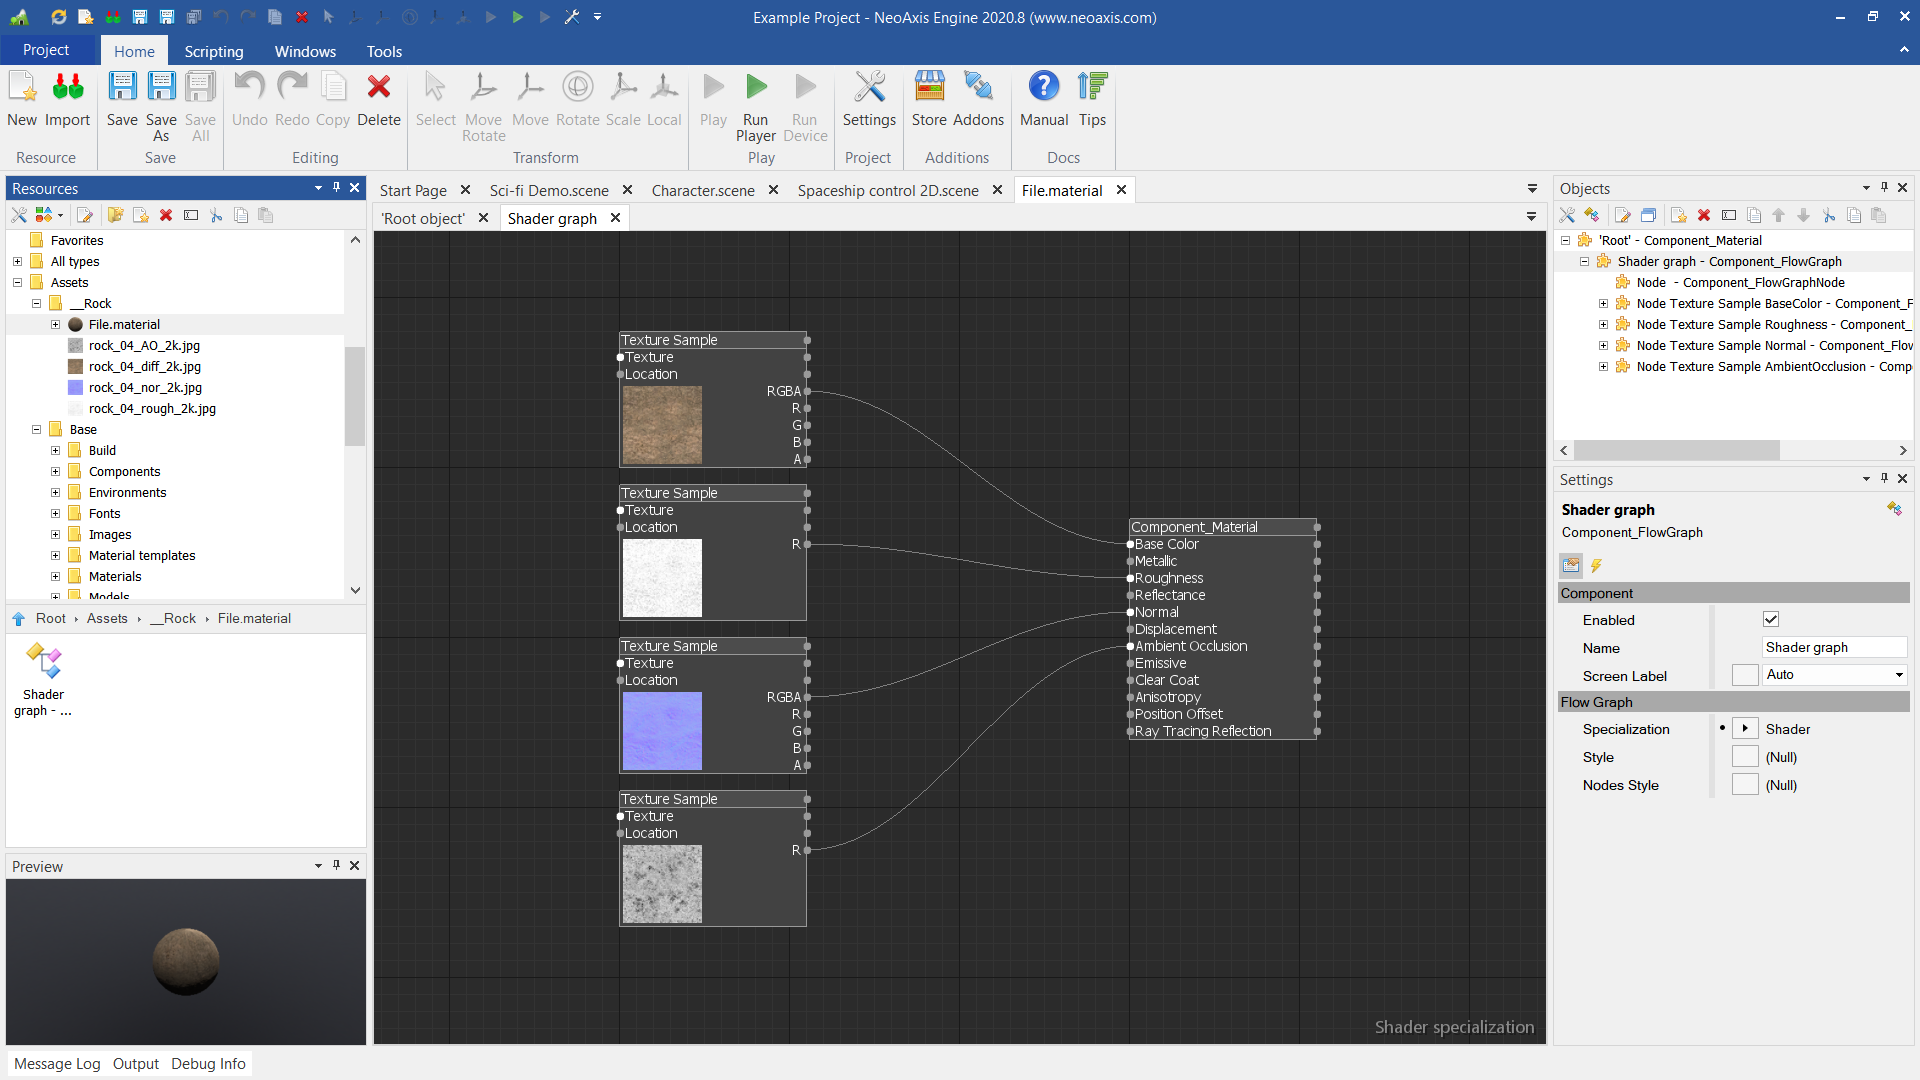
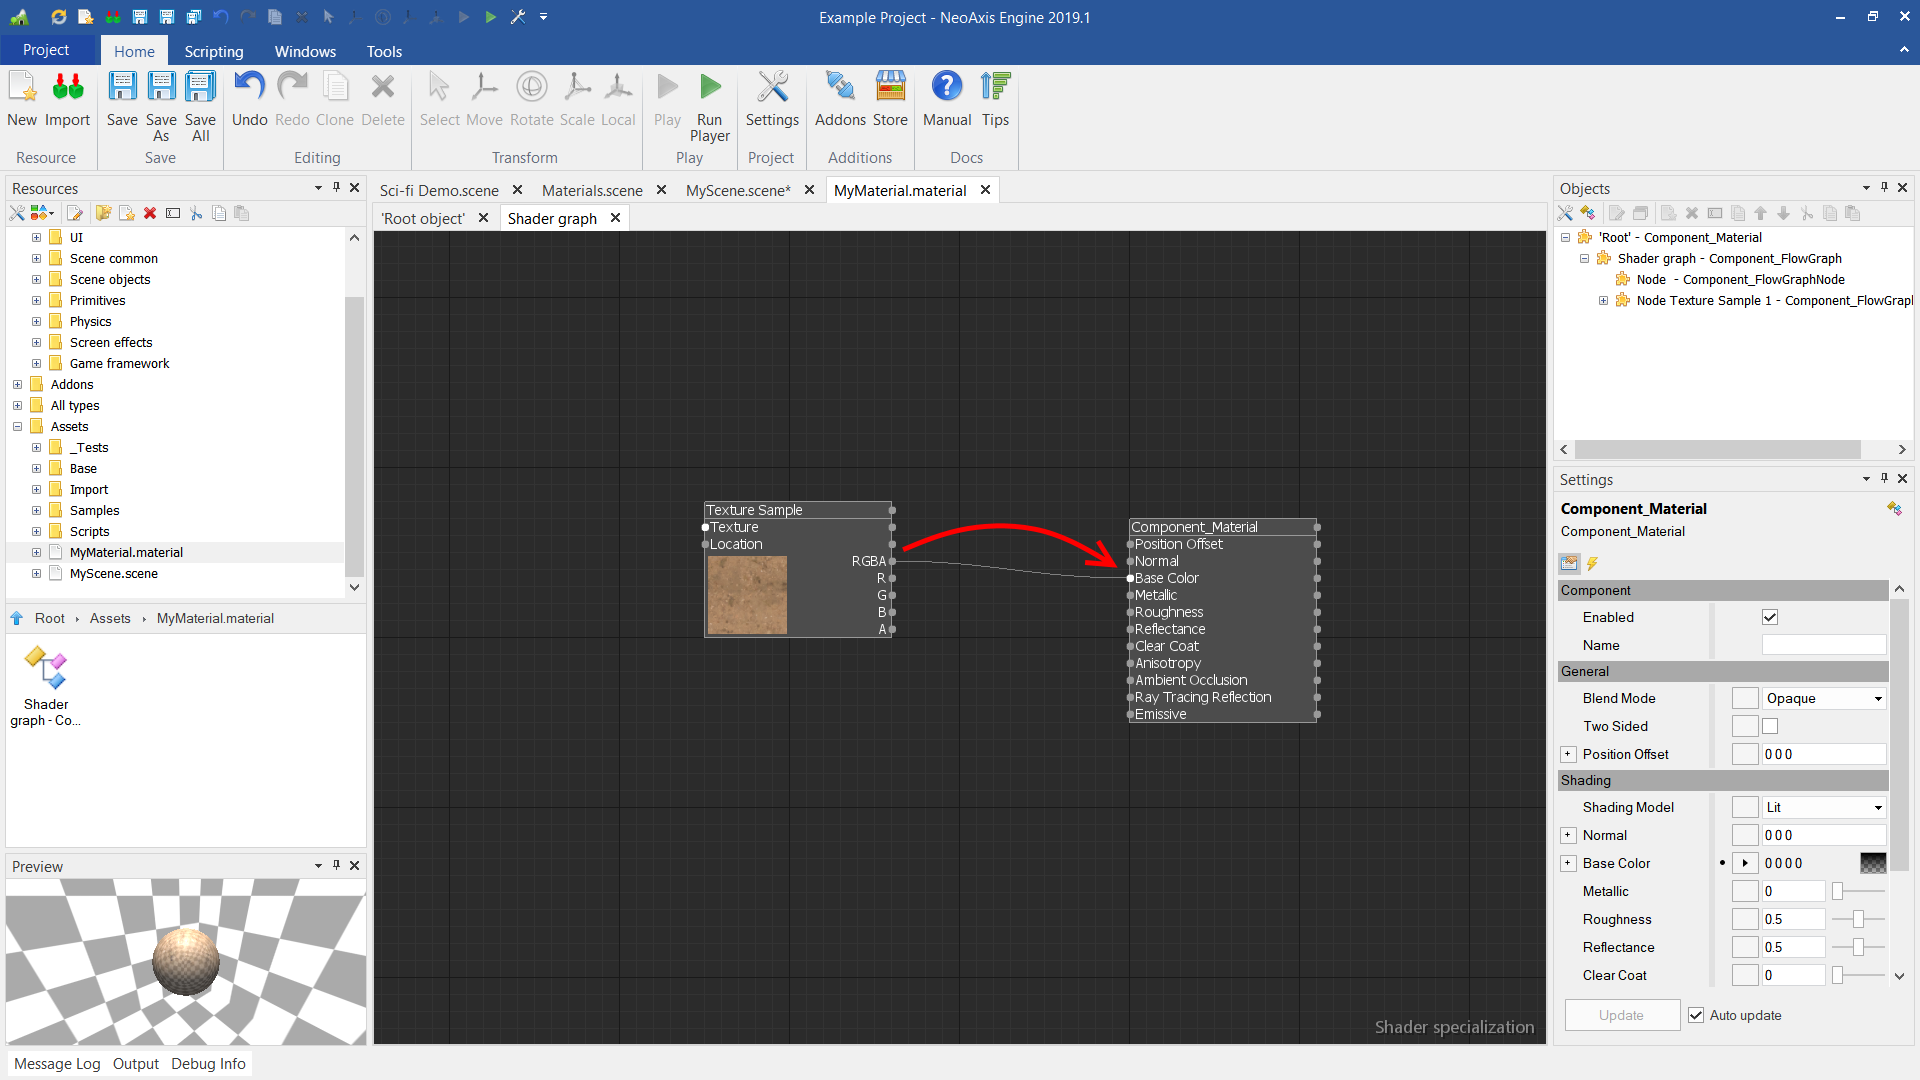
In order to bind a texture to specific material parameter, one needs to do two things. First one should find texture in resources, and drag it to graph editor. As a result, the texture will appear as a node of the graph.
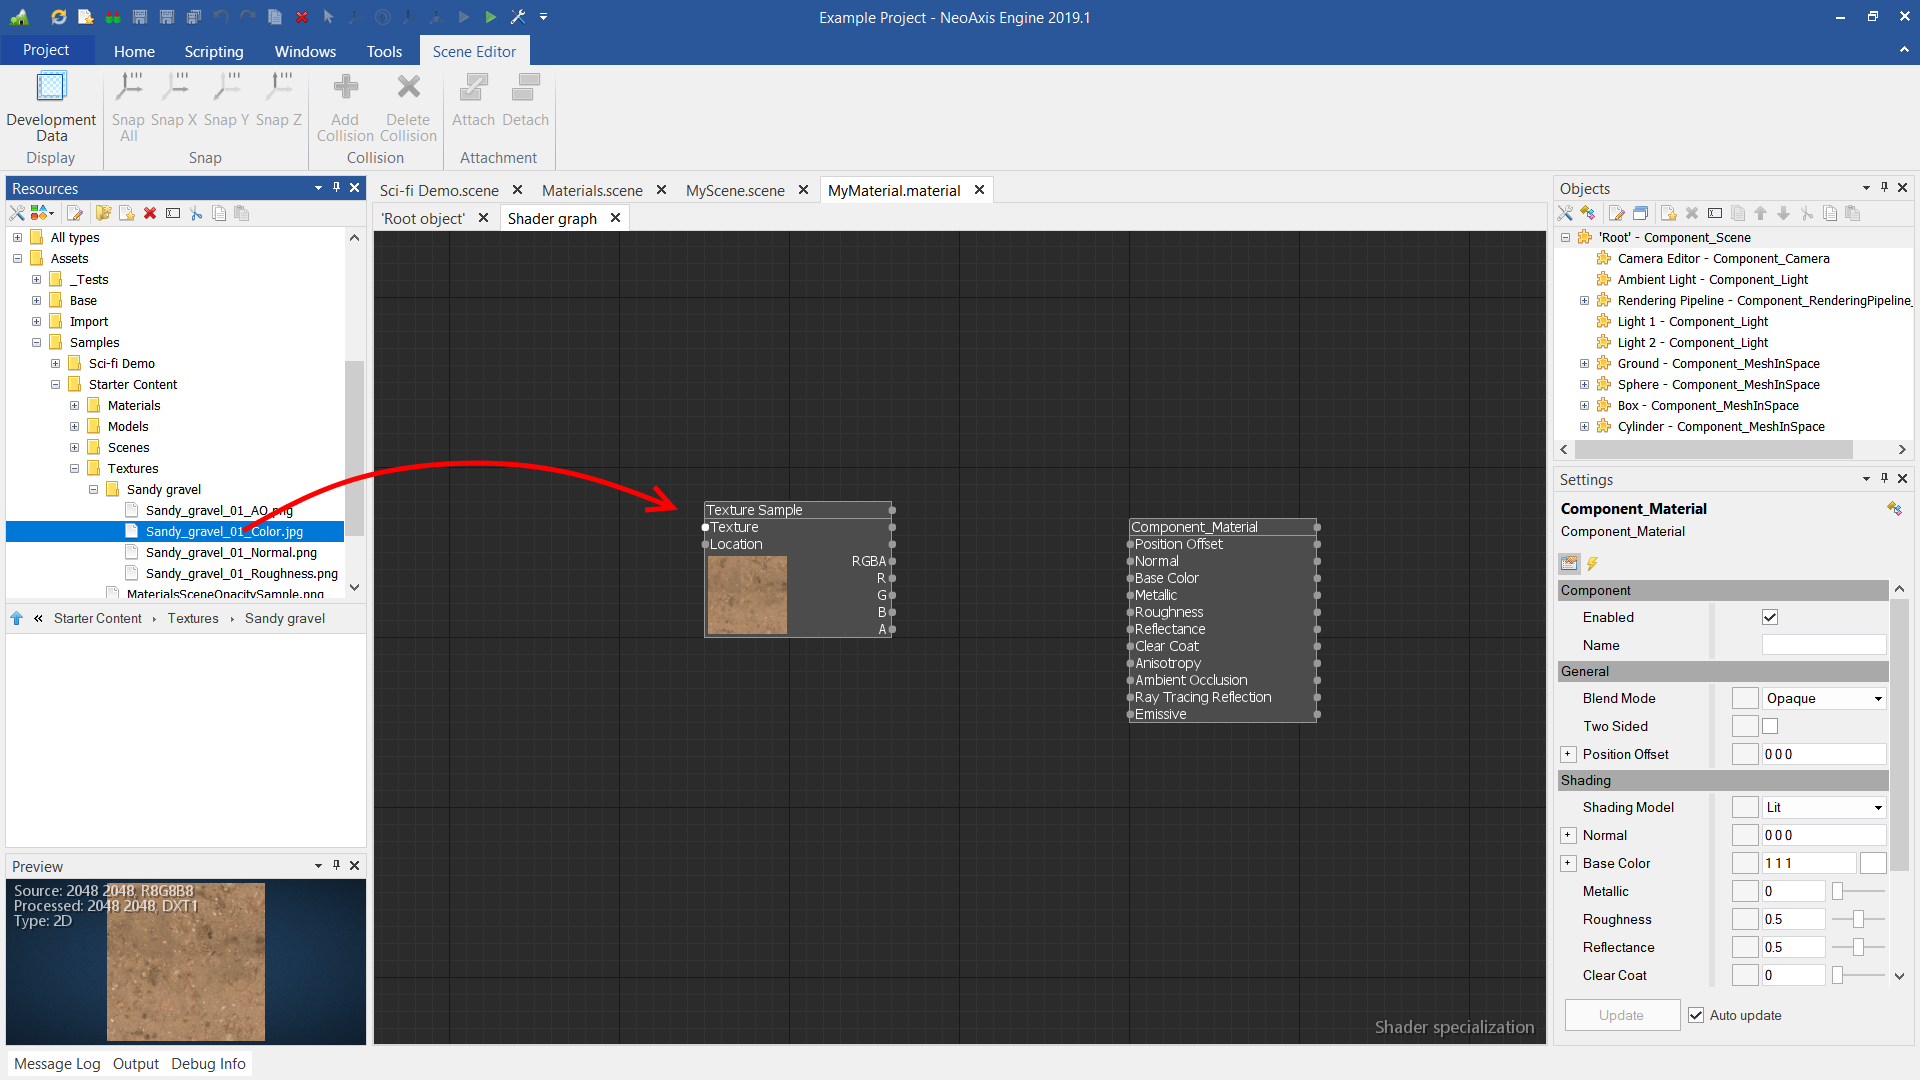
Second, one should connect the RGBA channel of a texture with the 'Base Color' of material.
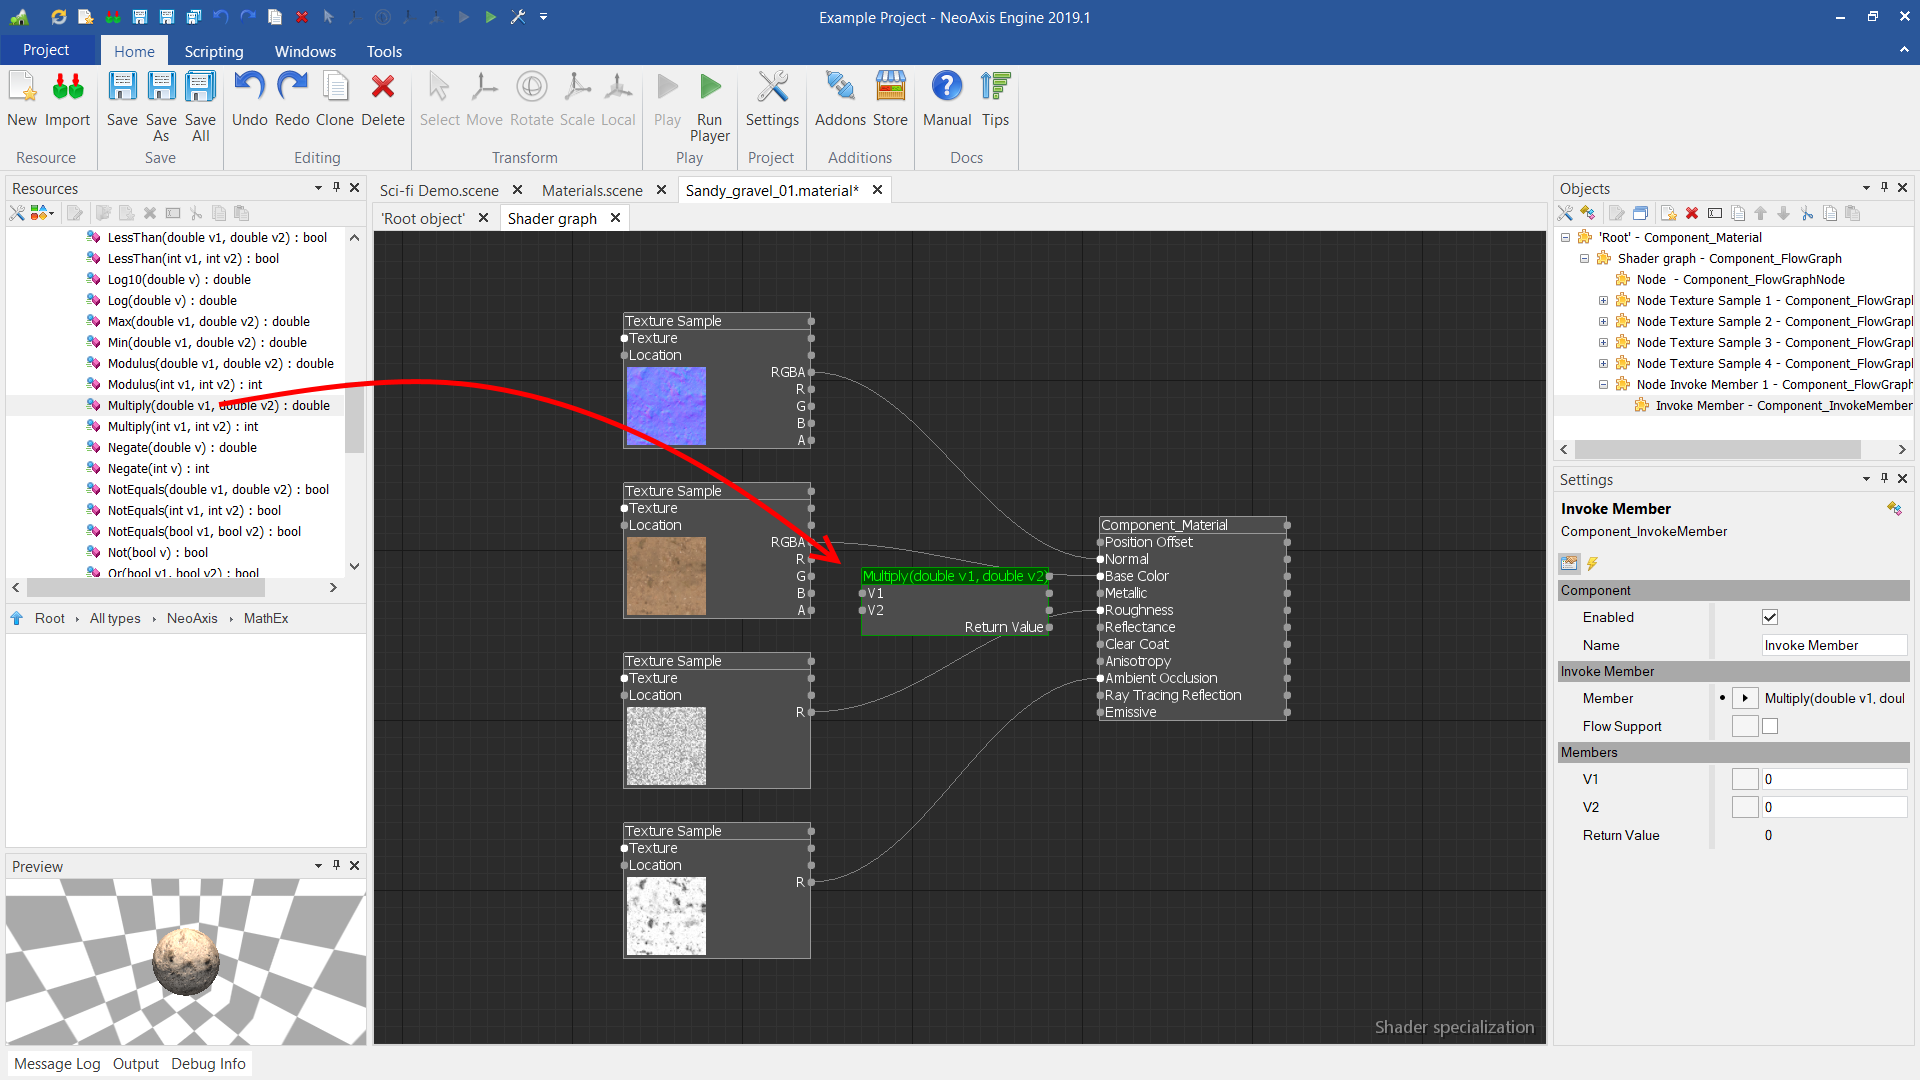
Besides textures, one can use logical blocks for building material.
There is a special filtering mode called Shaders at Resources Window.
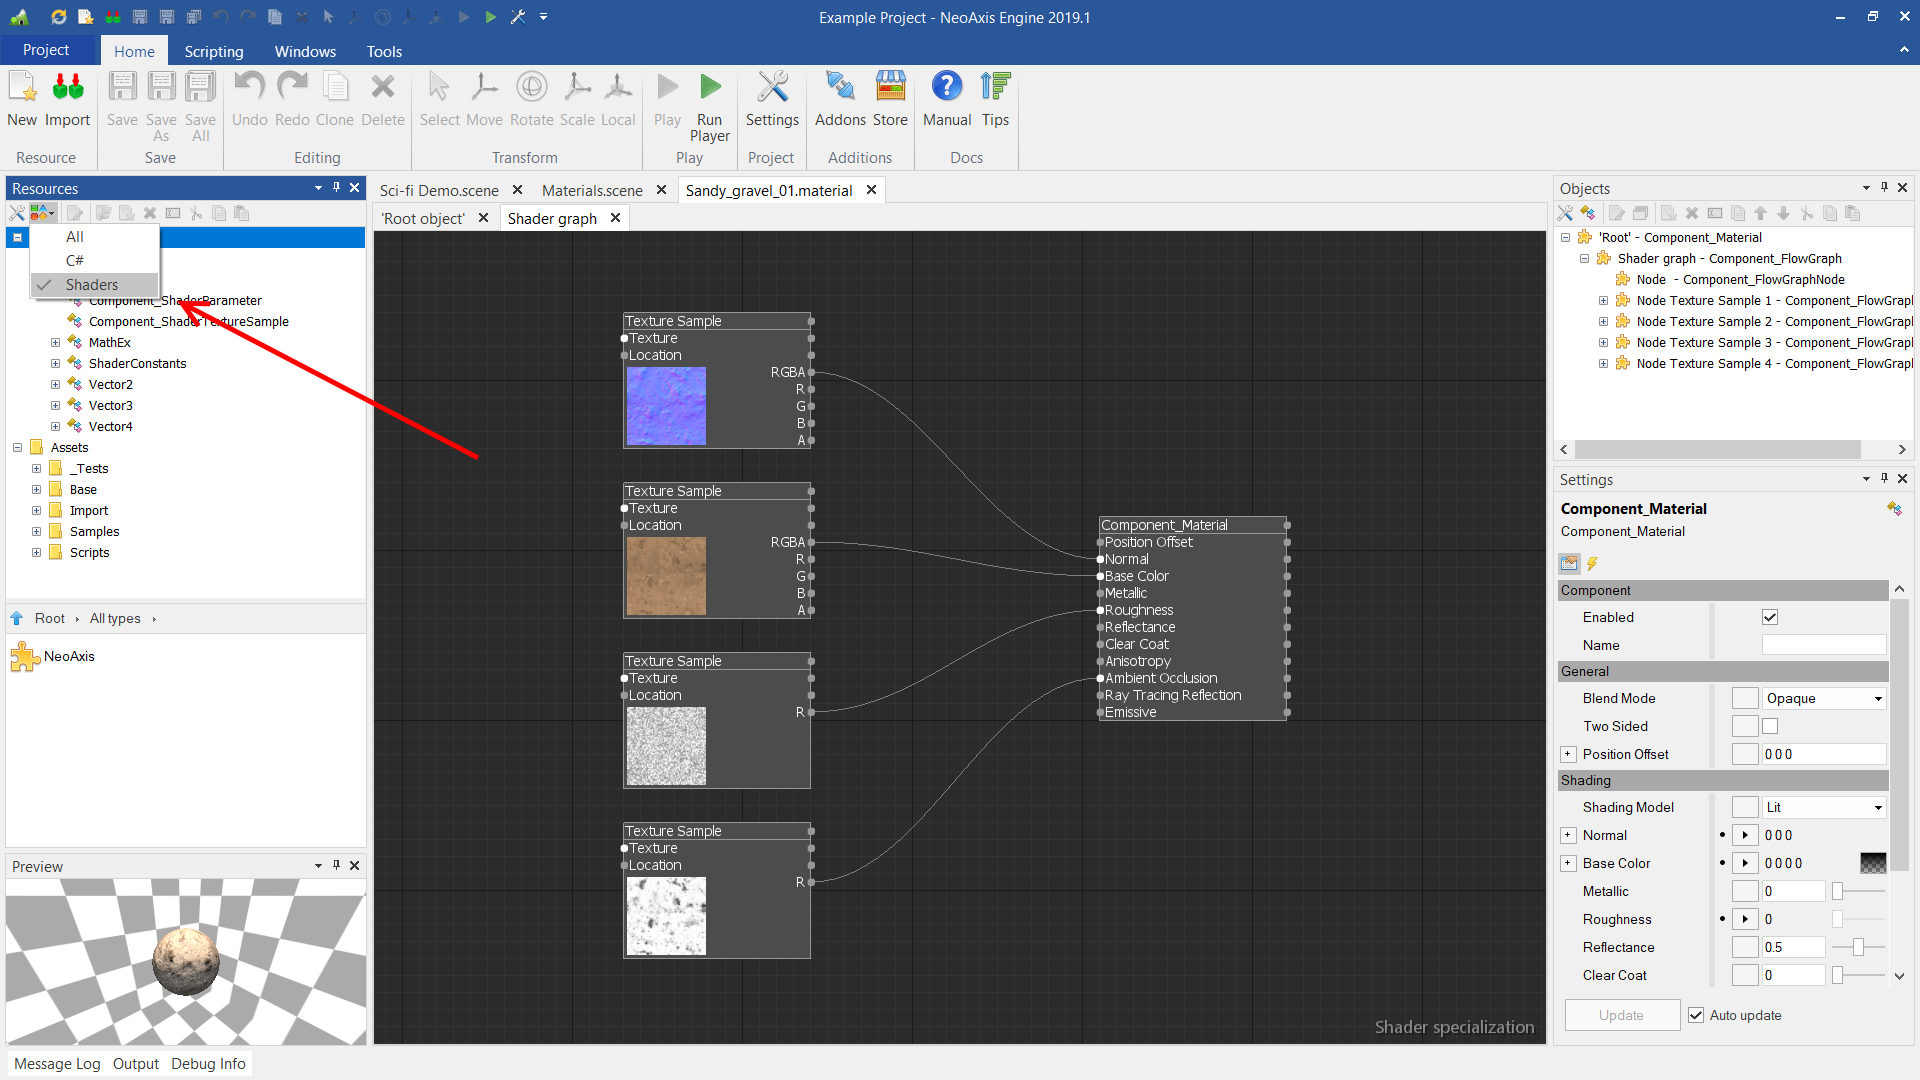
In this mode only types that supported in material editor are shown.
These objects could be dragged into the material editor workspace in the same way as textures.
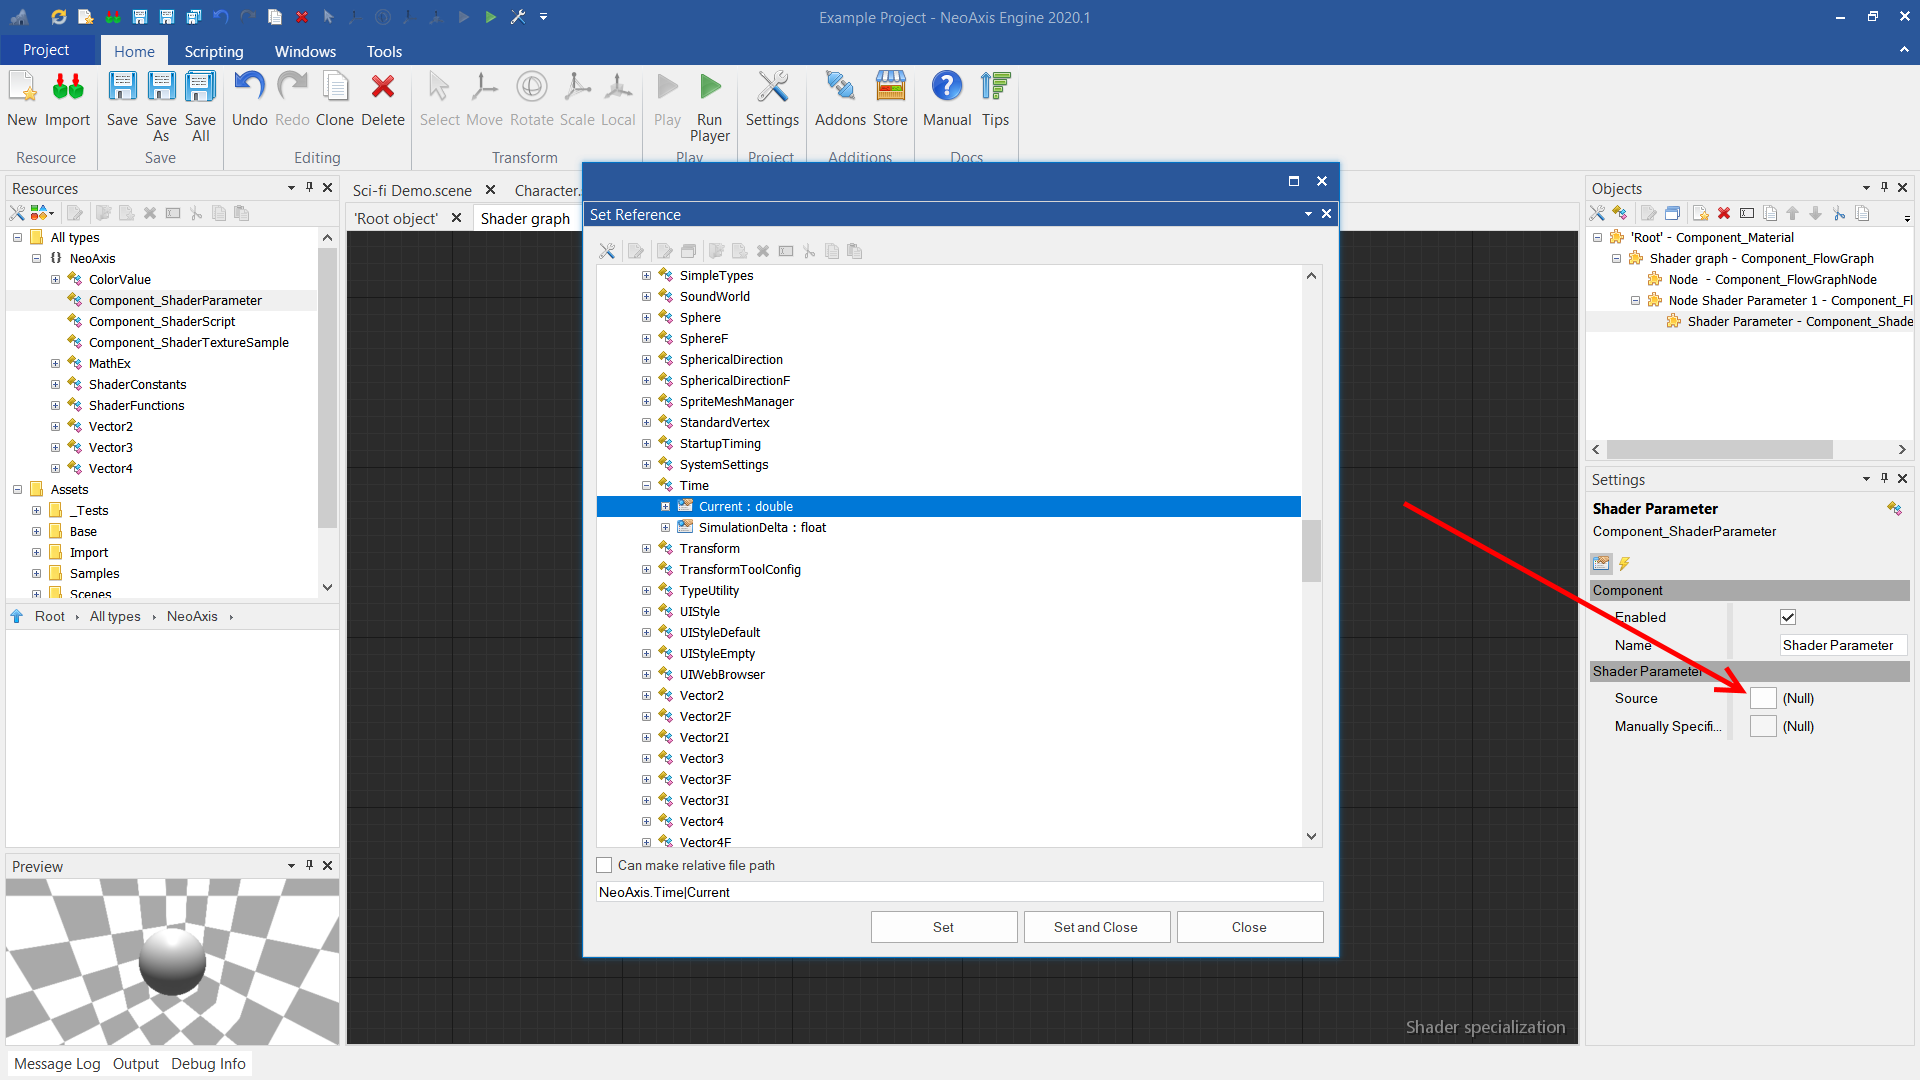
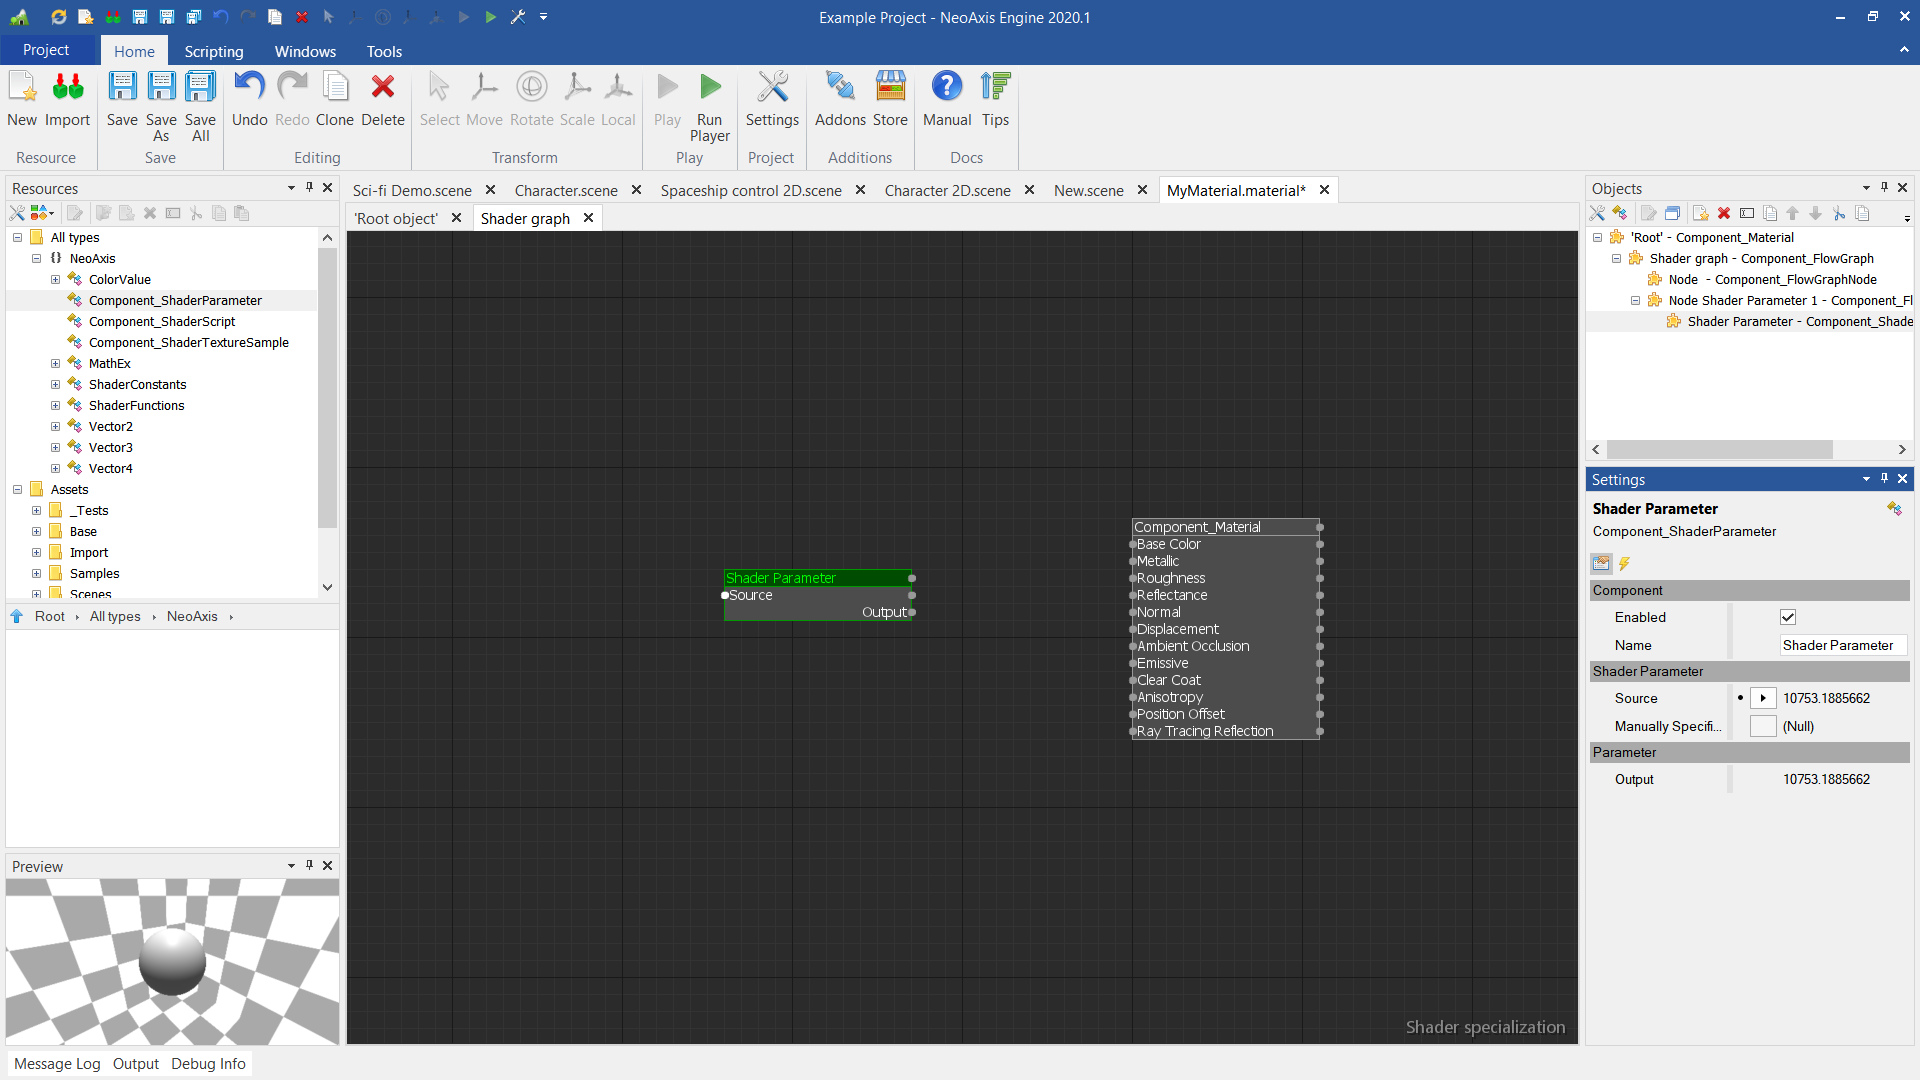
The material editor supports the ability to set parameters to the material outside of the material. This is done using the ShaderParameter component. The parameters could be configured to pick value from any kind of sources. For example, it could be engine time, some parameter of a scene object, a property of another resource.
First, drag ShaderParameter to a workspace.
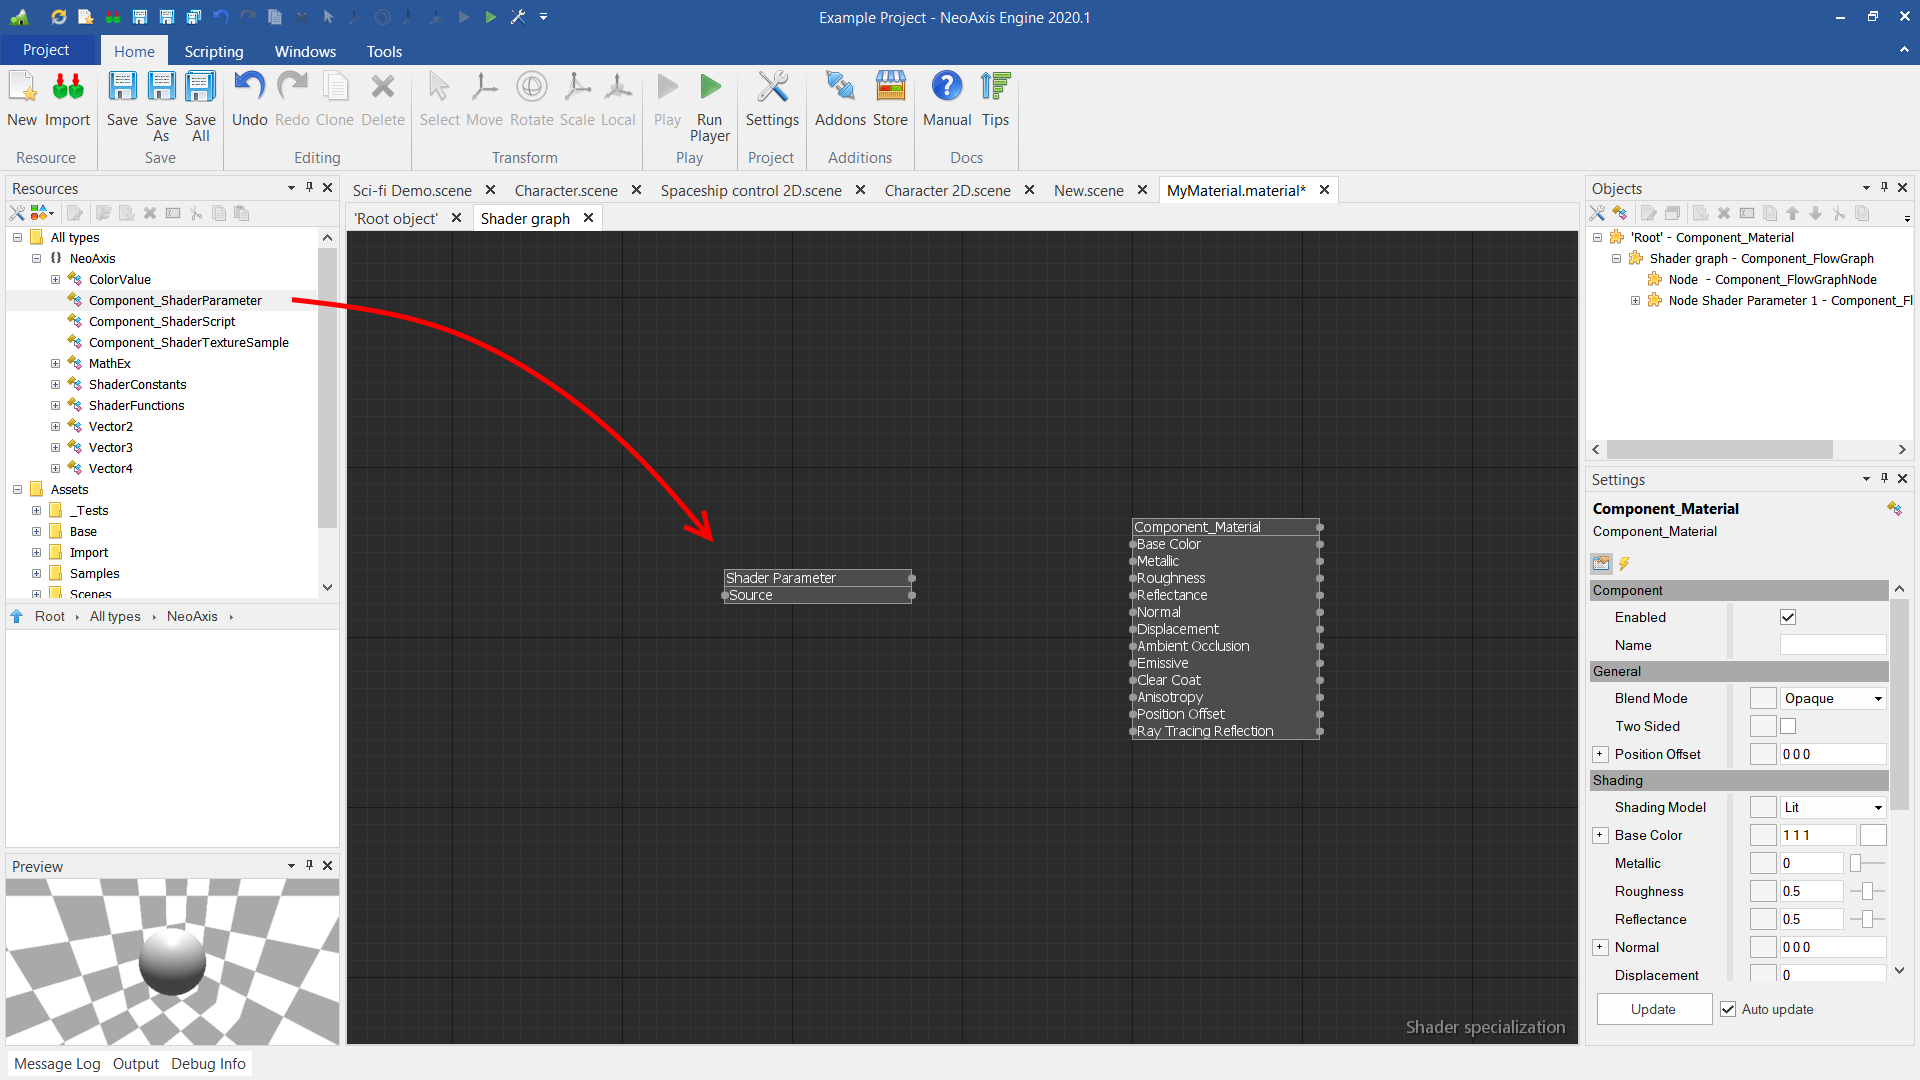
Next, set up a data source. In this example engine time is used as a data source (All types\NeoAxis\Time\Current).
After the object has been configured, it can be connected to the graph.
The engine supports the ability to use shader code in materials and full-screen effects. There are two ways to add shader code.
The first method is making a logical block with a shader function with GLSL/HLSL syntax. The block can be connected in another same way as usual logical blocks. The shader code can contain several functions, but only one is public. The public function must have a 'public' keyword before declaration. The public function is an interface of the logical block.
Examples of the first method: Shader script material.scene, Vegetation material.scene.
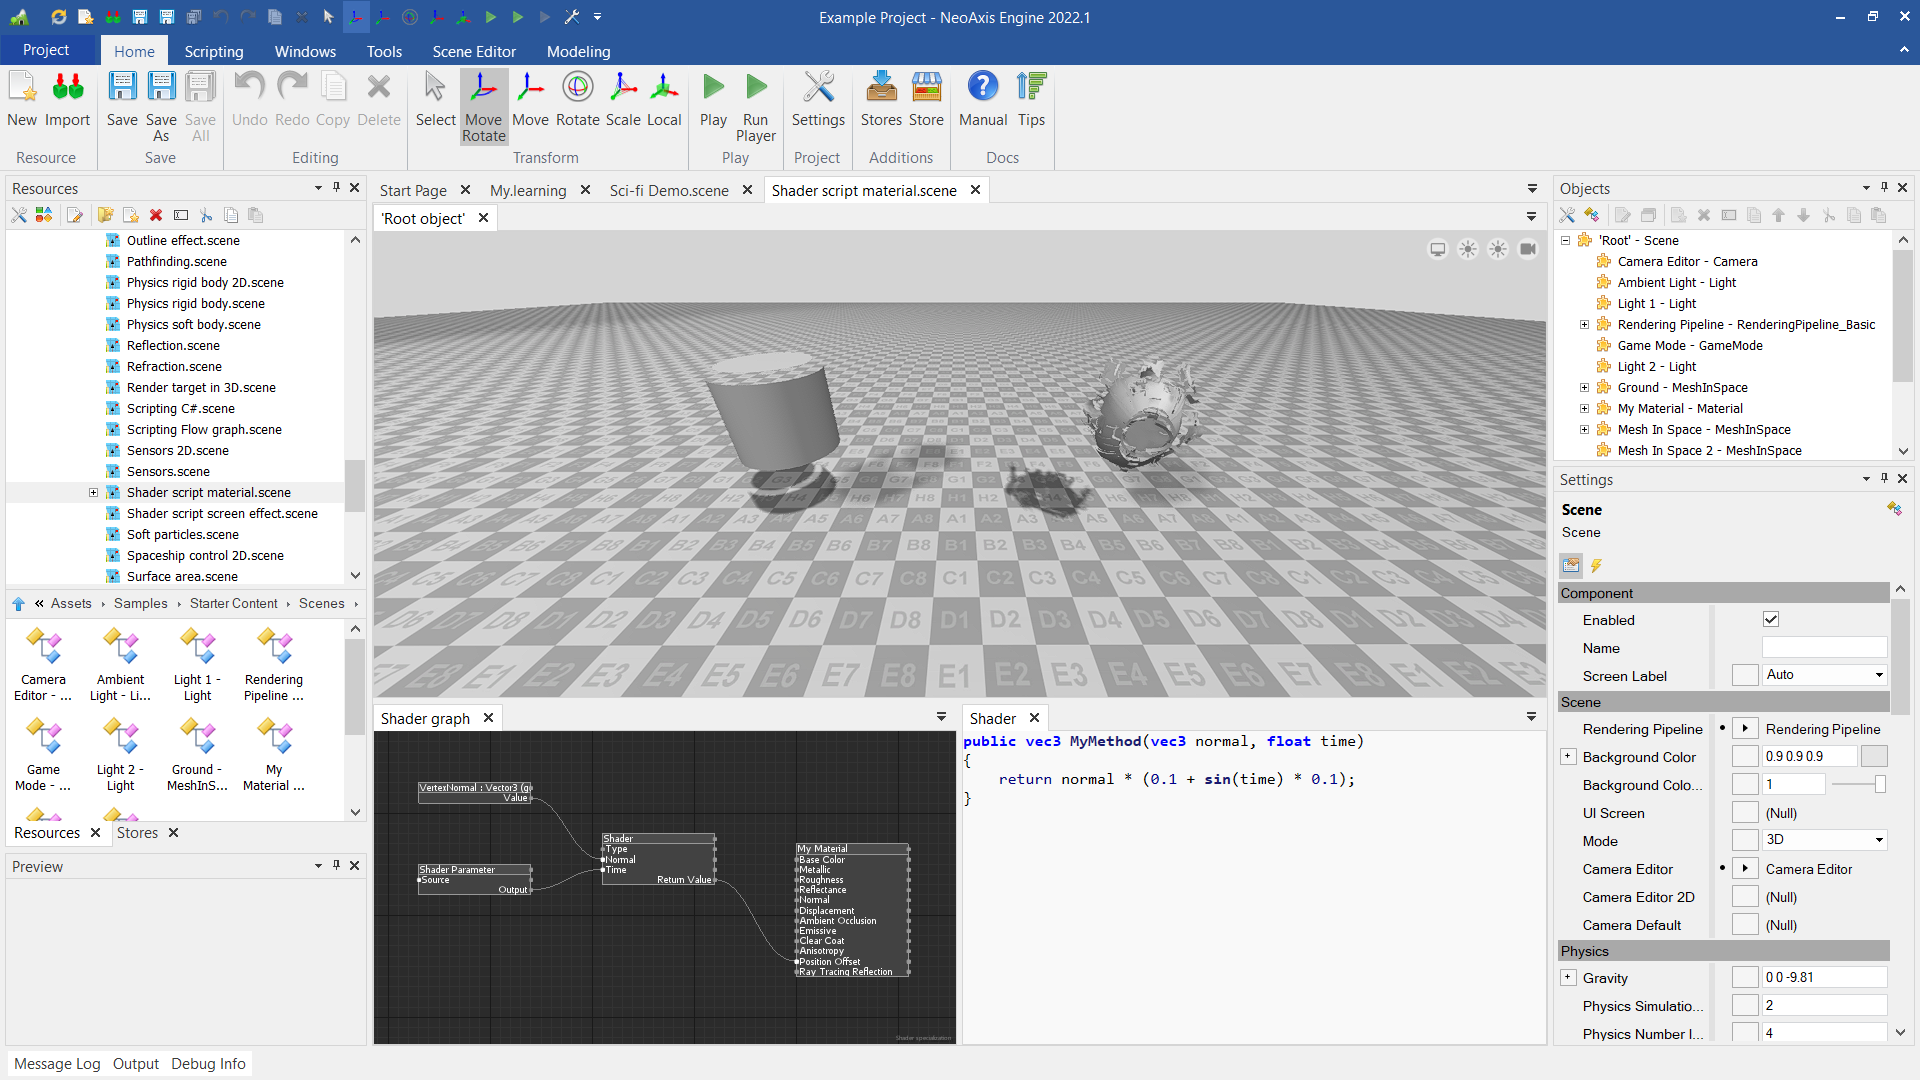
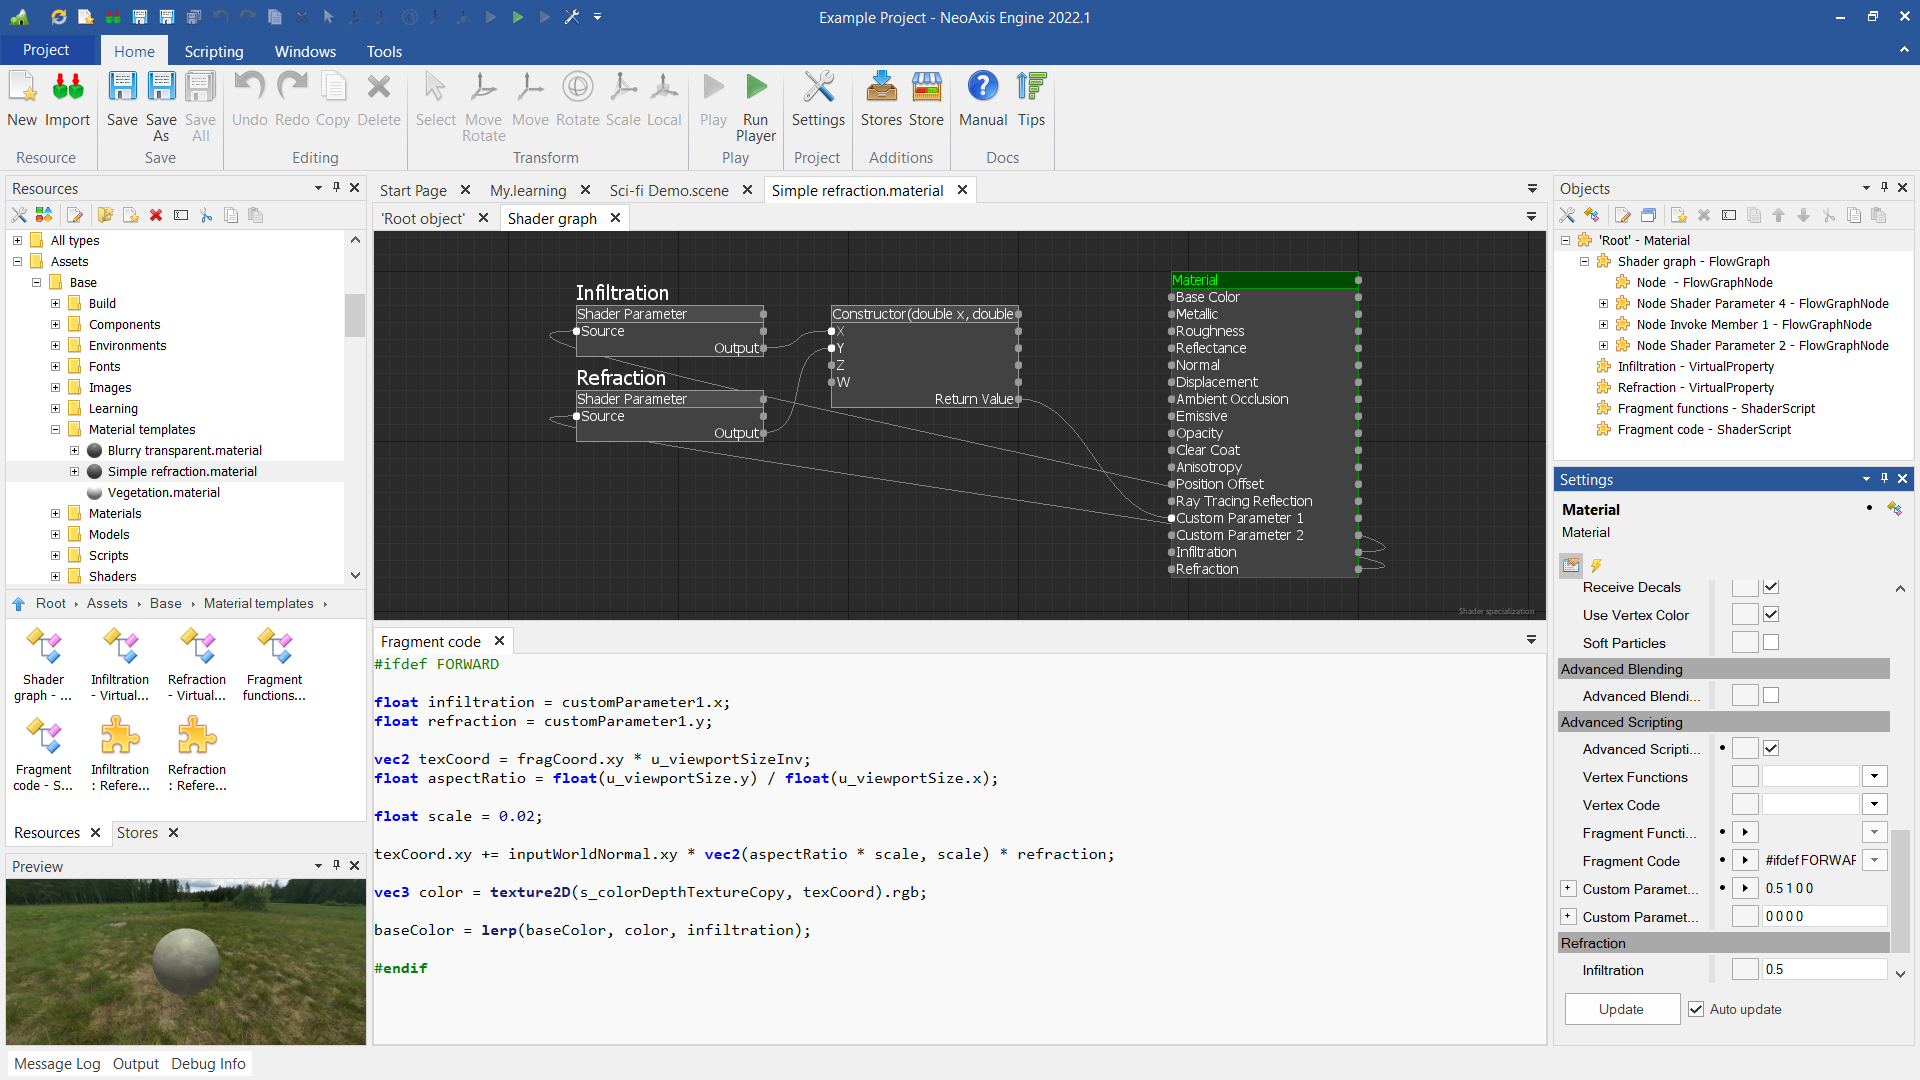
The second way is using the Advanced Scripting mode of the material. In this mode you can script the material at lower-level. You can add special code which can have dependencies between inputs. With this mode you can add code after calculation of inputs. For example, you can change Opacity depending on BaseColor.
With the advanced scripting it is possible to make refraction effects. Material templates for refraction materials are placed in 'Assets\Base\Material templates'.
Examples of the second method: Refraction.scene.
Material can be assigned to different types of objects. In this section it is described how to assign material to a 3D model in the scene.
If you haven't saved your material yet, now is the time to do this. One can save the document by clicking Save button or by pressing Ctrl+S.
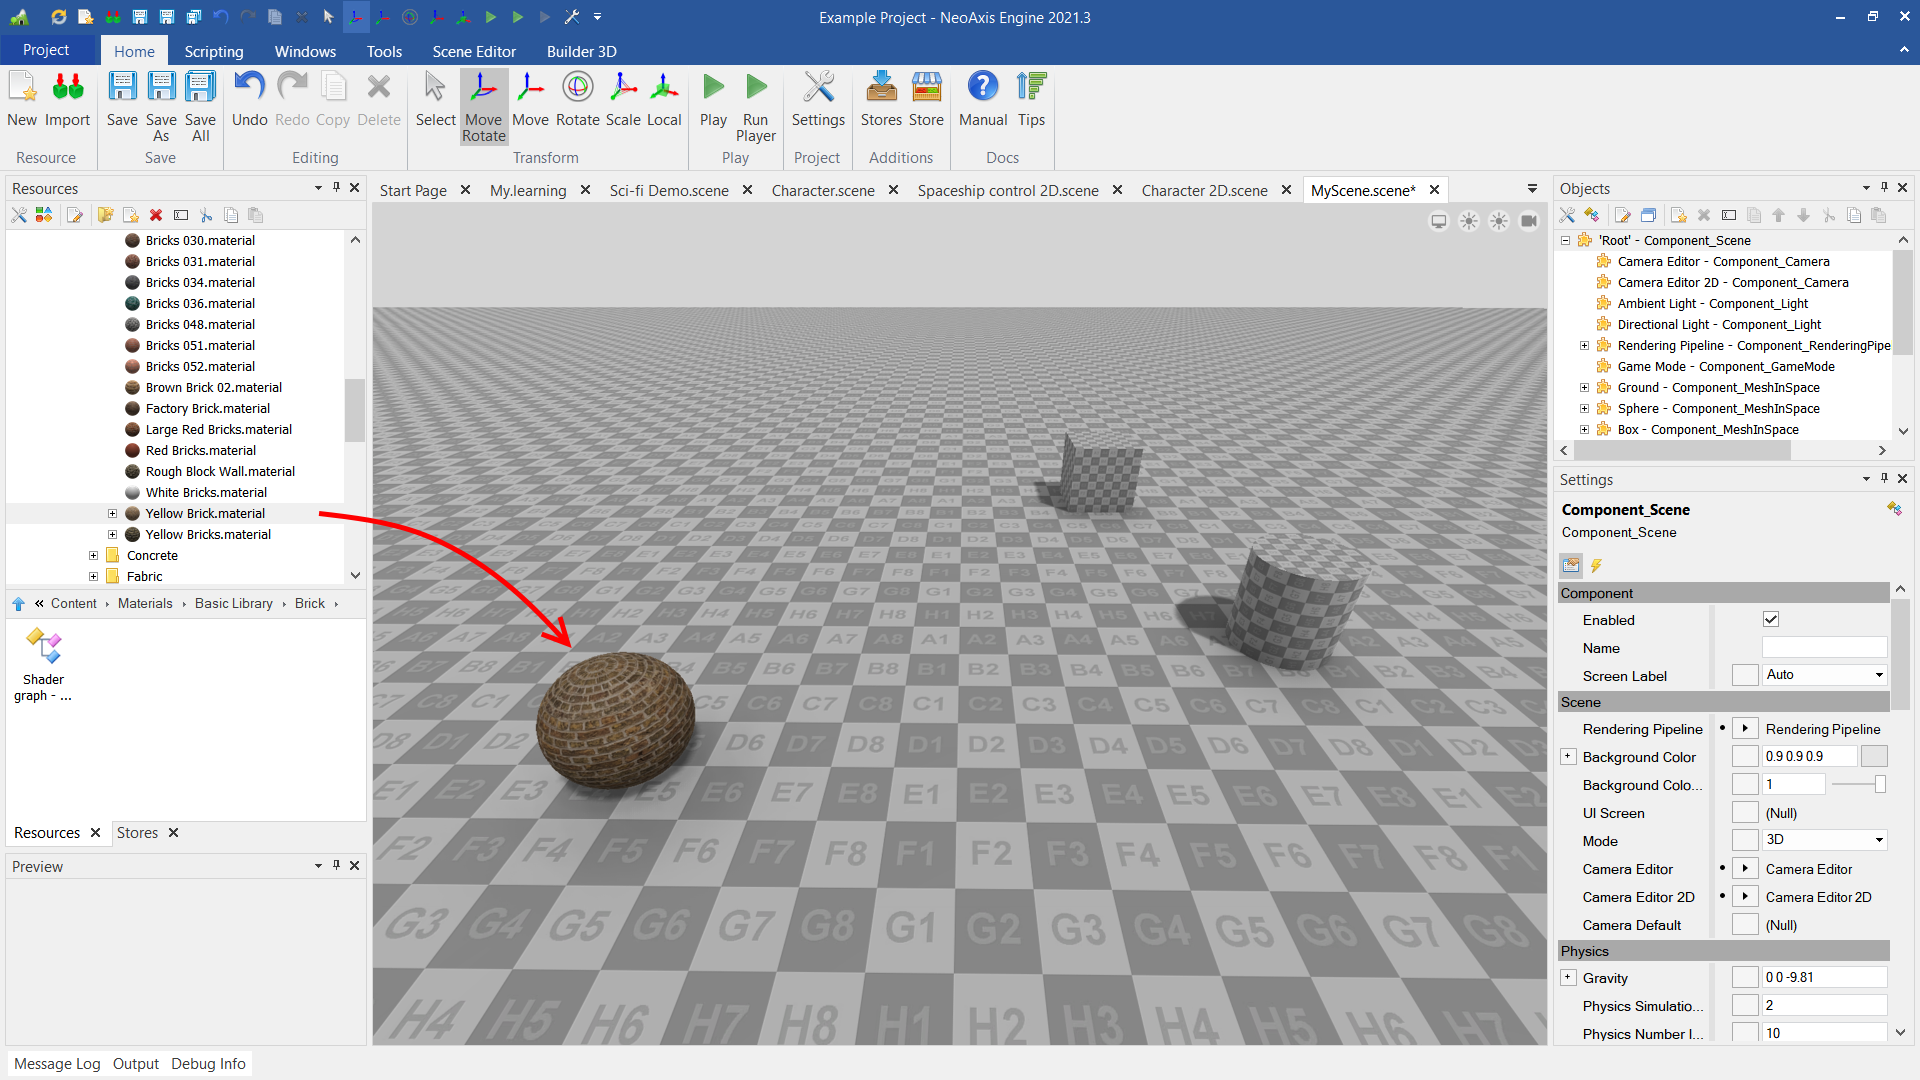
In order to assign material, pick material in Resources window, then Drag & Drop material on a 3D model.