NeoX Repository Operations |
NeoX Repository Operations
This page describes how to work with the repository functions in NeoX.
The second purpose of NeoX File Sync is to work with project repositories. This is the main way to synchronize the server’s files with a local copy on your machine.
Common actions include downloading template files from the server for a newly created project and uploading updates to the server.
After creating a project, you need to download the files to your local machine.
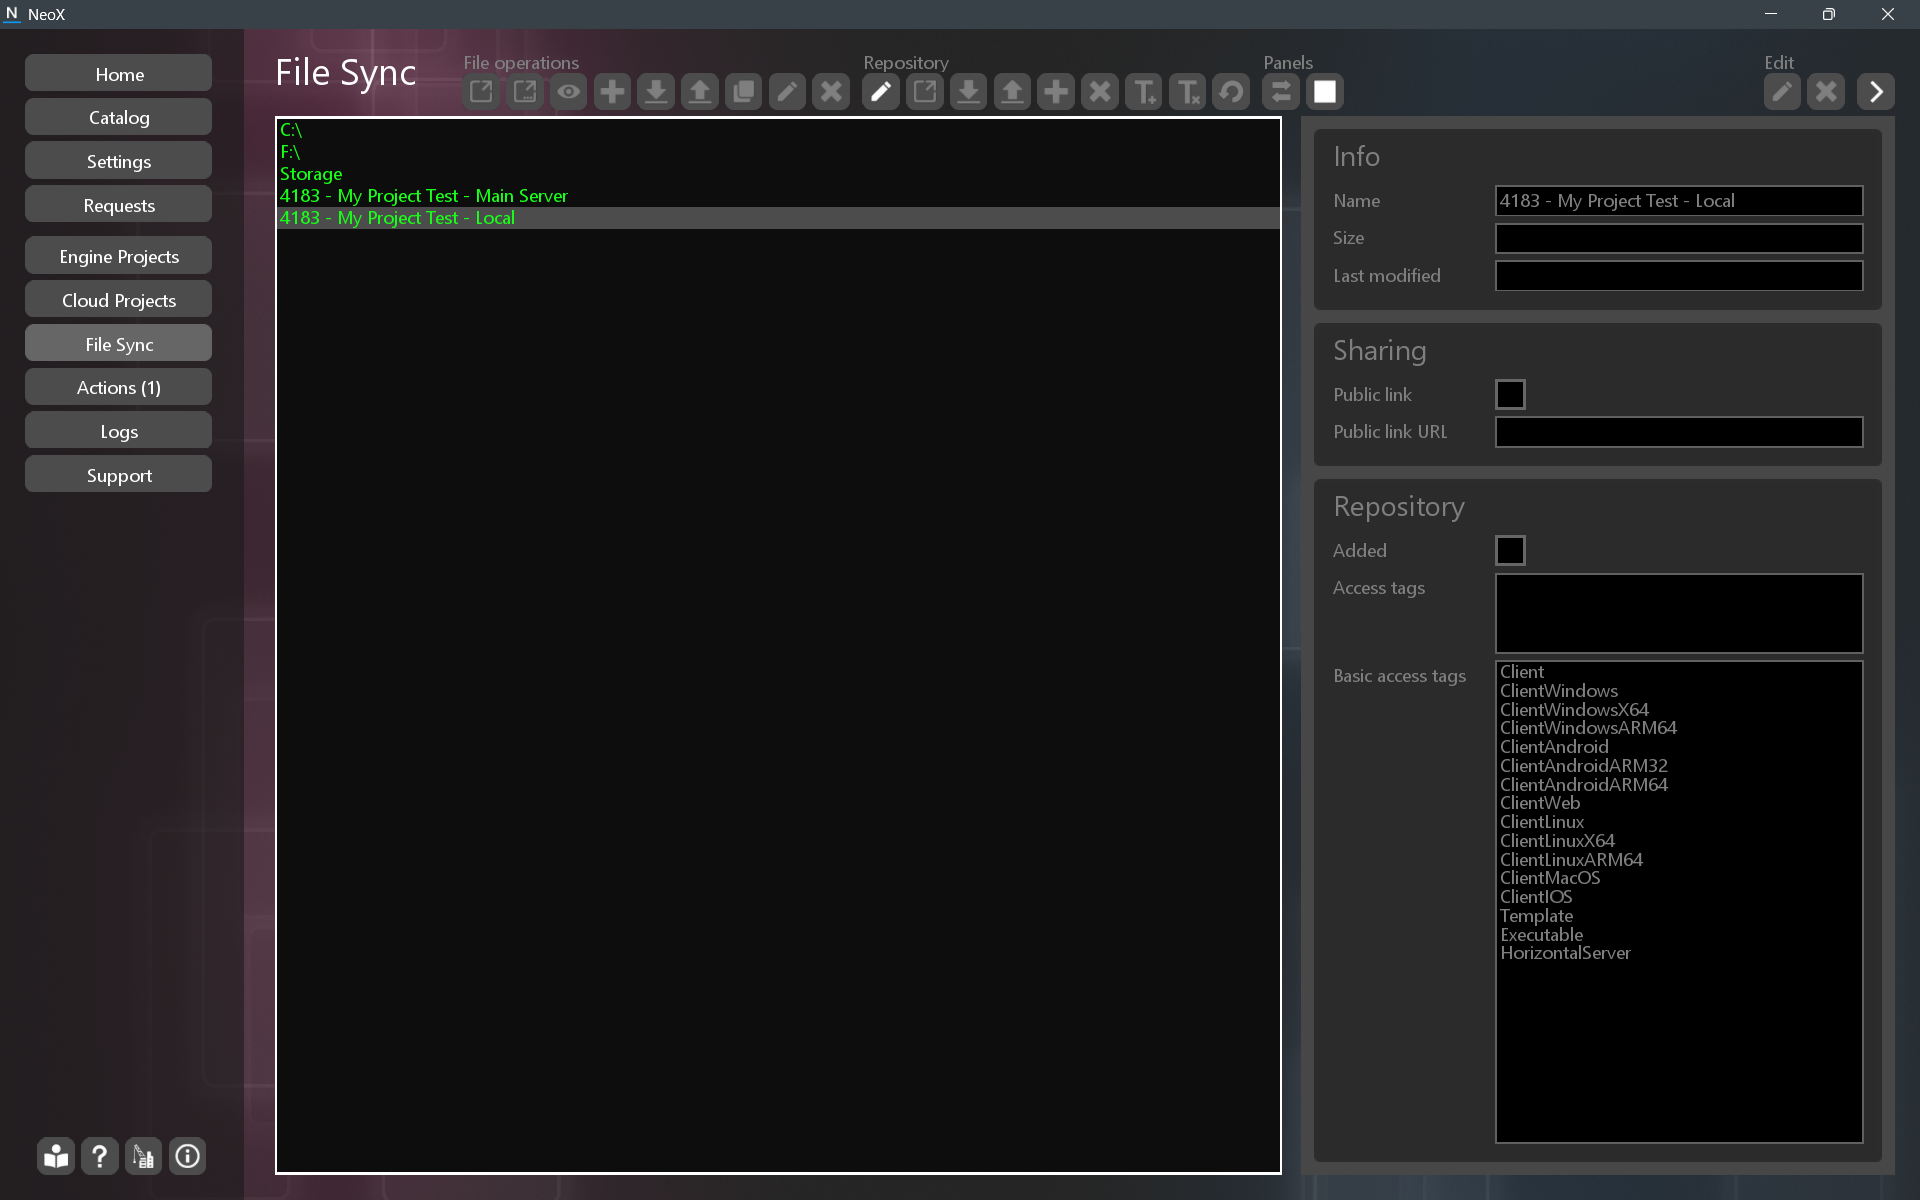
The list shows two project items, with the text "Main Server" and "Local." The first project item with the text "Main Server" is a way to work with the server files directly, without repository functions.
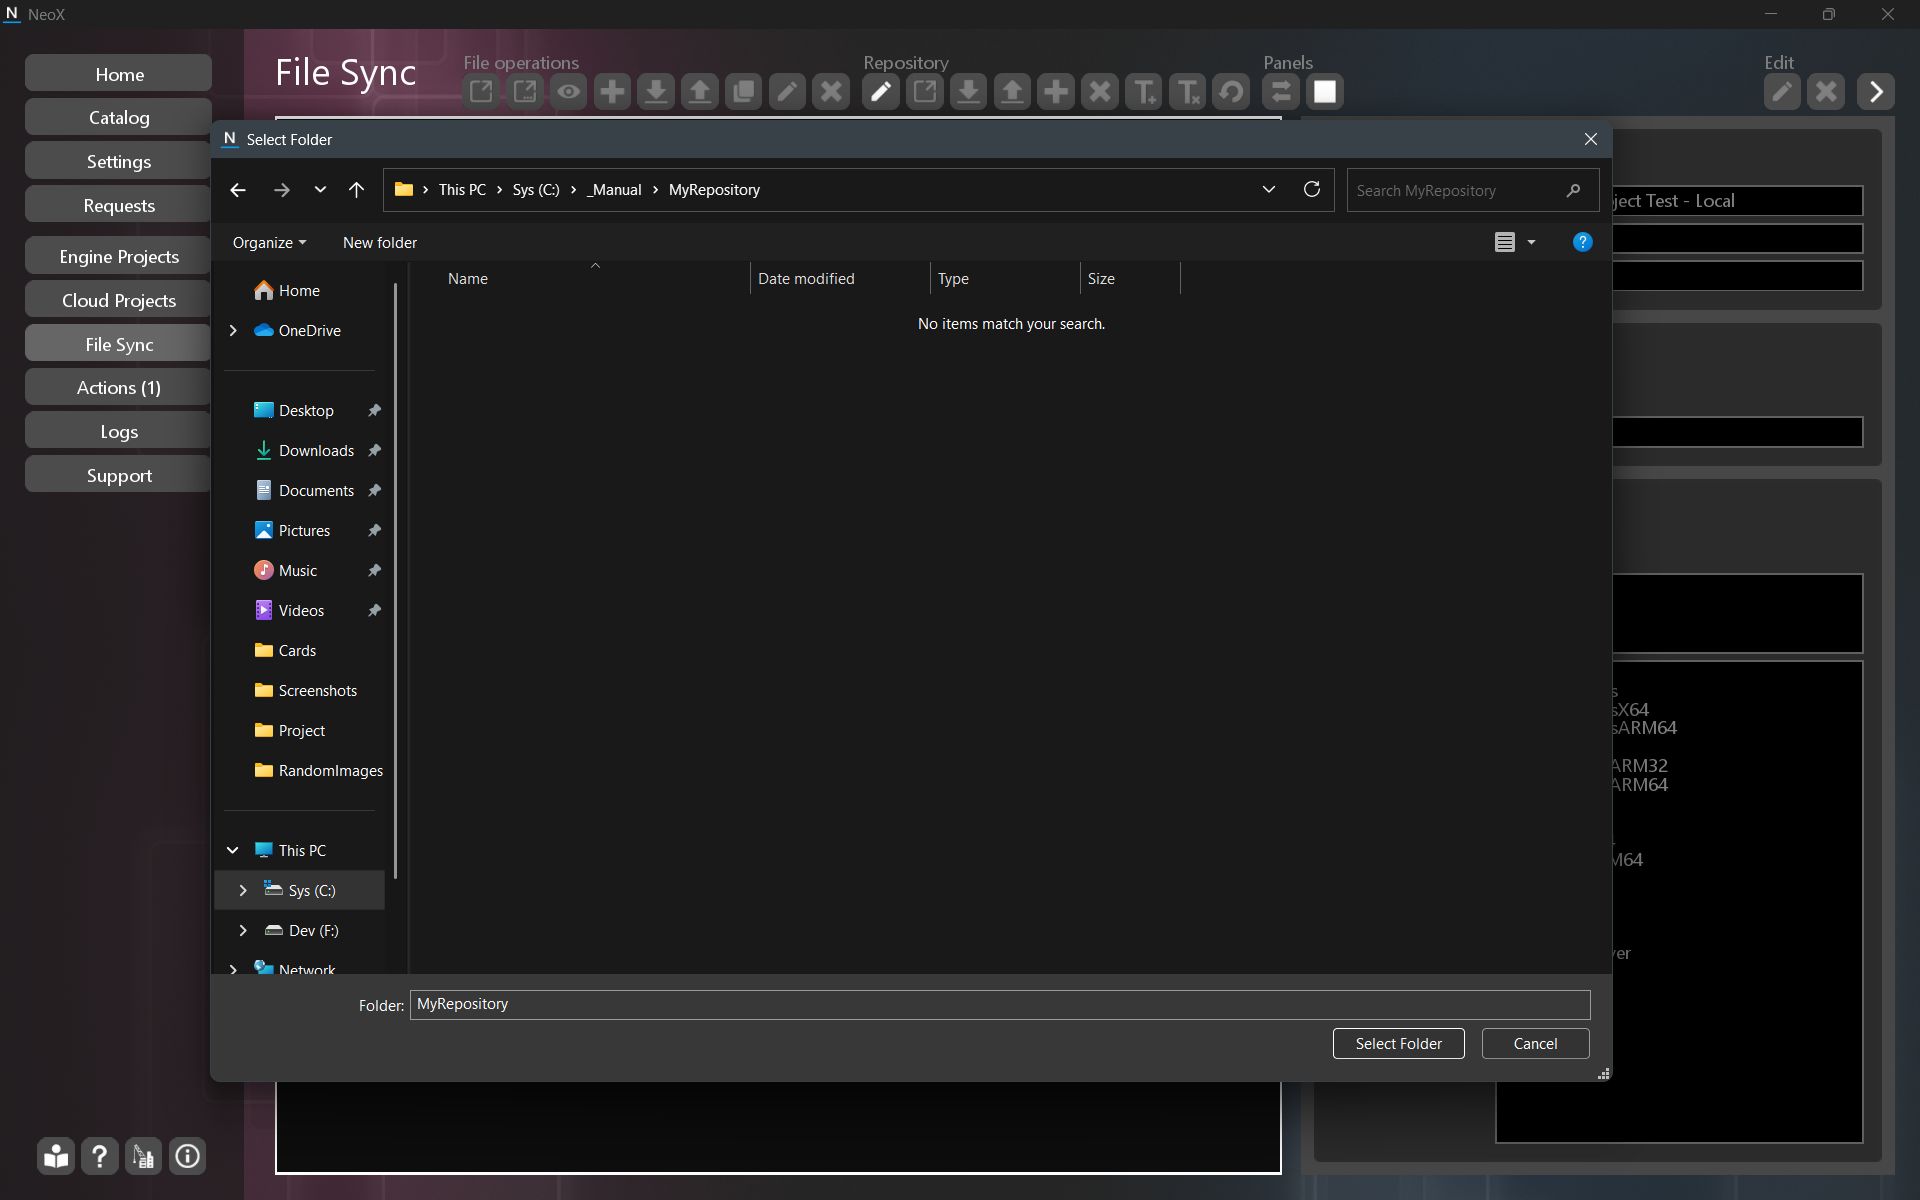
Select the second project item with the text "Local", then double‑click or press Enter. A window will appear to choose a local repository folder, into which the files from the server will be downloaded.
Choose an appropriate location and click Select Folder.
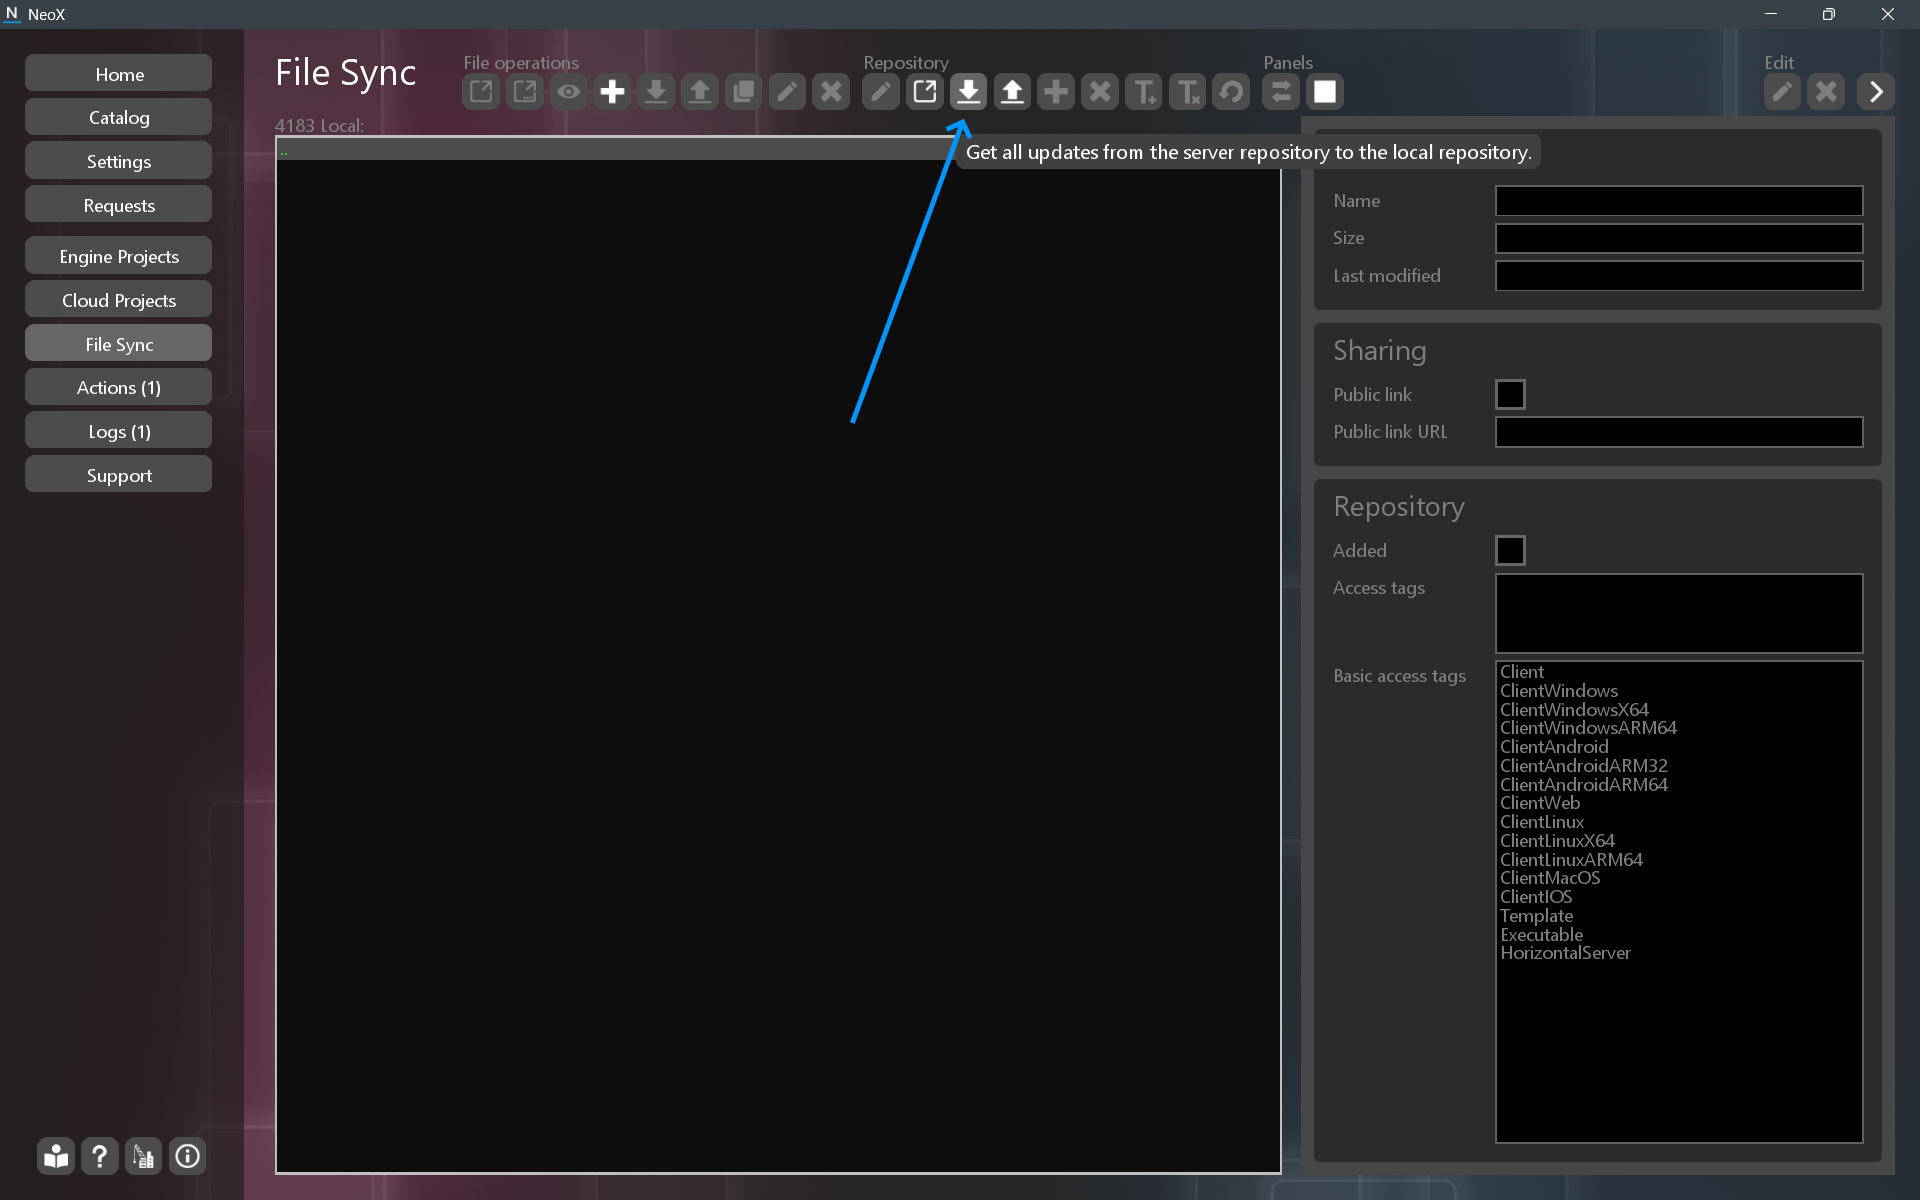
In the toolbar click the ![]() (Get all updates from the server repository to the local repository).
(Get all updates from the server repository to the local repository).
A window will appear with a selection of files to update. Some files may be missing; the server and client binaries may not be included in the template.
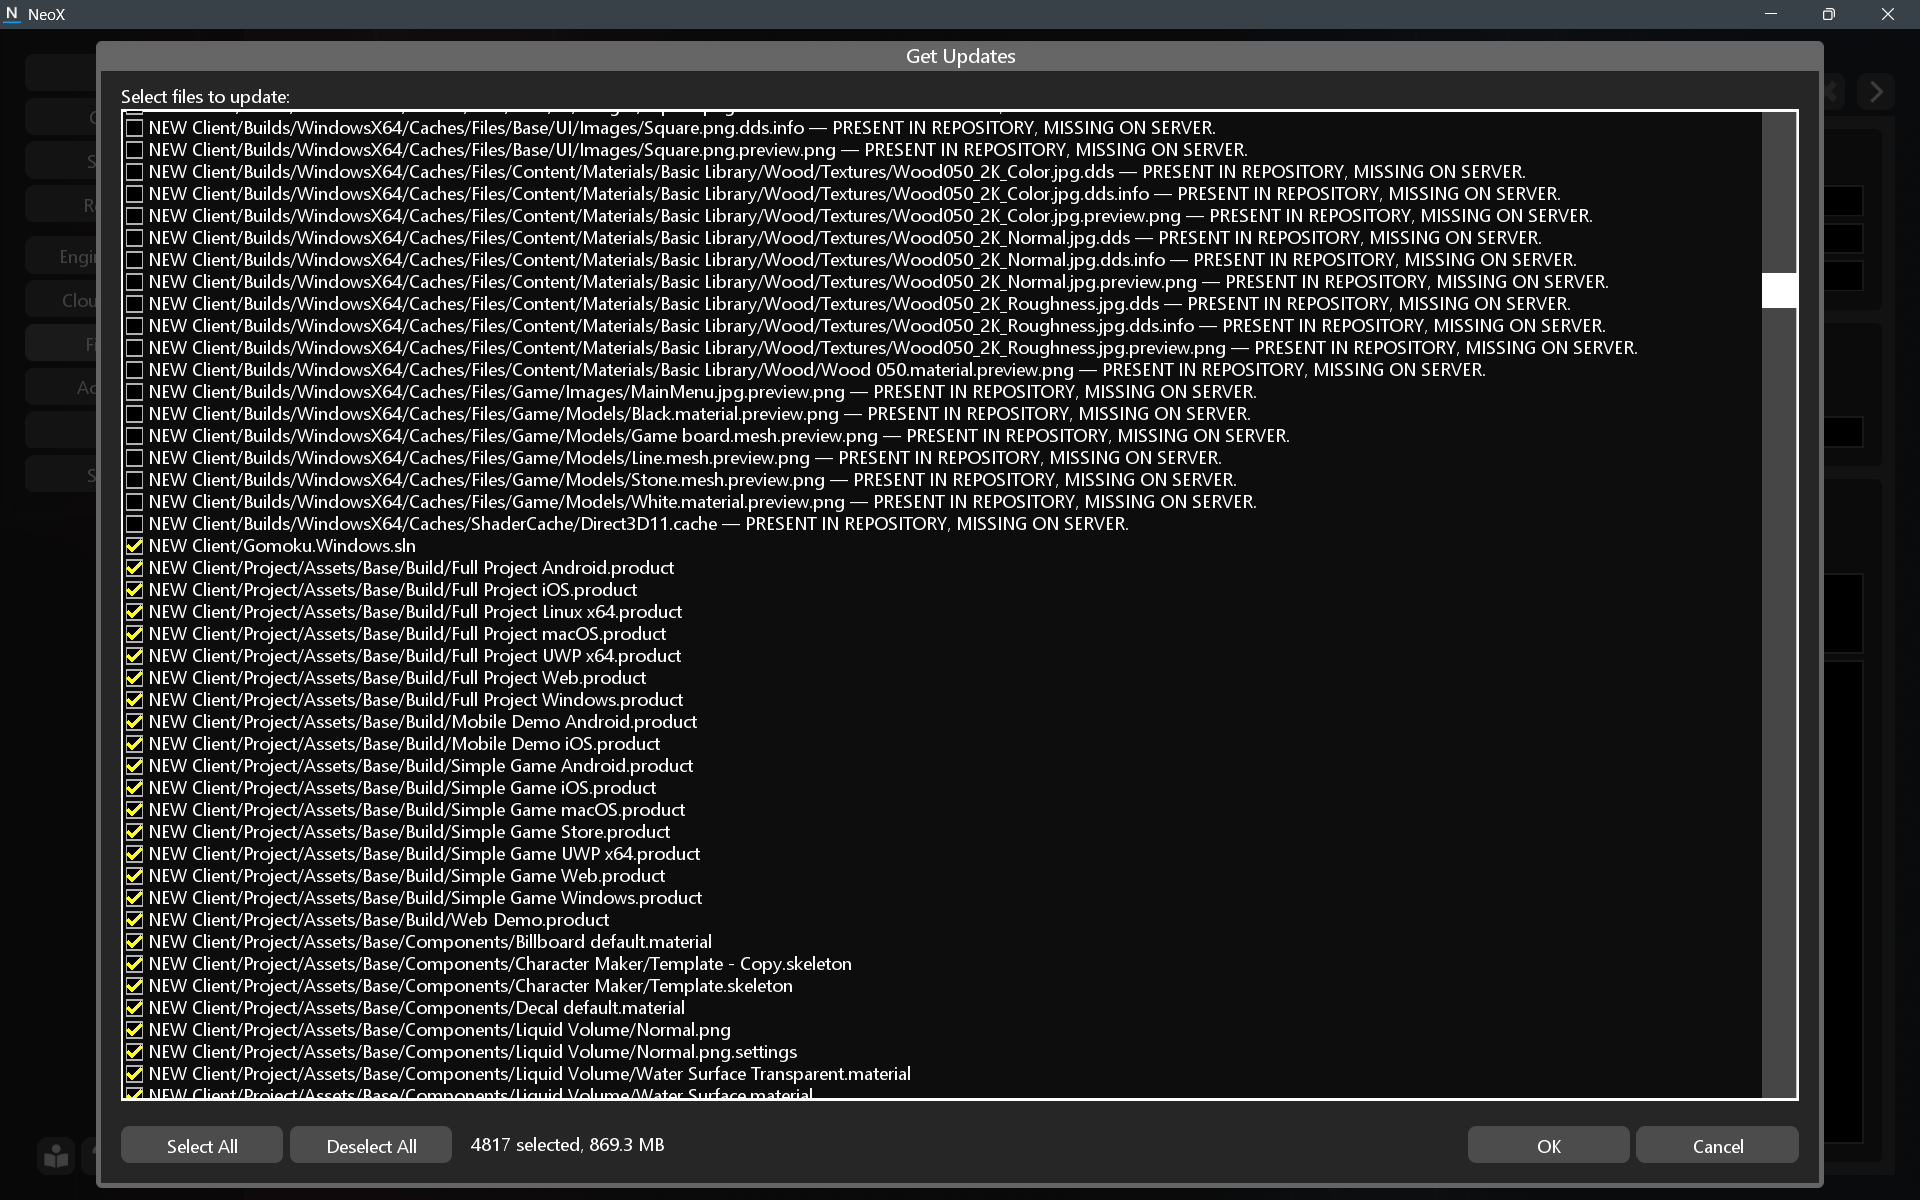
To continue, click the OK button; a window with information about the download process will appear.
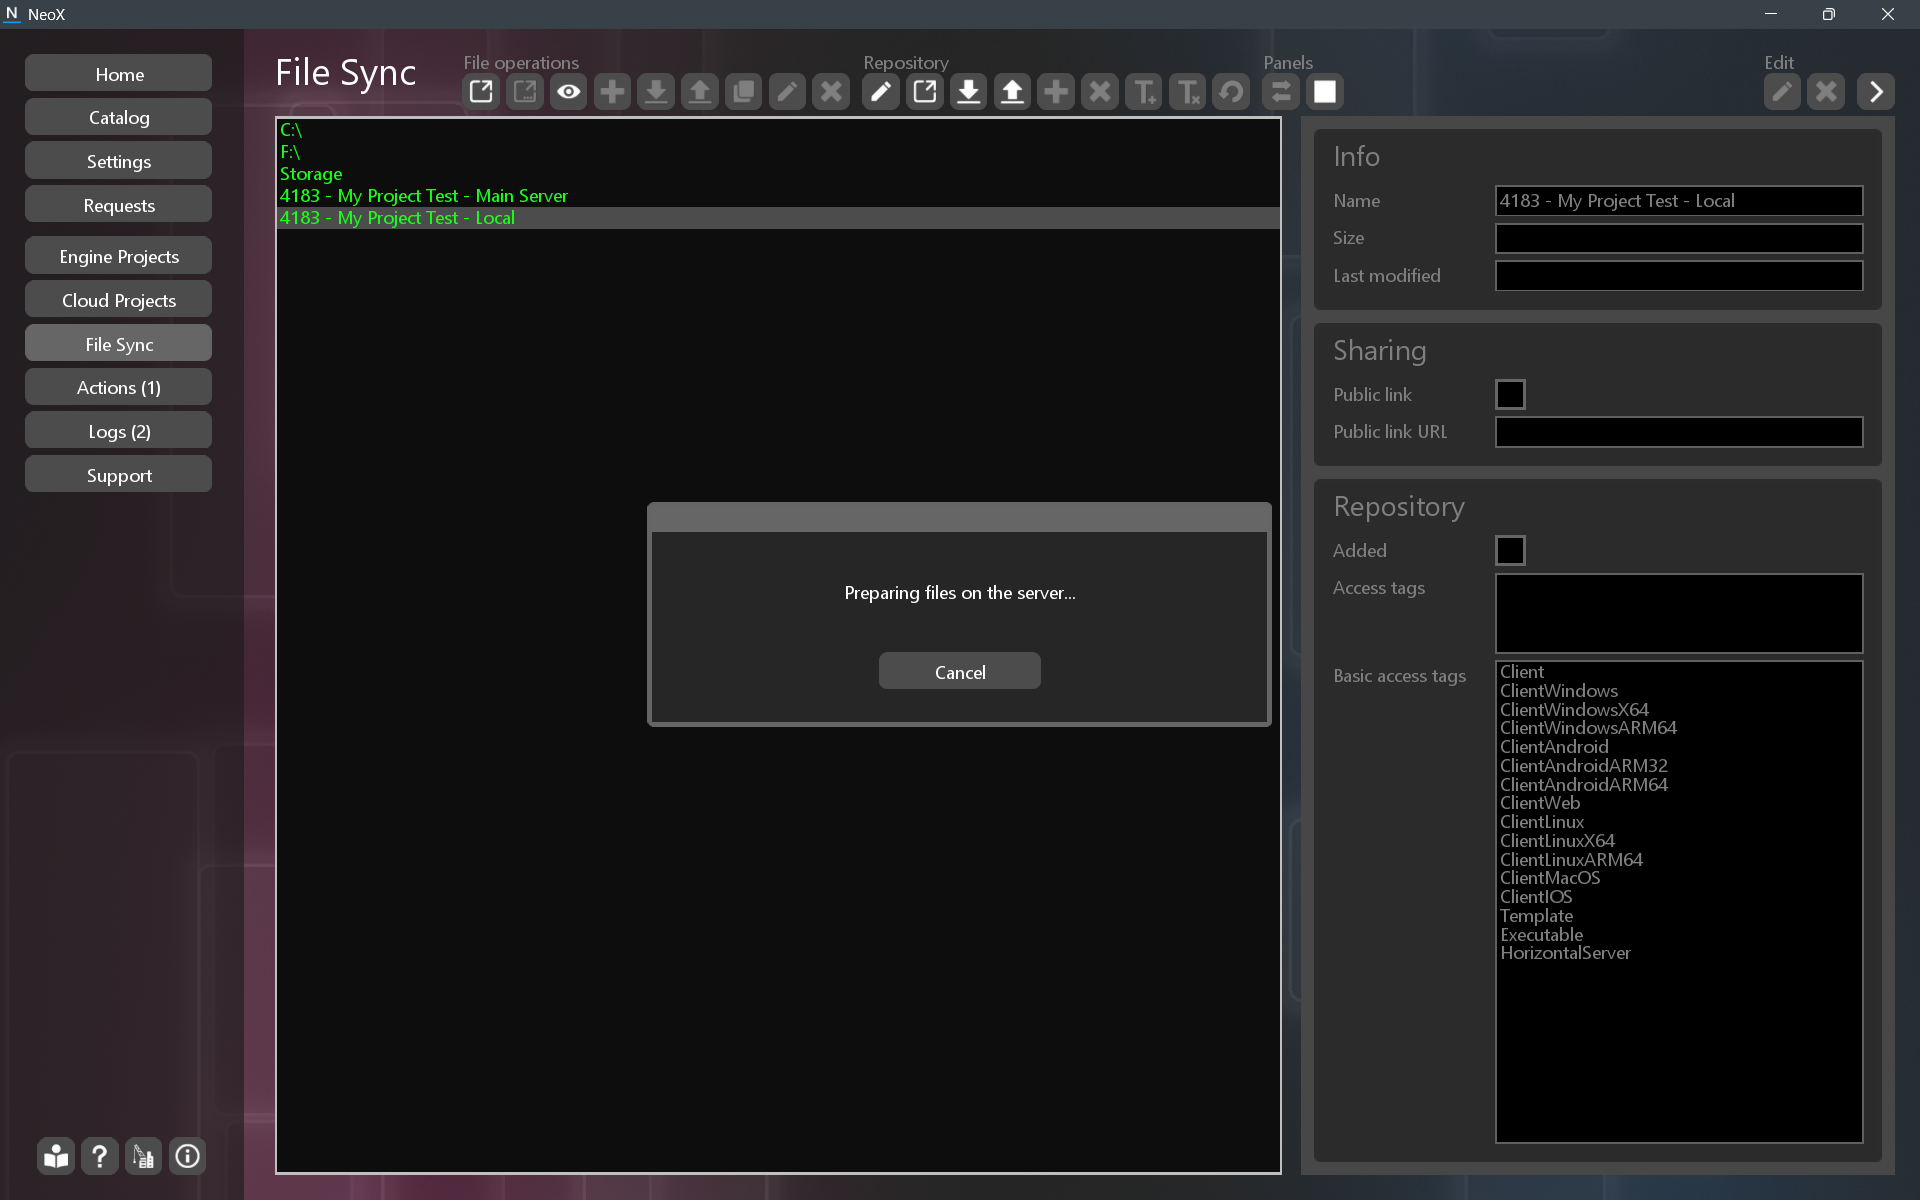
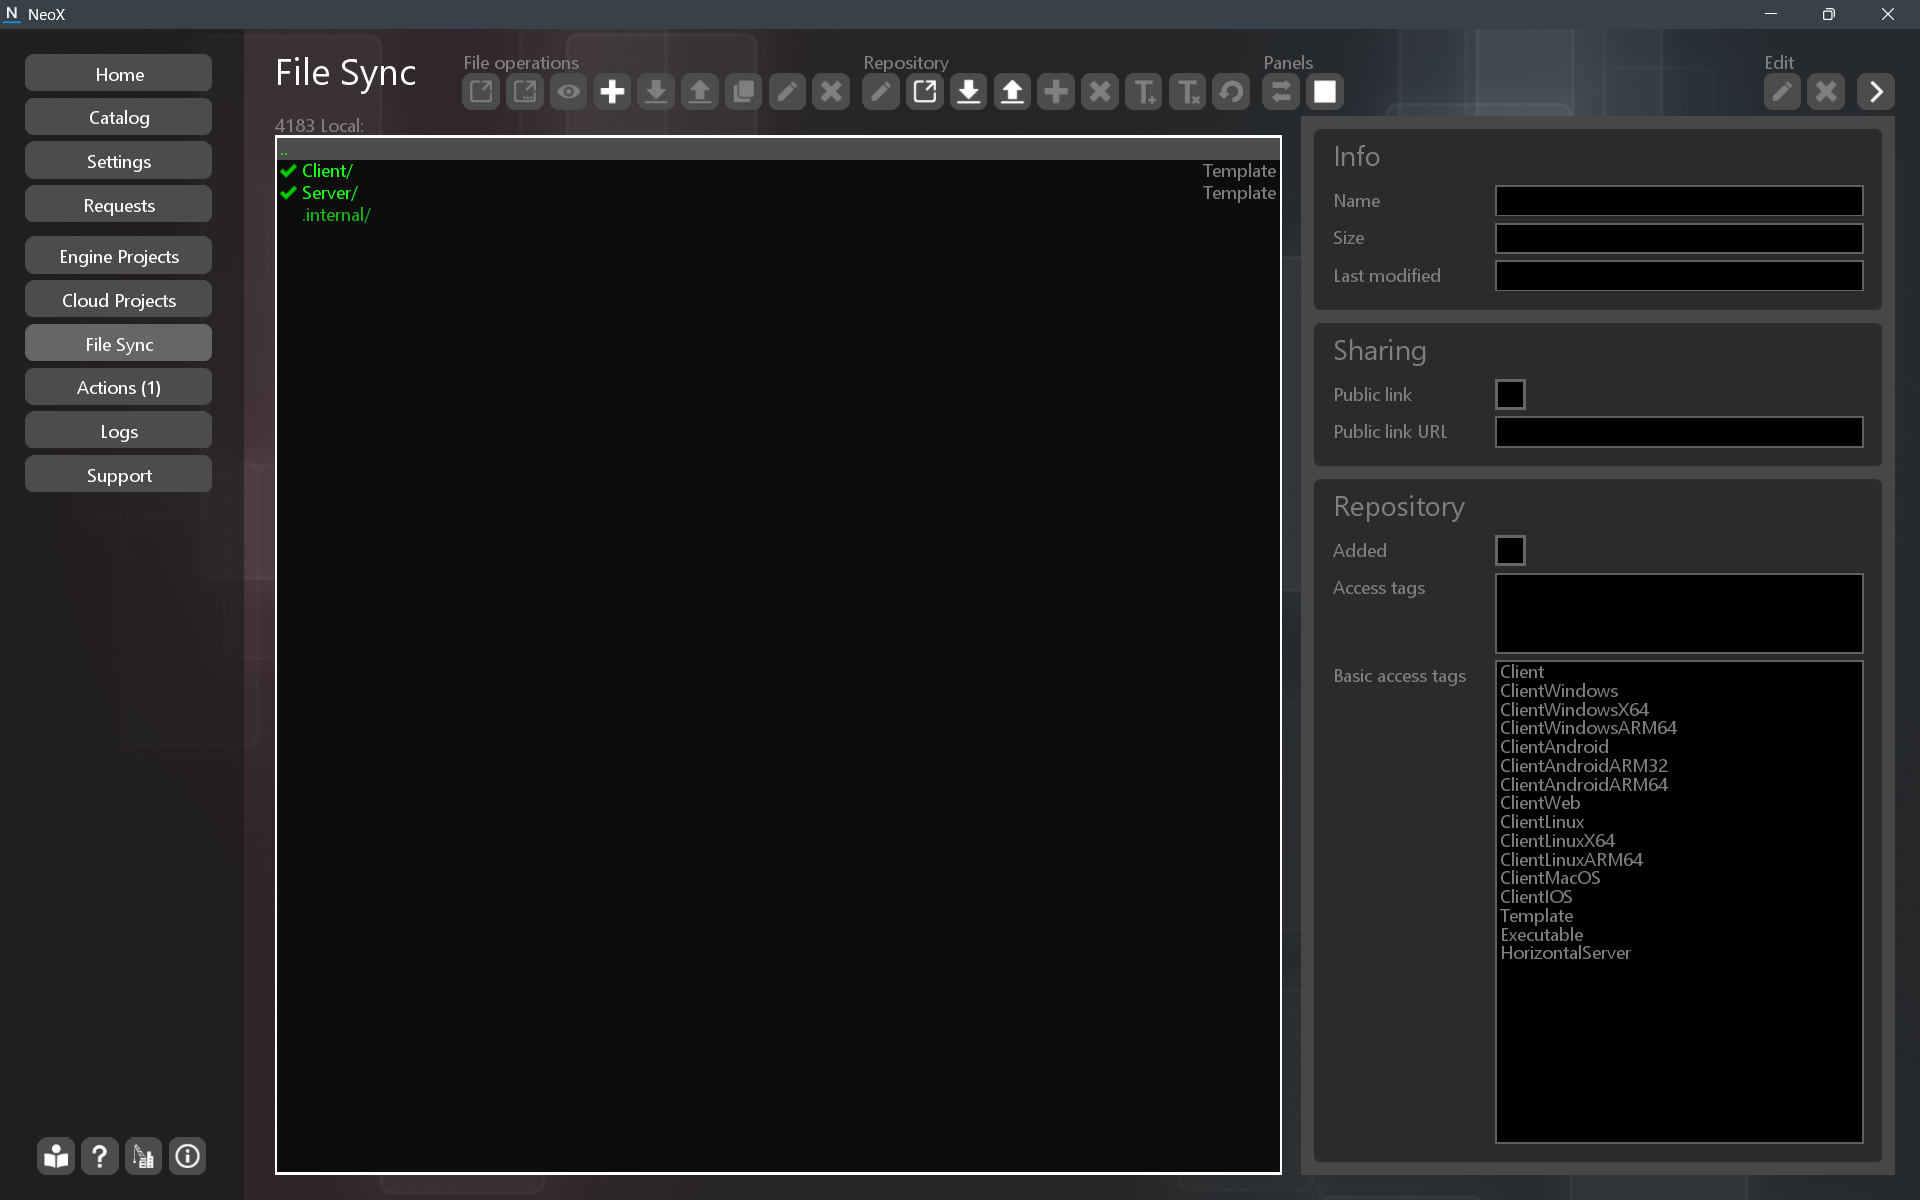
After downloading, two folders will appear: Server and Client. Now modify and compile them; the client can be run on the local machine.
Read further about editing the project.
The Push command is used to update files on the server.
Before uploading, you need to add files to the repository. You can do this using the ![]() (Add the selected files and directories to the repository) button or "Add To Repository" in the context menu.
(Add the selected files and directories to the repository) button or "Add To Repository" in the context menu.
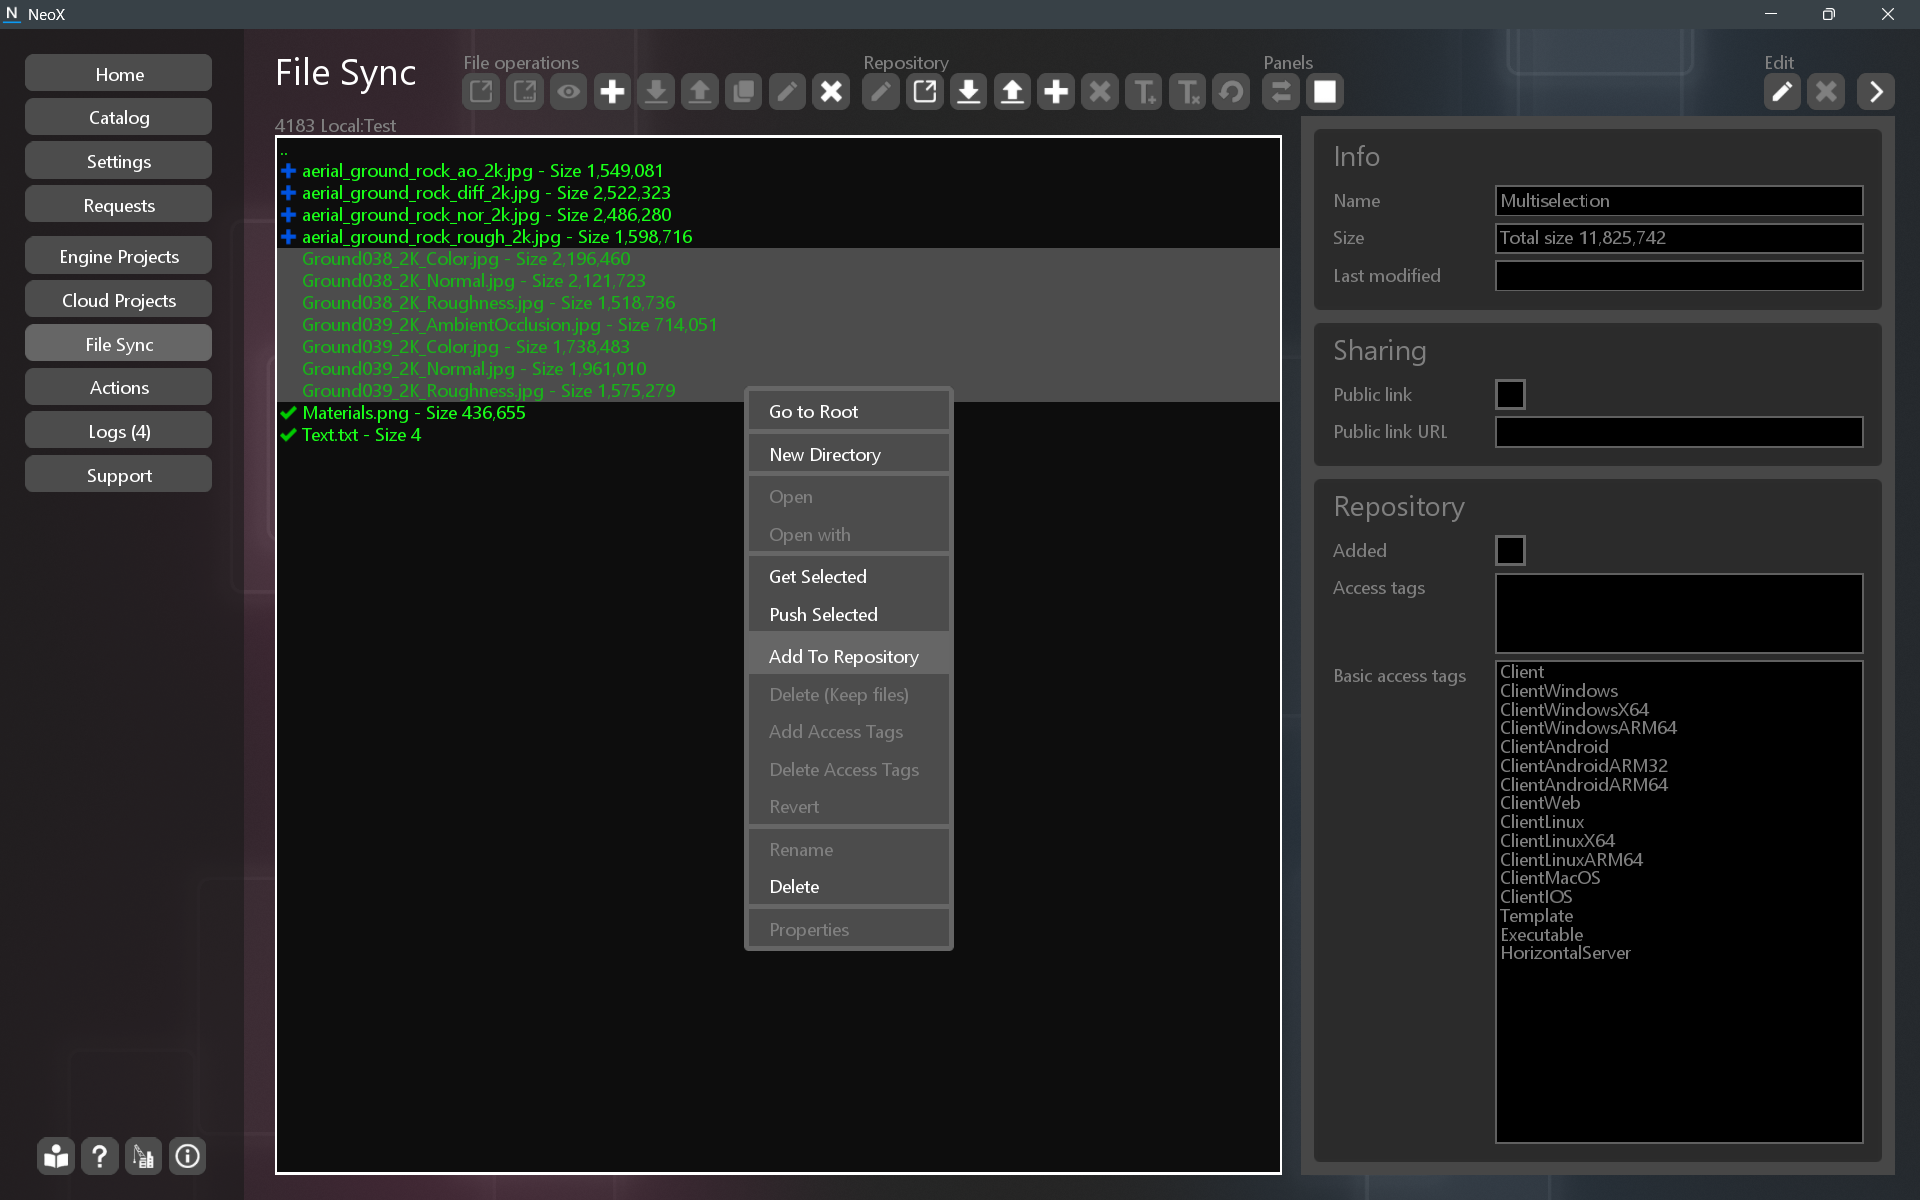
To do this, go to the project's "Local" item and select the files or folders. Then click ![]() (Push all updates from the local repository to the server repository) on the toolbar or "Push Selected" in the context menu.
(Push all updates from the local repository to the server repository) on the toolbar or "Push Selected" in the context menu.
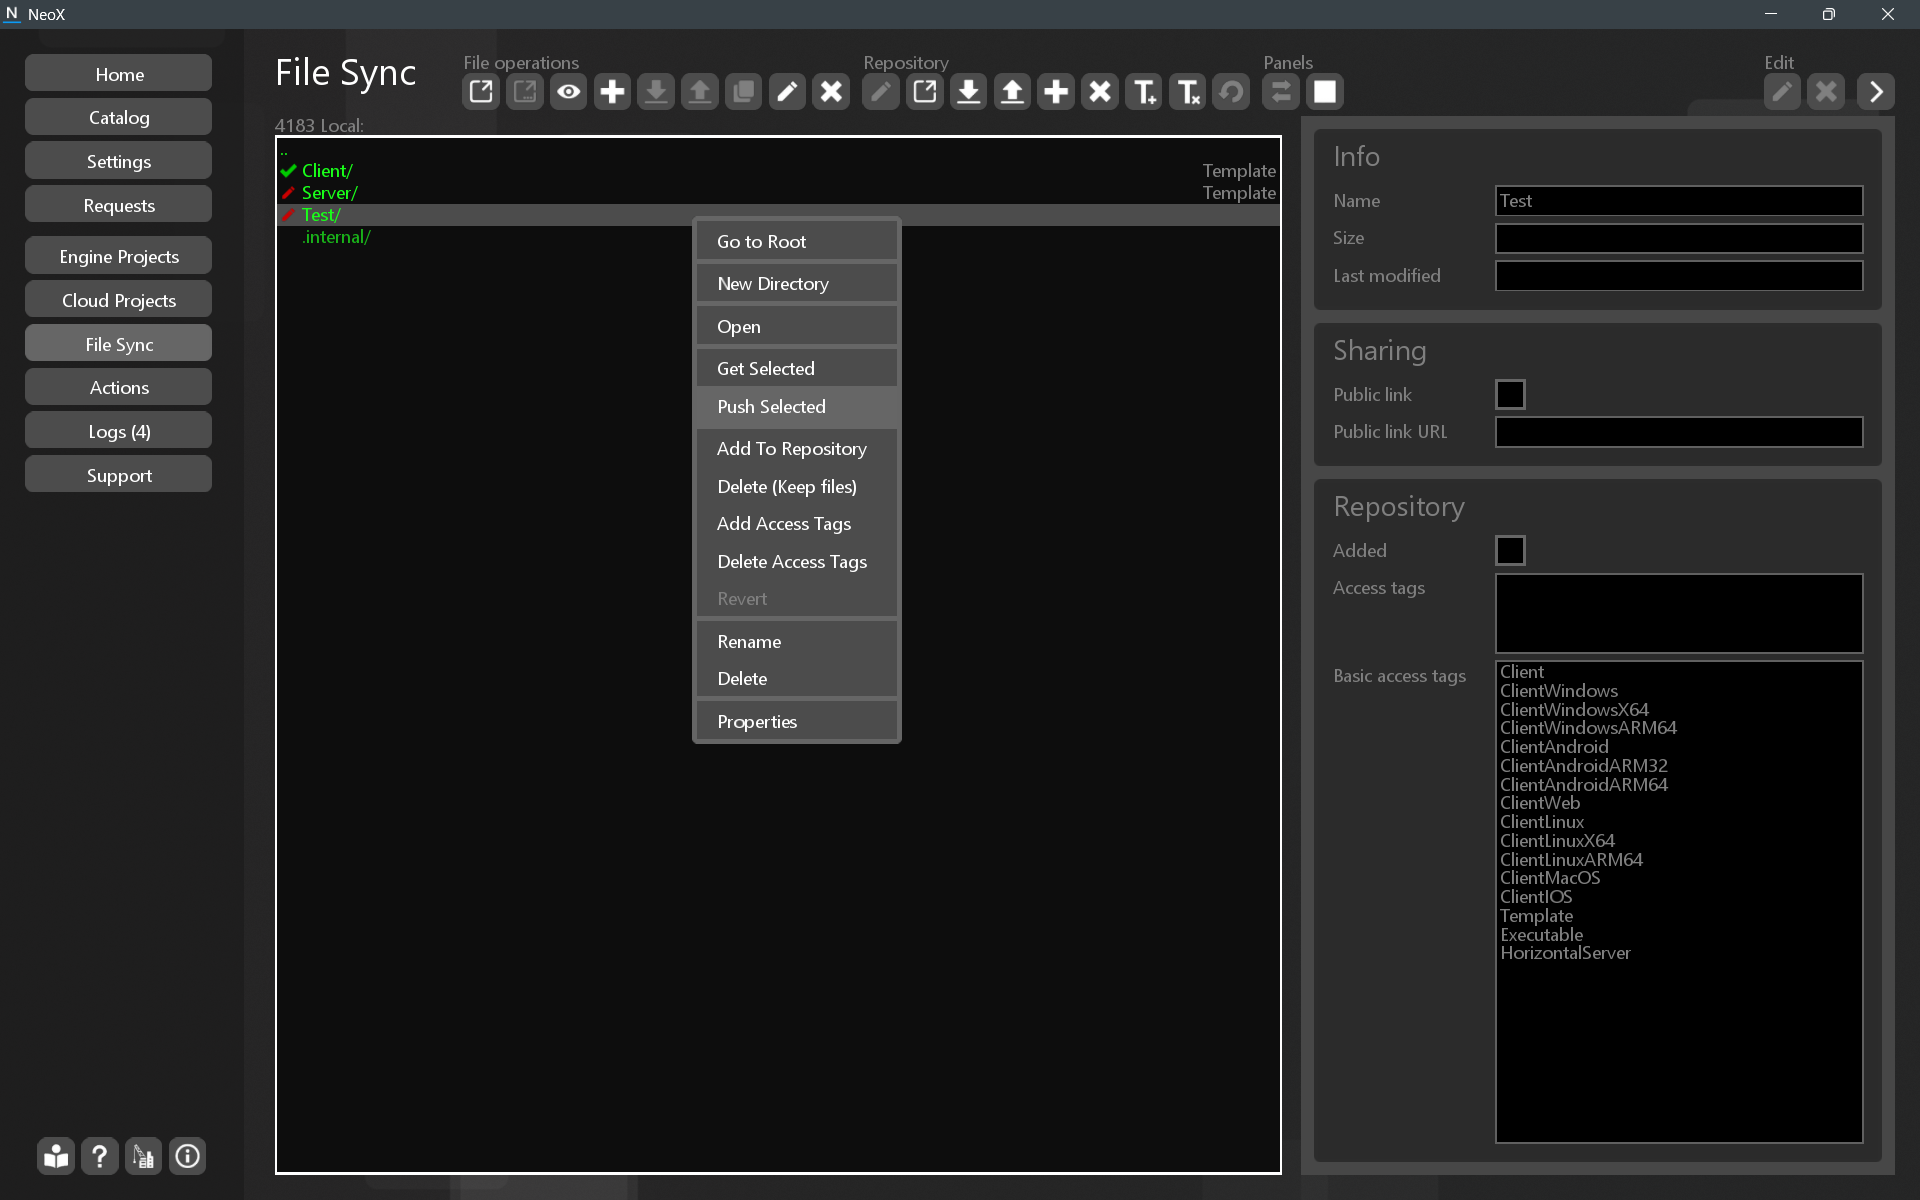
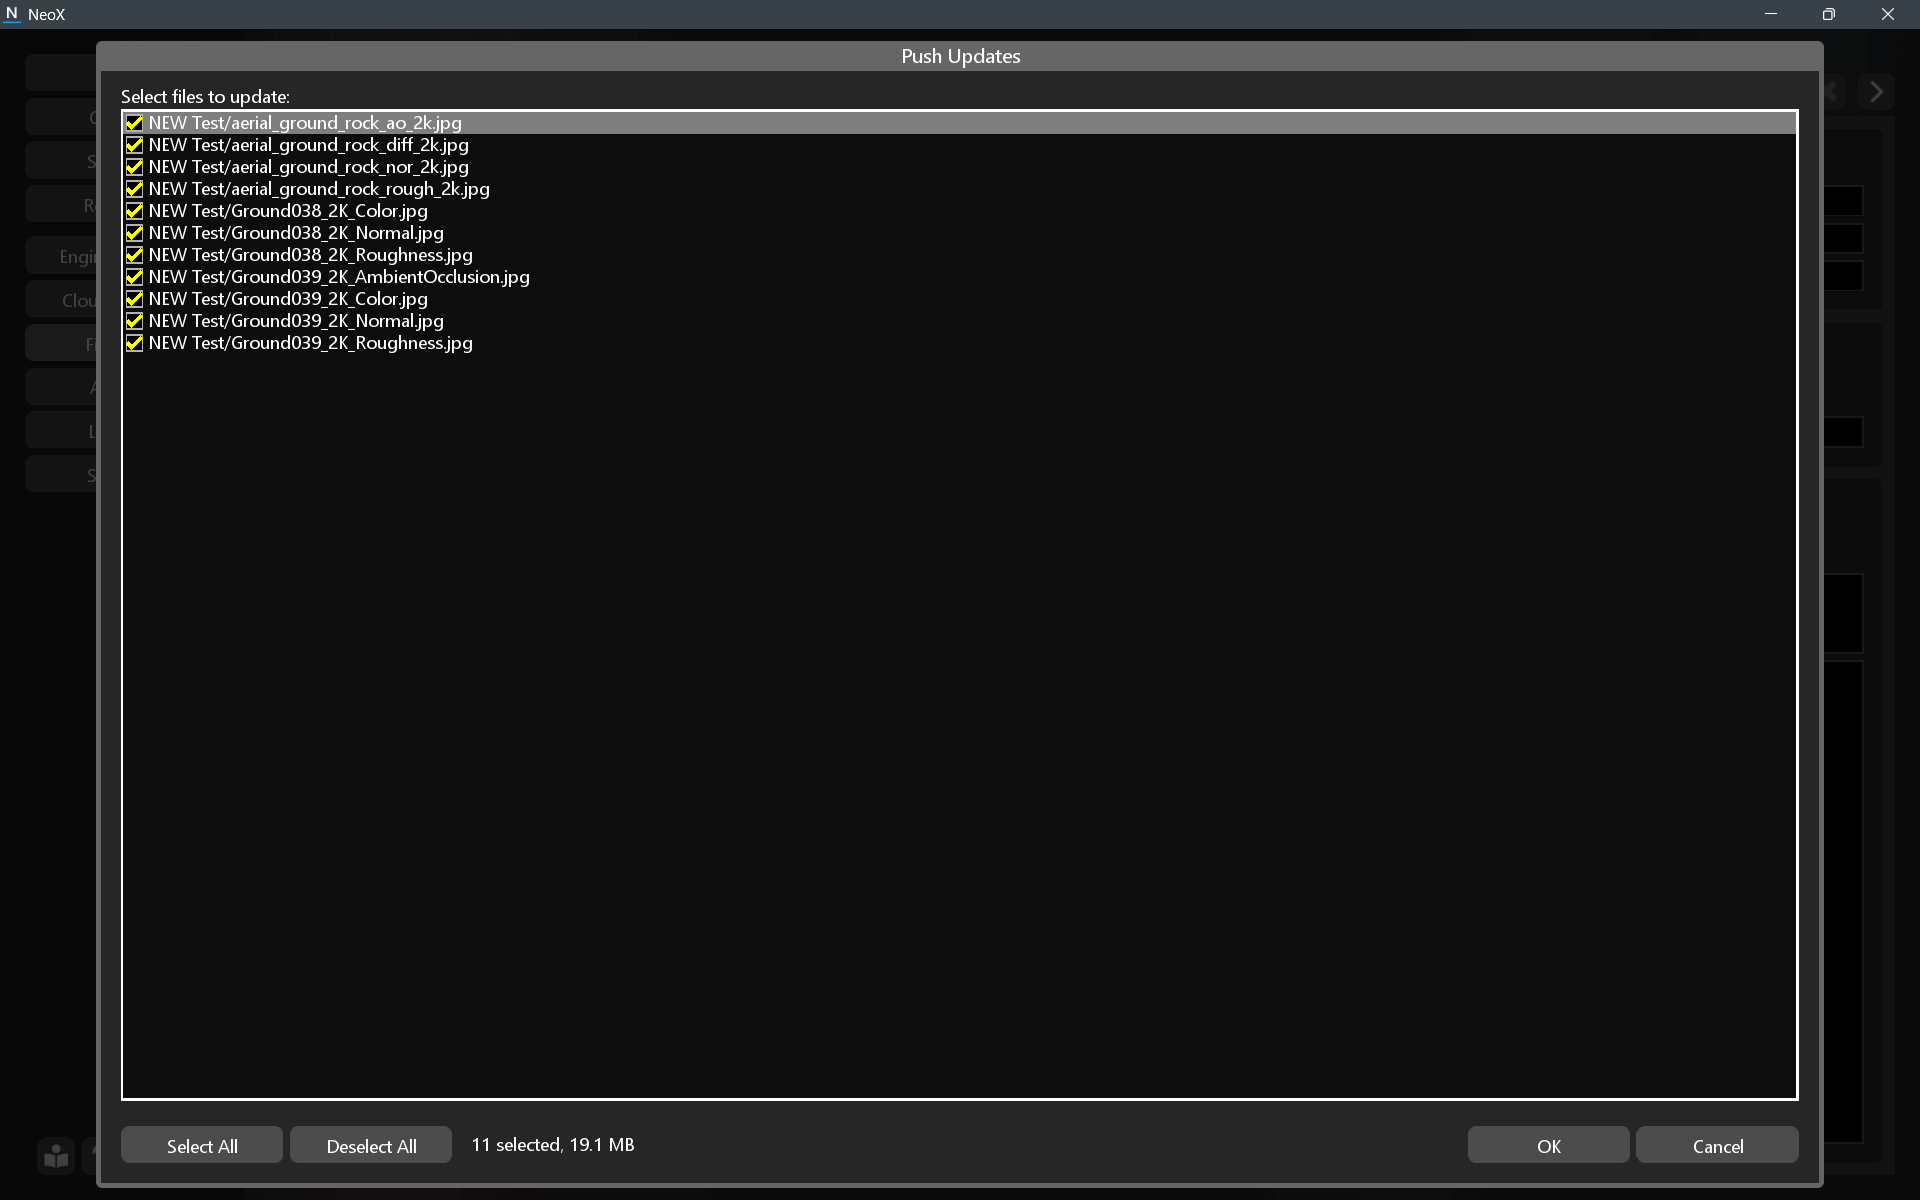
A window will open with a list of files to upload. When you click OK, the repository on the server will be updated.
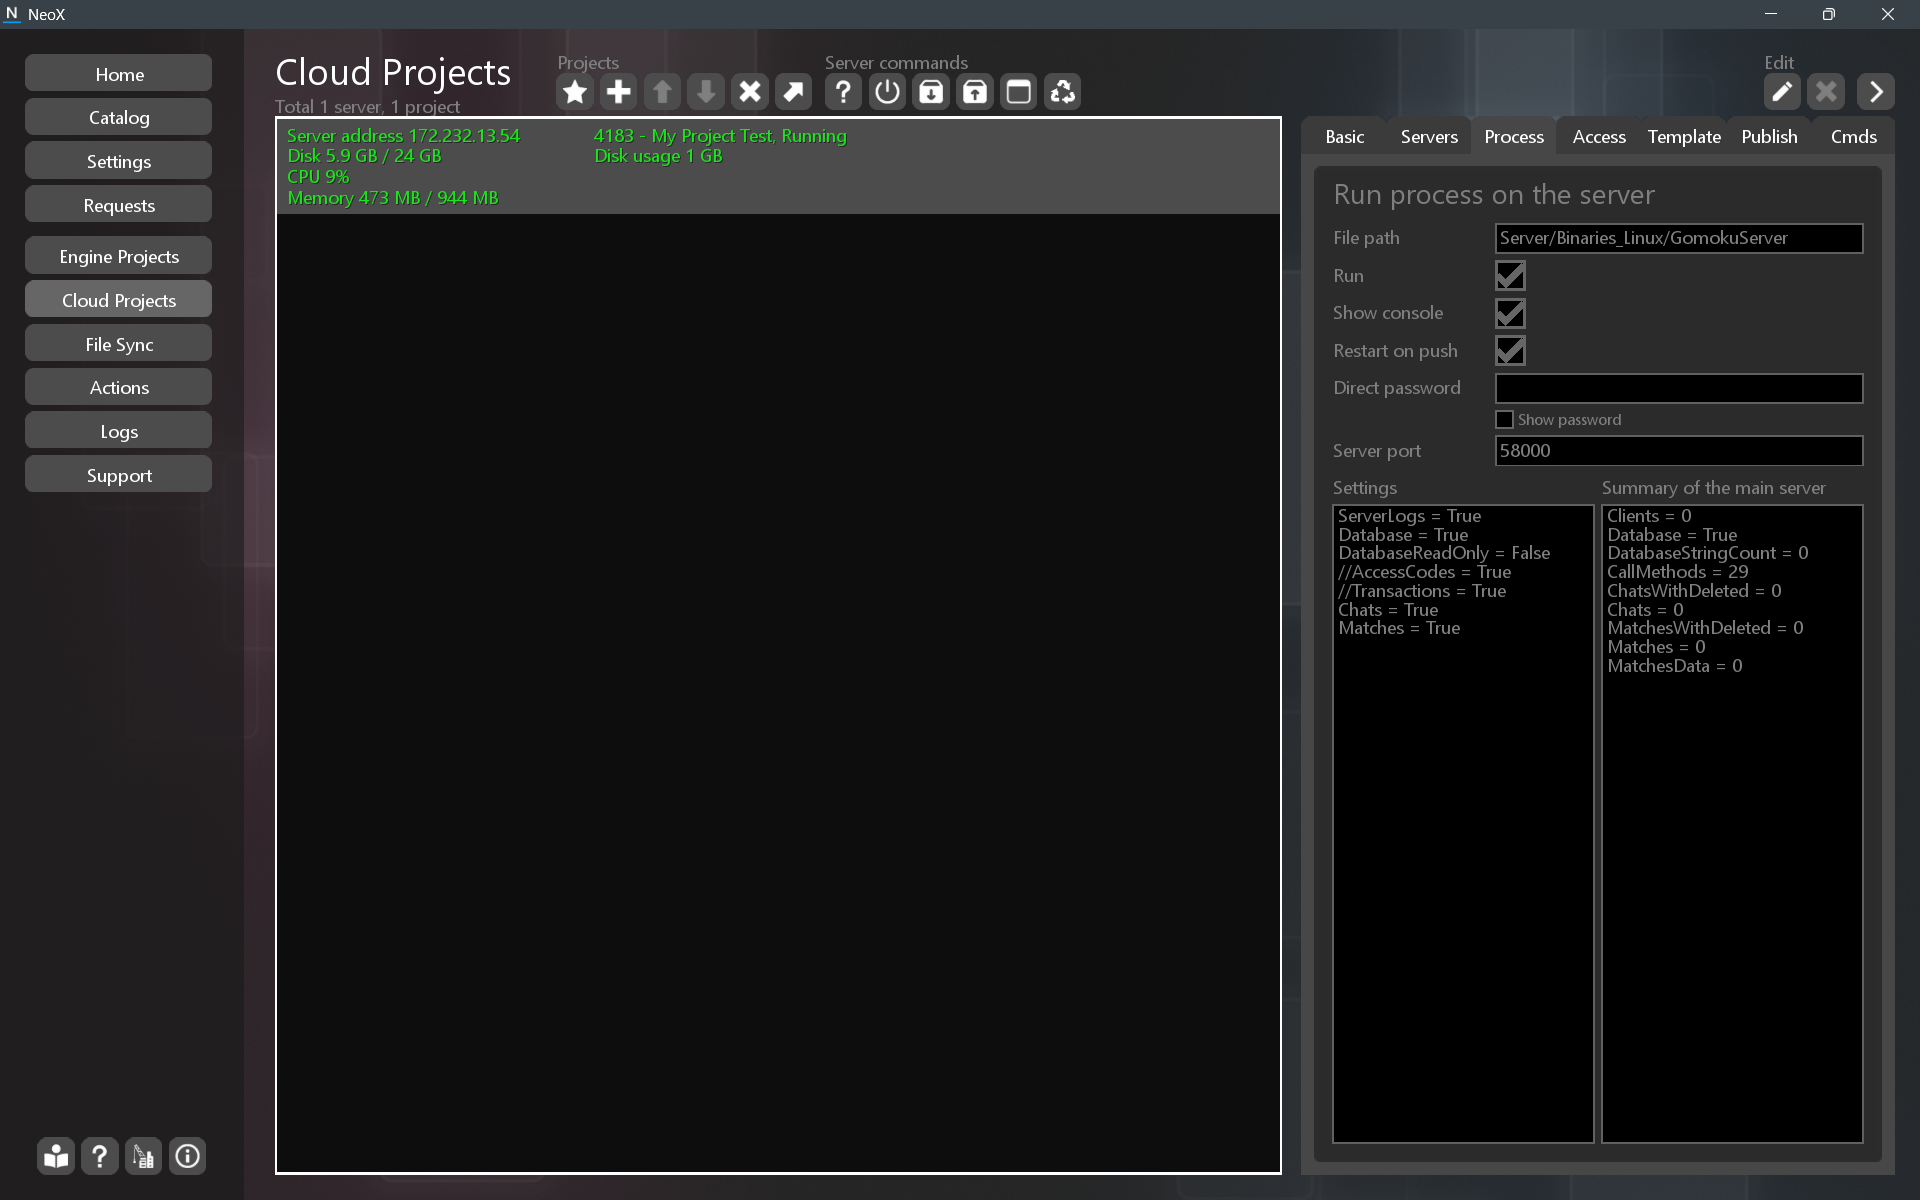
After uploading the files, you need to configure the server process startup. This is done in the project settings, on the Process tab.
You need to set the path to the process, the Settings field, and enable the Run checkbox.
Information about the process operation is displayed in the "Summary of the main server" field.
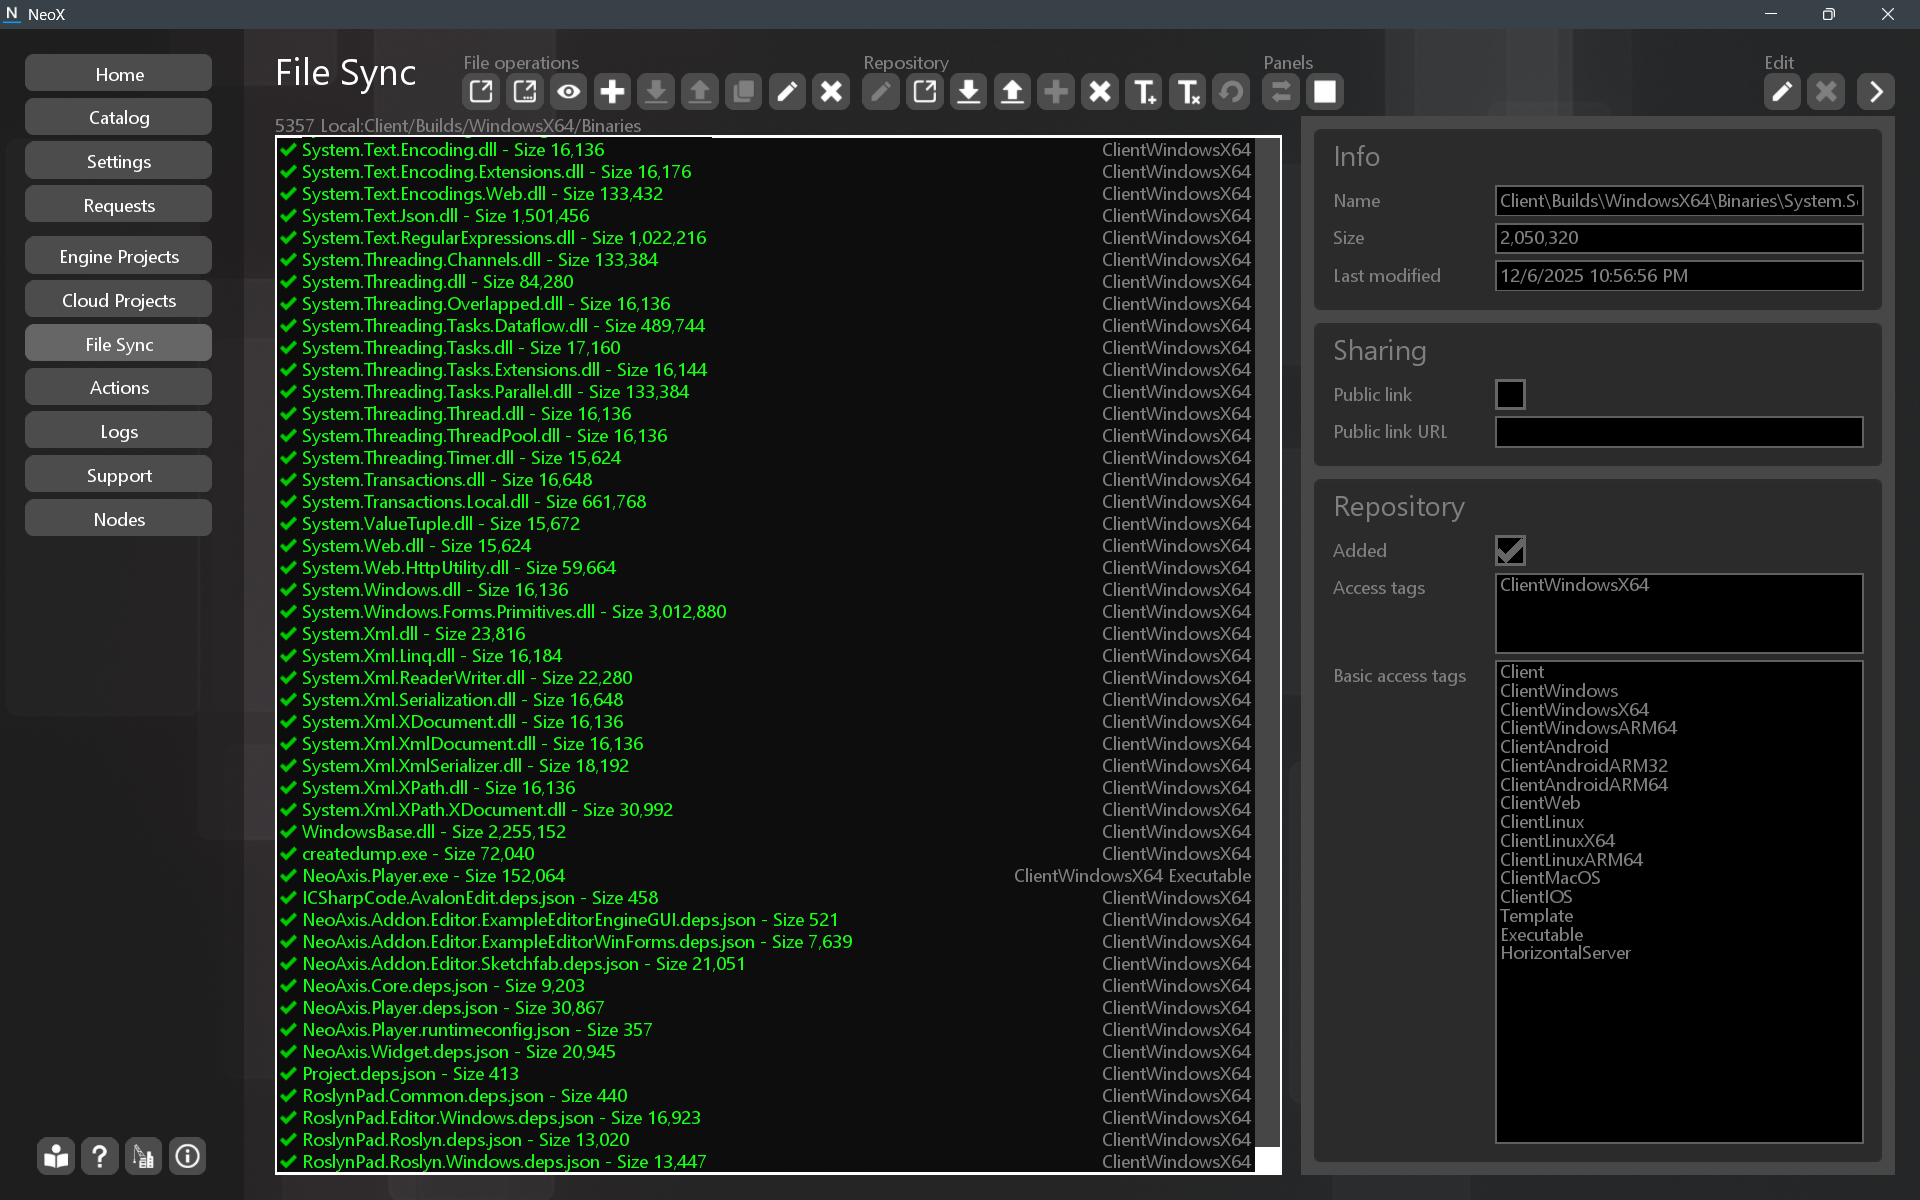
To configure the client build, in File Sync add access tags for the target system, for example, for Windows the tag is ClientWindowsX64. Also, for the executable file you need to add the Executable tag.
The list of tags is located in the properties panel of the File Sync page.
Then perform Push.
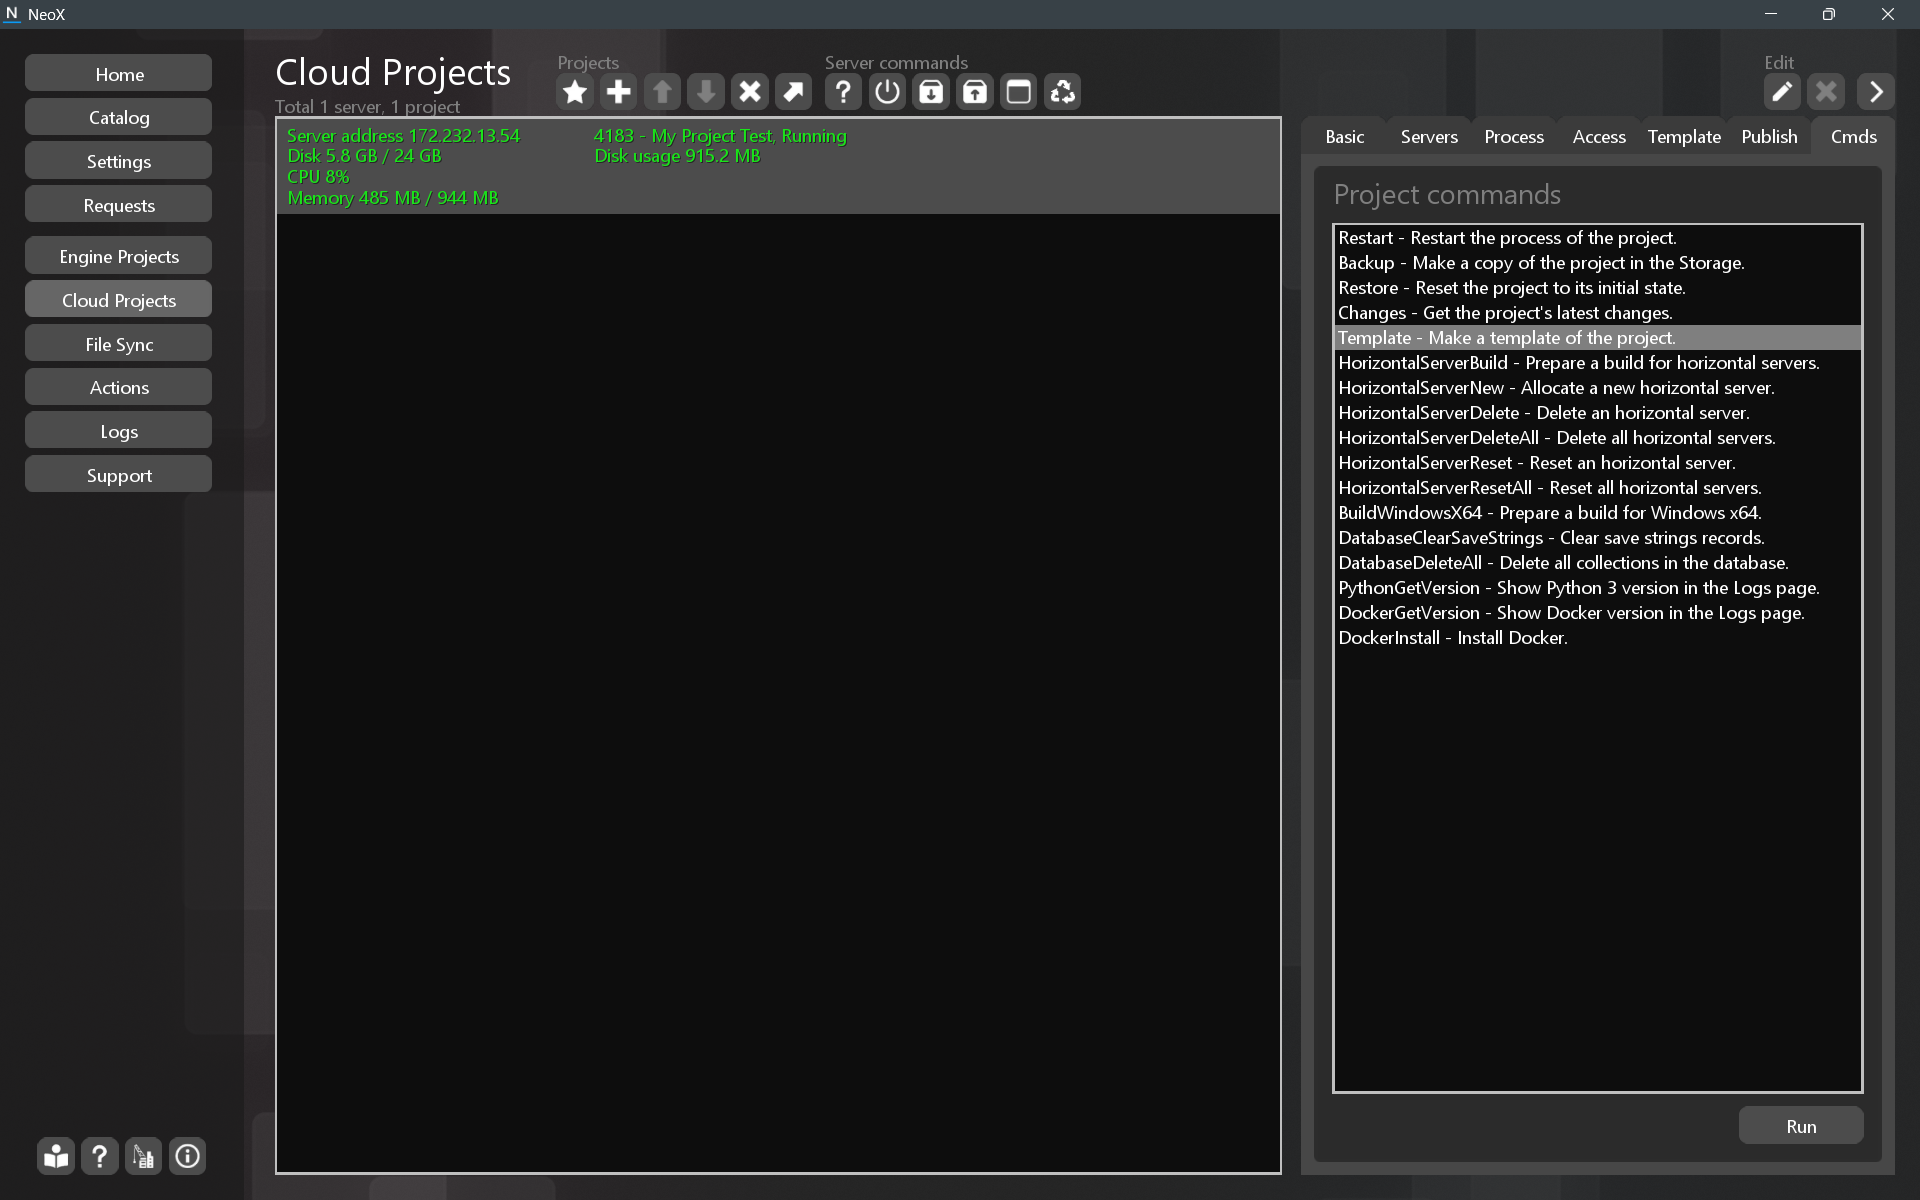
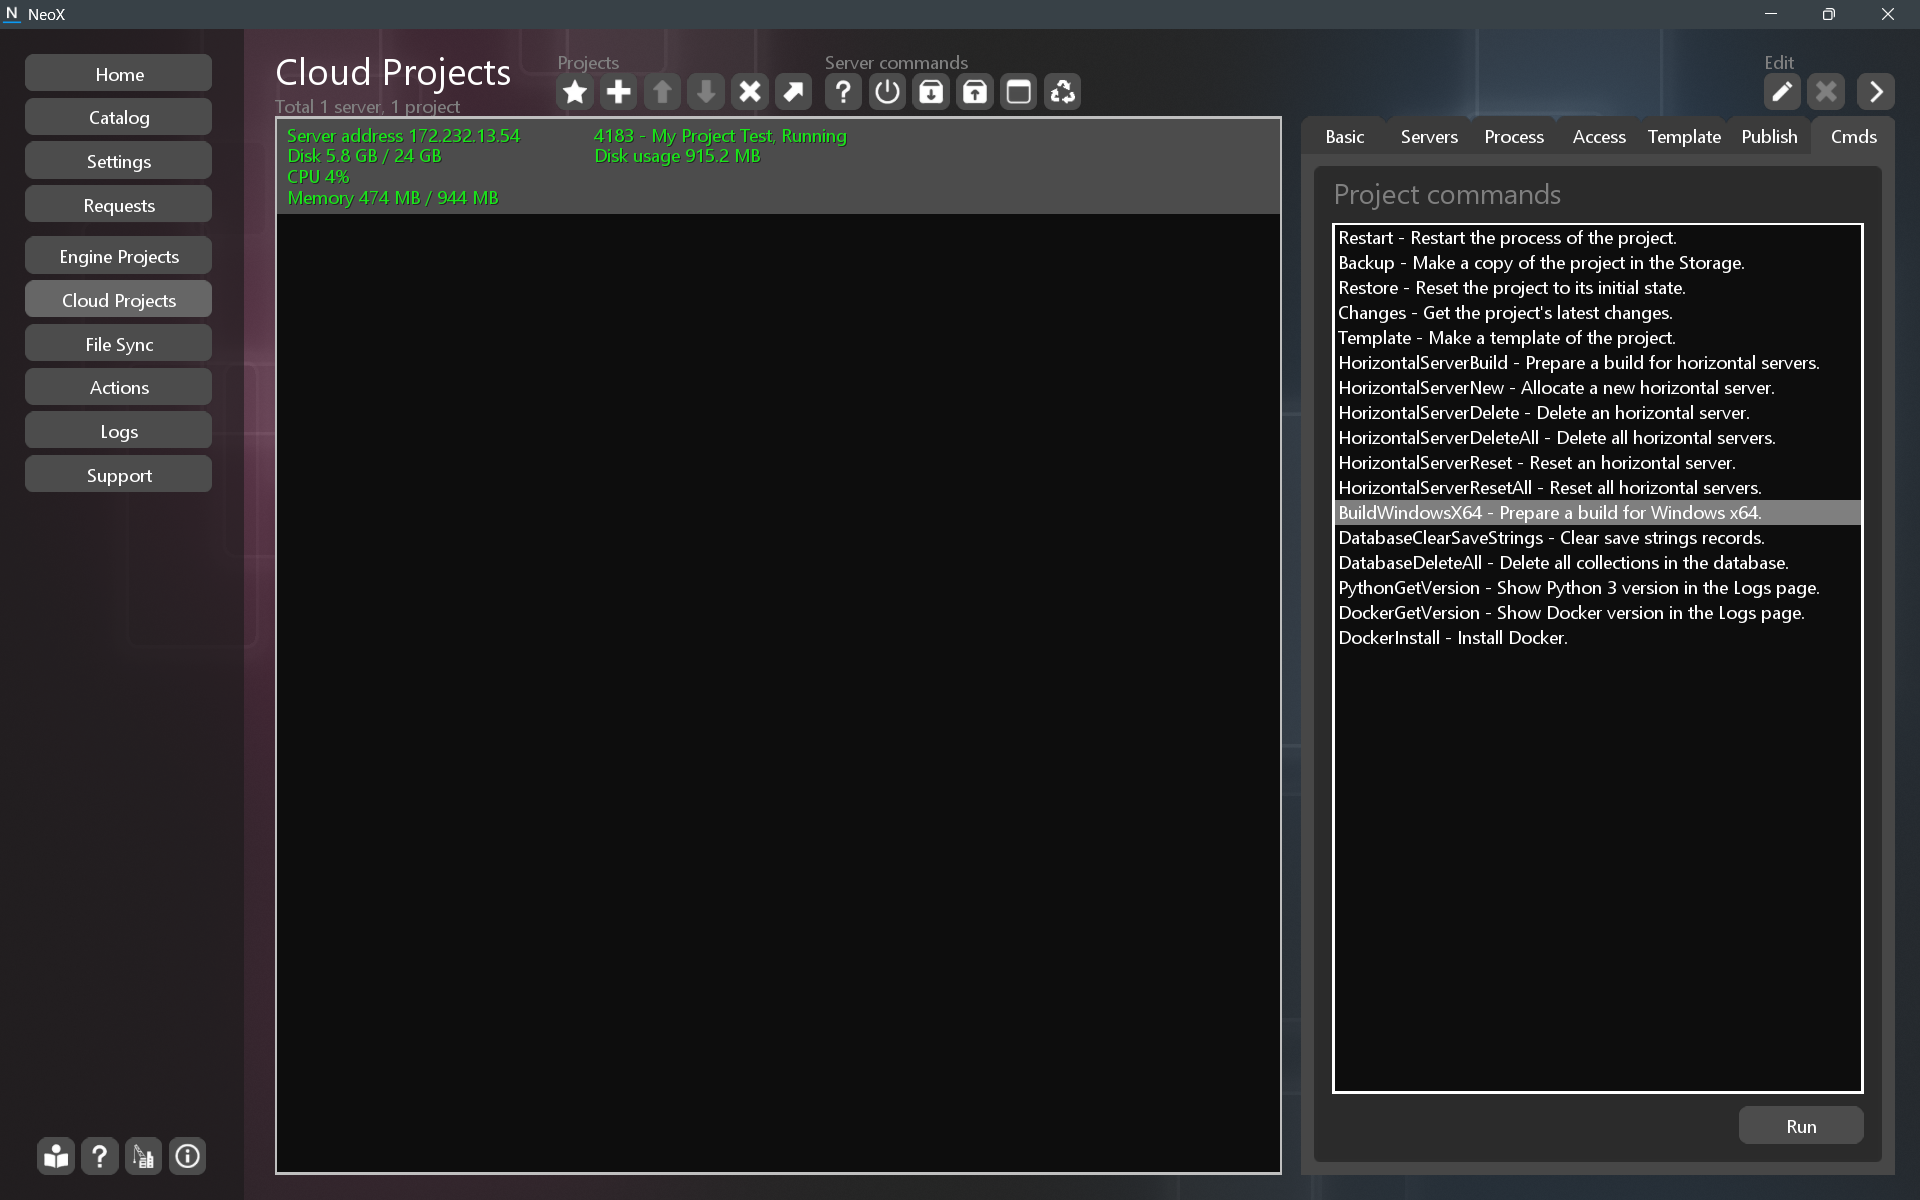
To create a client build for Windows, on the Cmds tab run the BuildWindowsX64 command. The Actions page shows the build creation progress. To verify, you can download the build from File Sync, Storage. You can check the "Build Windows x64" property on the Publish tab.
After that, you can try to run the app from the Catalog.
Preparing a template is similar to preparing a client build.
In the project settings, on the Template tab, enable the Template checkbox. You need to add the Template access tag to the files. Perform Push.
To create the template build, on the Cmds tab run the Template command. The Actions page shows the build creation progress. To verify, you can download the build from File Sync, Storage. You can check the "Build" property on the Template tab.
After that, you can try creating a new project from the template.