Useful Tools |
Useful Tools
These free tools can be useful in creating and optimizing your projects.
| Name | Description | Website |
|---|---|---|
| Notepad++ | Advanced text editor with syntax highlighting and code formatting. | Notepad++ |
| GIMP | Powerful image editing software with extensive features. | GIMP |
| Blender | 3D creation suite for modeling, animation, and rendering. | Blender |
| LibreOffice | Free office suite with word processing, spreadsheets, and more. | LibreOffice |
| FileZilla | FTP solution for easy and secure file transfer. | FileZilla |
| FreeFileSync | Folder comparison and synchronization tool. | FreeFileSync |
| File Converter | A tool to convert images using the context menu of Windows Explorer. | File Converter |
| TaskBar Hider | Utility to hide the Windows taskbar for a cleaner desktop. | TaskBar Hider |
| Greenfish Icon Editor Pro | A tool to create icons, cursors, animations, and icon libraries. | Greenfish Icon Editor Pro |
Here you can learn how to better import content from third-party tools.
The best format is "GLTF + separate" to import from Blender. Read more about Import.
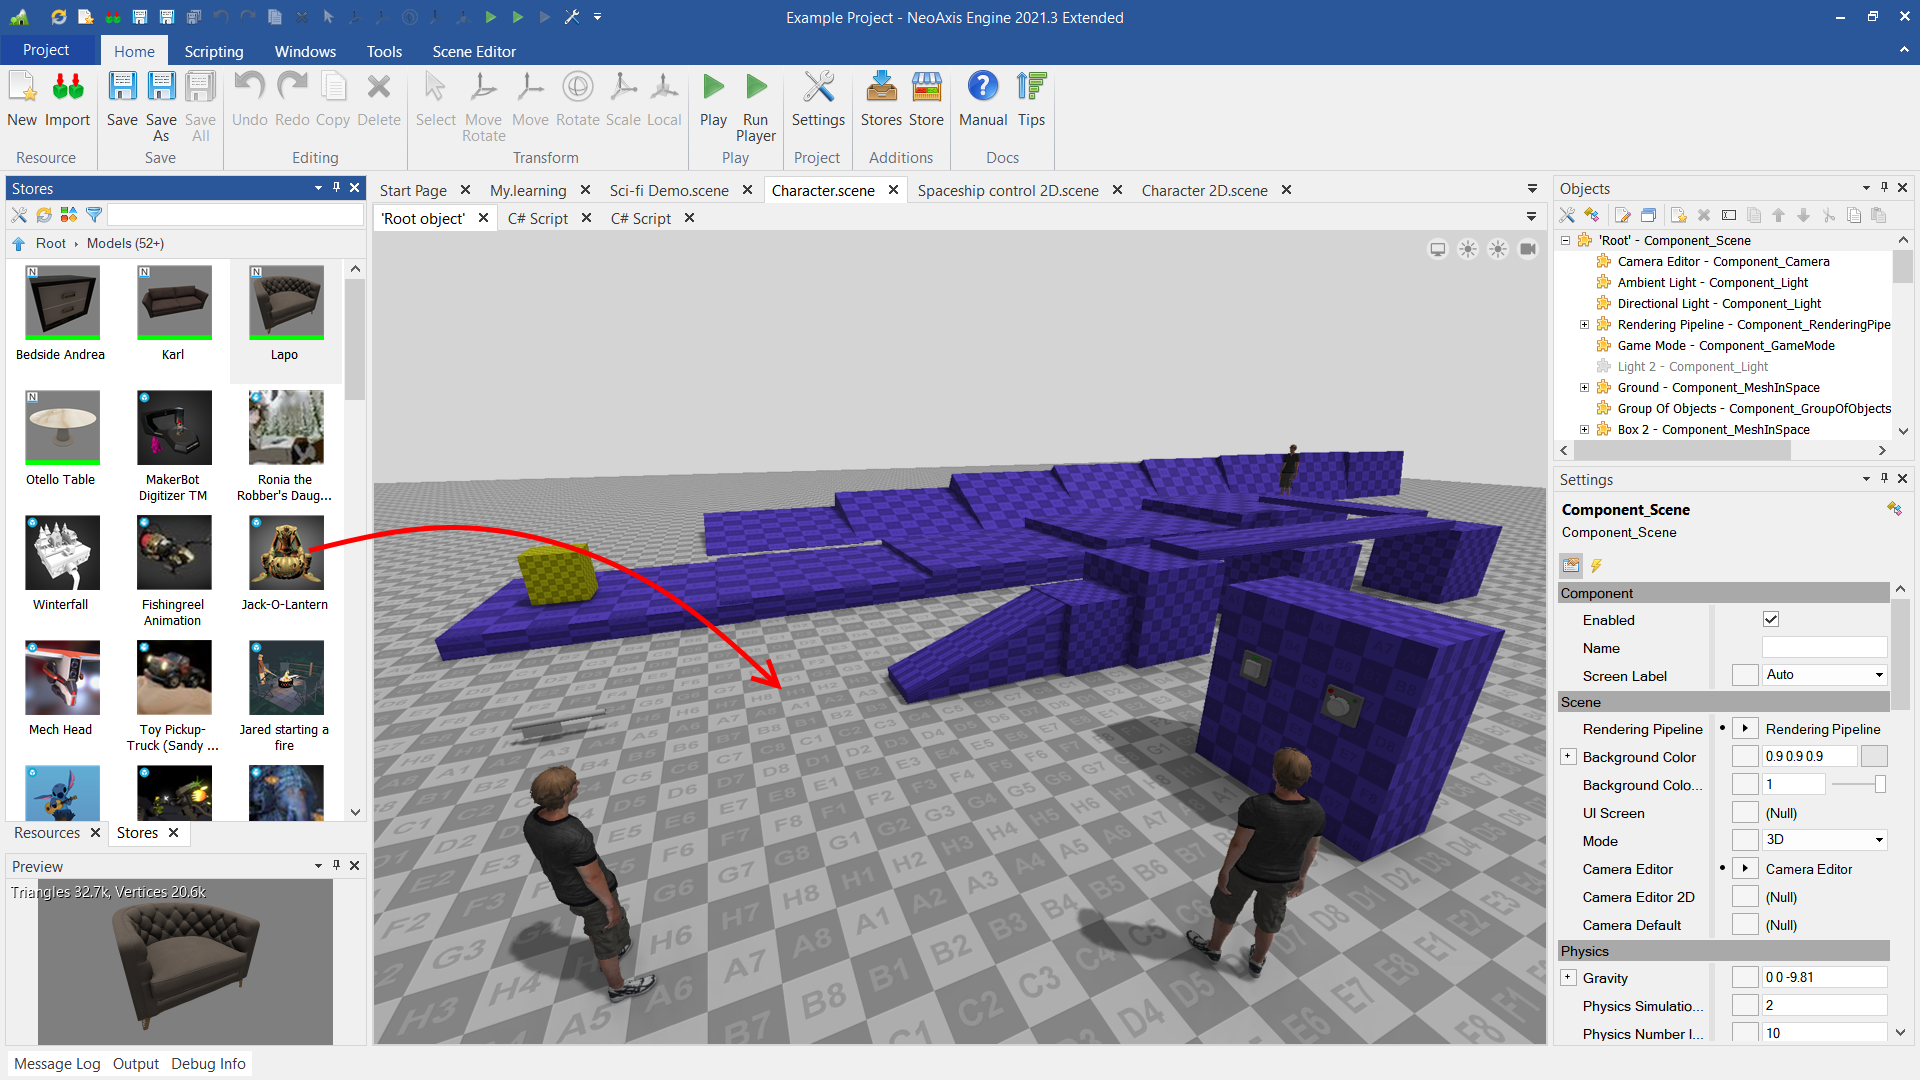
NeoAxis has built-in Sketchfab support, use Stores Window to download content.

Importing from Mixamo is simple.
- Export to FBX from mixamo.com.
- In some cases need to rotate the model counterclockwise so that the X-axis is forward, Z-axis is up. Set in the import Rotation.Angles = "0 0 -90" or Rotation = "0 0 0.707106781186548 0.707106781186548".
- Disable LODs or LOD Voxels parameter.
- To copy additional animations, need to import 3D model with a new animation to another place. Next, copy an animation track and an animation from the imported file to your actual model. Rename the track and the animation. Configure a reference from the animation to the track.
You can use already imported characters from Mixamo from the Store.


- Export to FBX from Character Creator. Target Tool Preset can be stayed "Maya", that is by default.

- In some cases need to rotate the model counterclockwise so that the X-axis is forward, Z-axis is up. Set in the import Rotation.Angles = "0 0 -90" or Rotation = "0 0 0.707106781186548 0.707106781186548".

- Disable LODs or LOD Voxels parameter.
- Additional material settings may be required by means Material Editor. In this case, the material Blend Mode has been changed to Masked (transparency) and an opacity texture has been added.

After that, the character began to display correctly.

- It is possible to copy additional animations to an already imported model. For that is need to import 3D model with a new animation to another place. Next, copy an animation track and an animation from the imported file to your actual model. Rename the track and the animation. Configure a reference from the animation to the track.
Importing from DAZ 3D is same as import from Character Creator described above. Need to use FBX format.
You can directly use PSD files for textures without having to convert them to another format.
The engine automatically creates optimized compressed DDS textures if it makes sense, but in some cases you need to specify the texture type.
